Developing your own colour film
Developing your own colour film can feel like a daunting process, but it’s fairly simple to do with the right kit. In a previous blog post I wrote about trying out stand development for B&W film, I have since upgraded my process and I’ve been developing colour film using a sous vide machine to manage the temperature. I’m now even offering film development on my shop if you’re not yet ready to take the plunge yourself.
Here’s a little list of all the tools I use:
Dark bag or a completely light-tight room (like seriously dark)
3 spool tank with reels
Method:
1. Prepare the developing solution in a measuring cup or other container according to the instructions that come with it
(it usually requires emptying each bottle into a jug and adding the right amount of water, the scales can help you out here with measuring the right amounts.
2. Place the bottles of chemicals (developer and blix) in the water with the sous vide machine, ensuring that the temperature is set to 39°C.
3. Whilst your chemicals are warming up, load your film onto the reels in the dark bag, and place them into the tank and close it. This can be a little tricky to do so I recommend practicing it with some old used film in the light so you get a feel for how to do it with your eyes closed.
4. Once your chemicals are up to the correct temperature (you’ll hear it beep) start your timer and immediately pour your developer into the film tank.
5. Traditonally you would agitate/flip the tank upside down 4 times every 30 seconds, it’ll take 3:30 to develop a roll of standard colour film. But after trying several methods I personally recommend flipping the tank on it’s side and rolling it back and forth constantly during the development and blix stages as it’ seems to give a more even development with less room for errors.
6. Once the developing time is complete, pour out the solution and then repeat the same method of inversions with the Blix, you should do the Blix stage for about 8 minutes.
7. You can reuse the chemicals several times so save them! (i would recommend changing them after about 10 rolls.)
8. Pour out the fixer, wash out the film thoroughly and then add the photo-flo to make sure you don’t get any watermarks/splotches on your film.
9. Run your film through your squeegee to lightly wipe off any excess water
10. Hang the film up to dry and inspect the results. it takes an hour or so to fully dry before scanning. this is important to get a good scan, don’t be impatient!
11. Slice your film up and scan it.
I use a lightroom plugin called Negative Lab Pro to convert my scans from negatives to positives, it takes a little while to master but it’s the best option I’ve found and is generally pretty accurate.
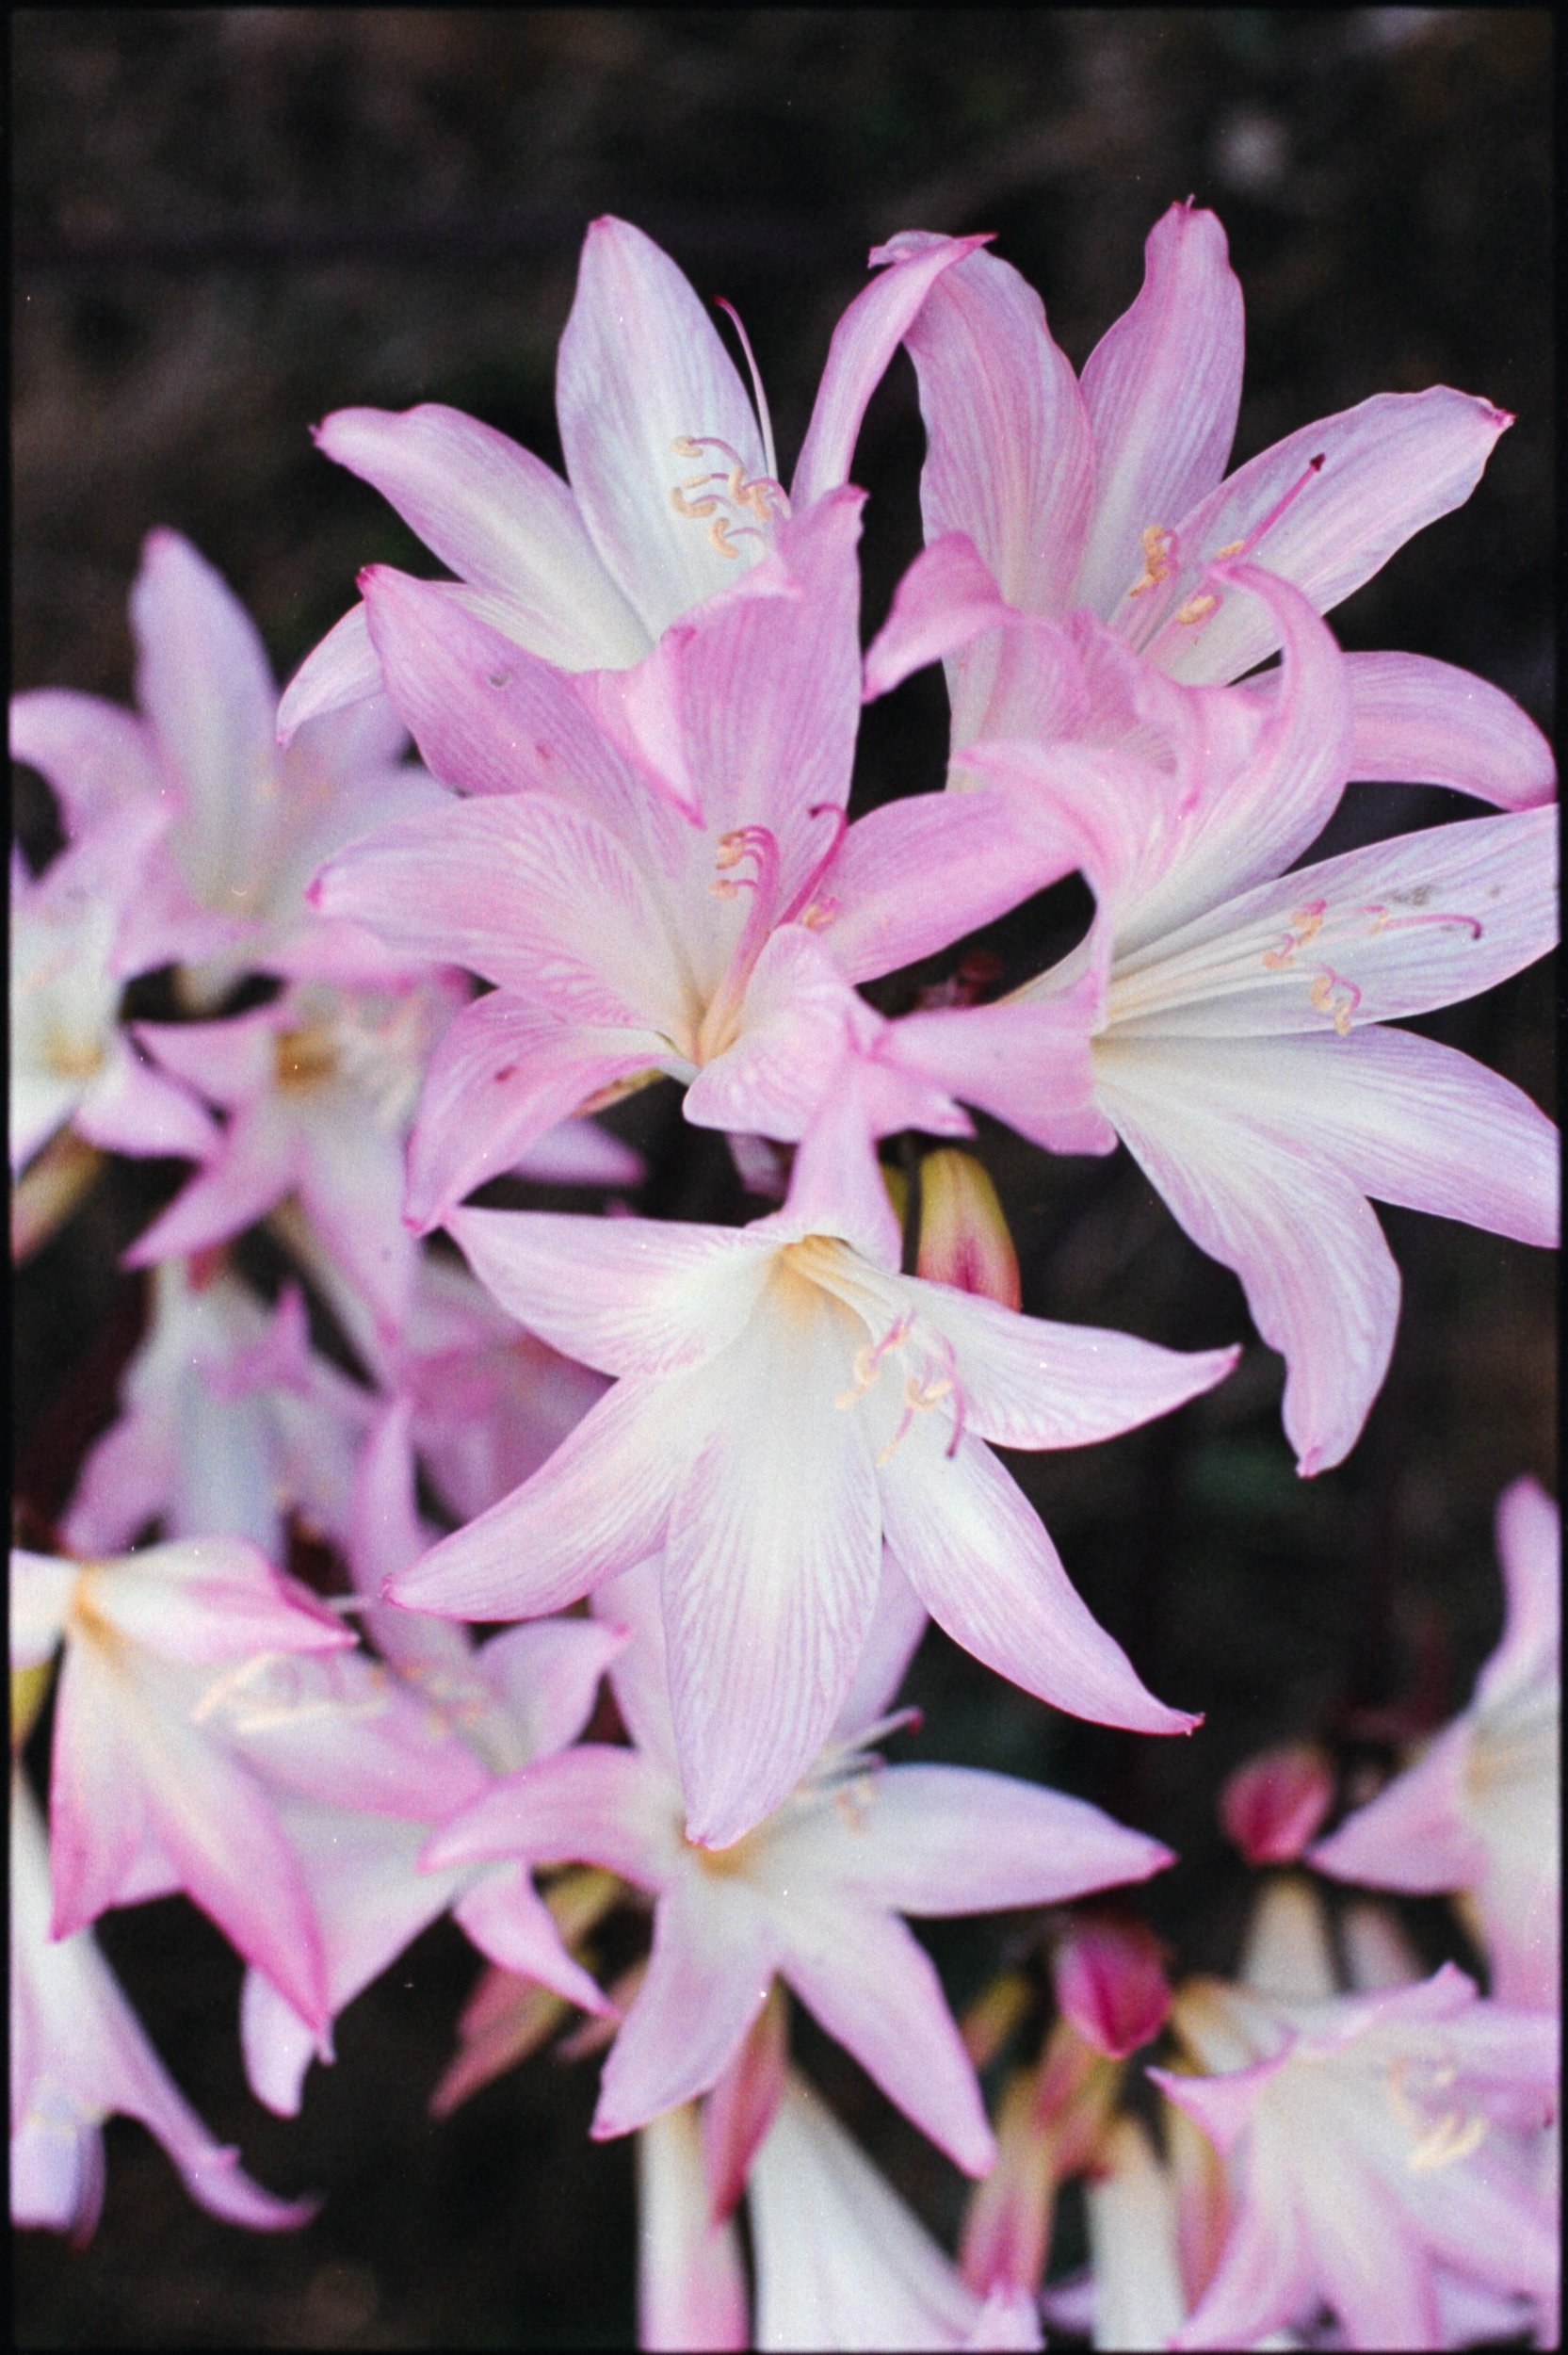
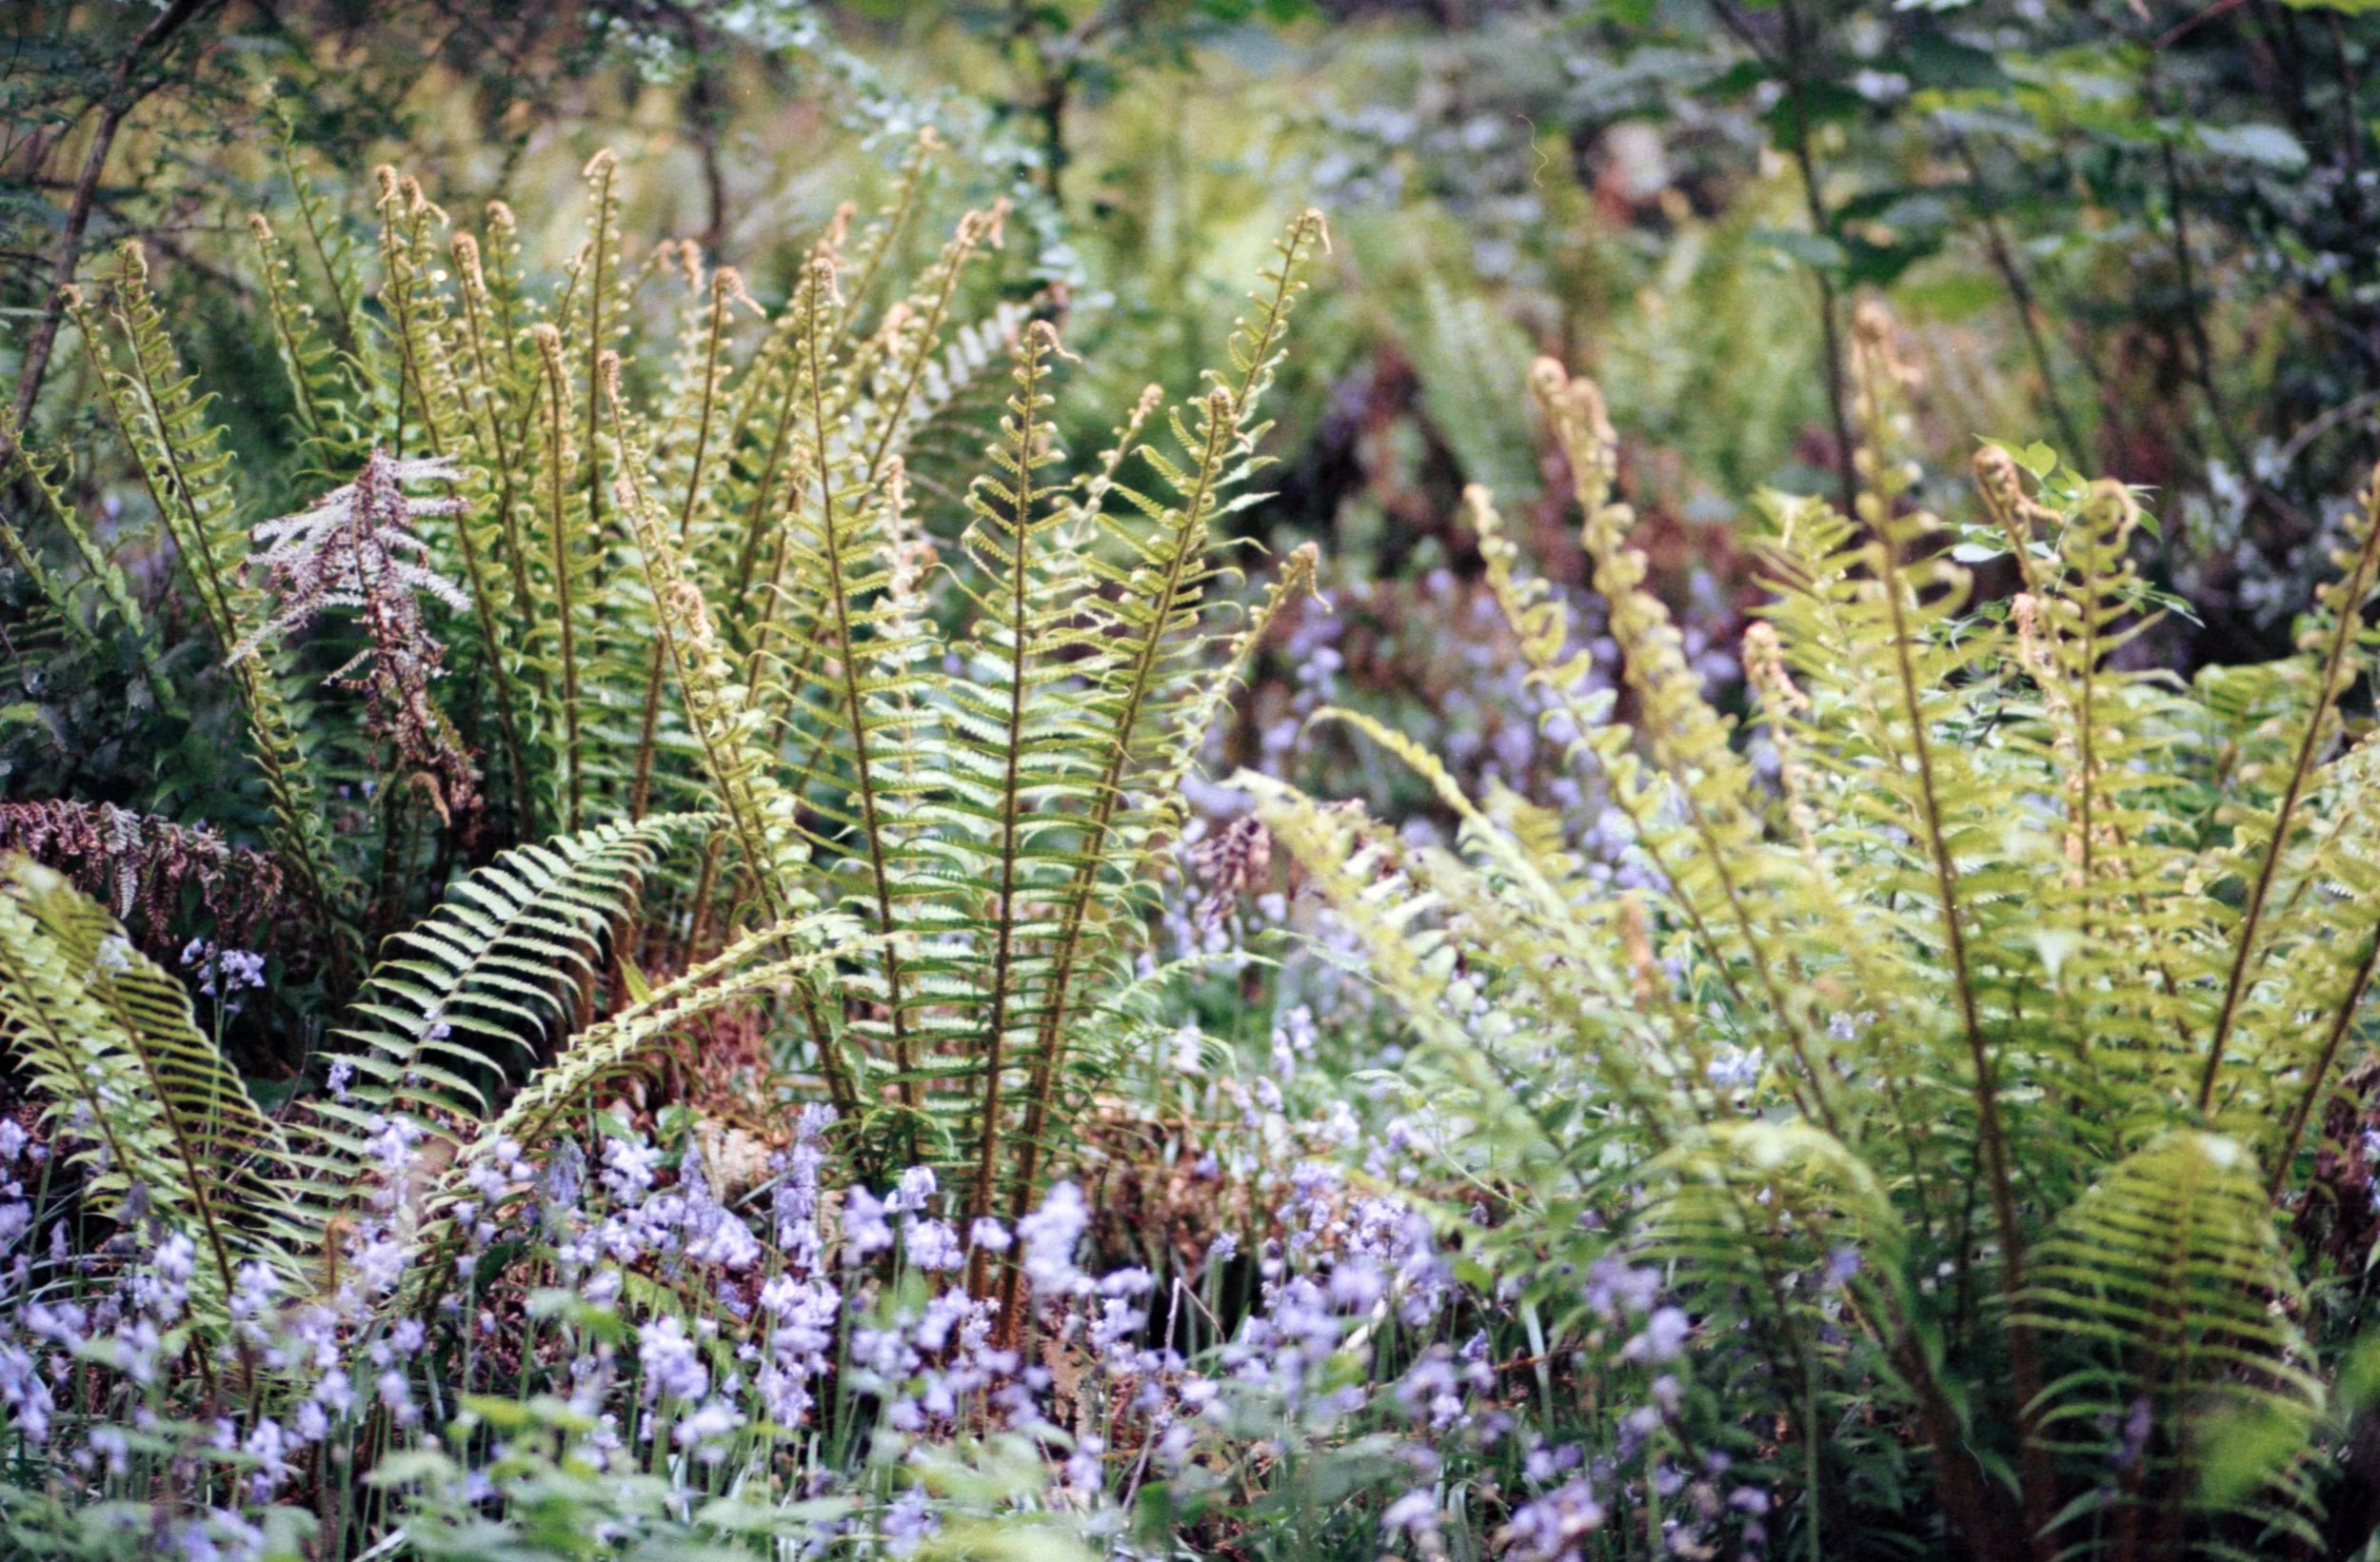
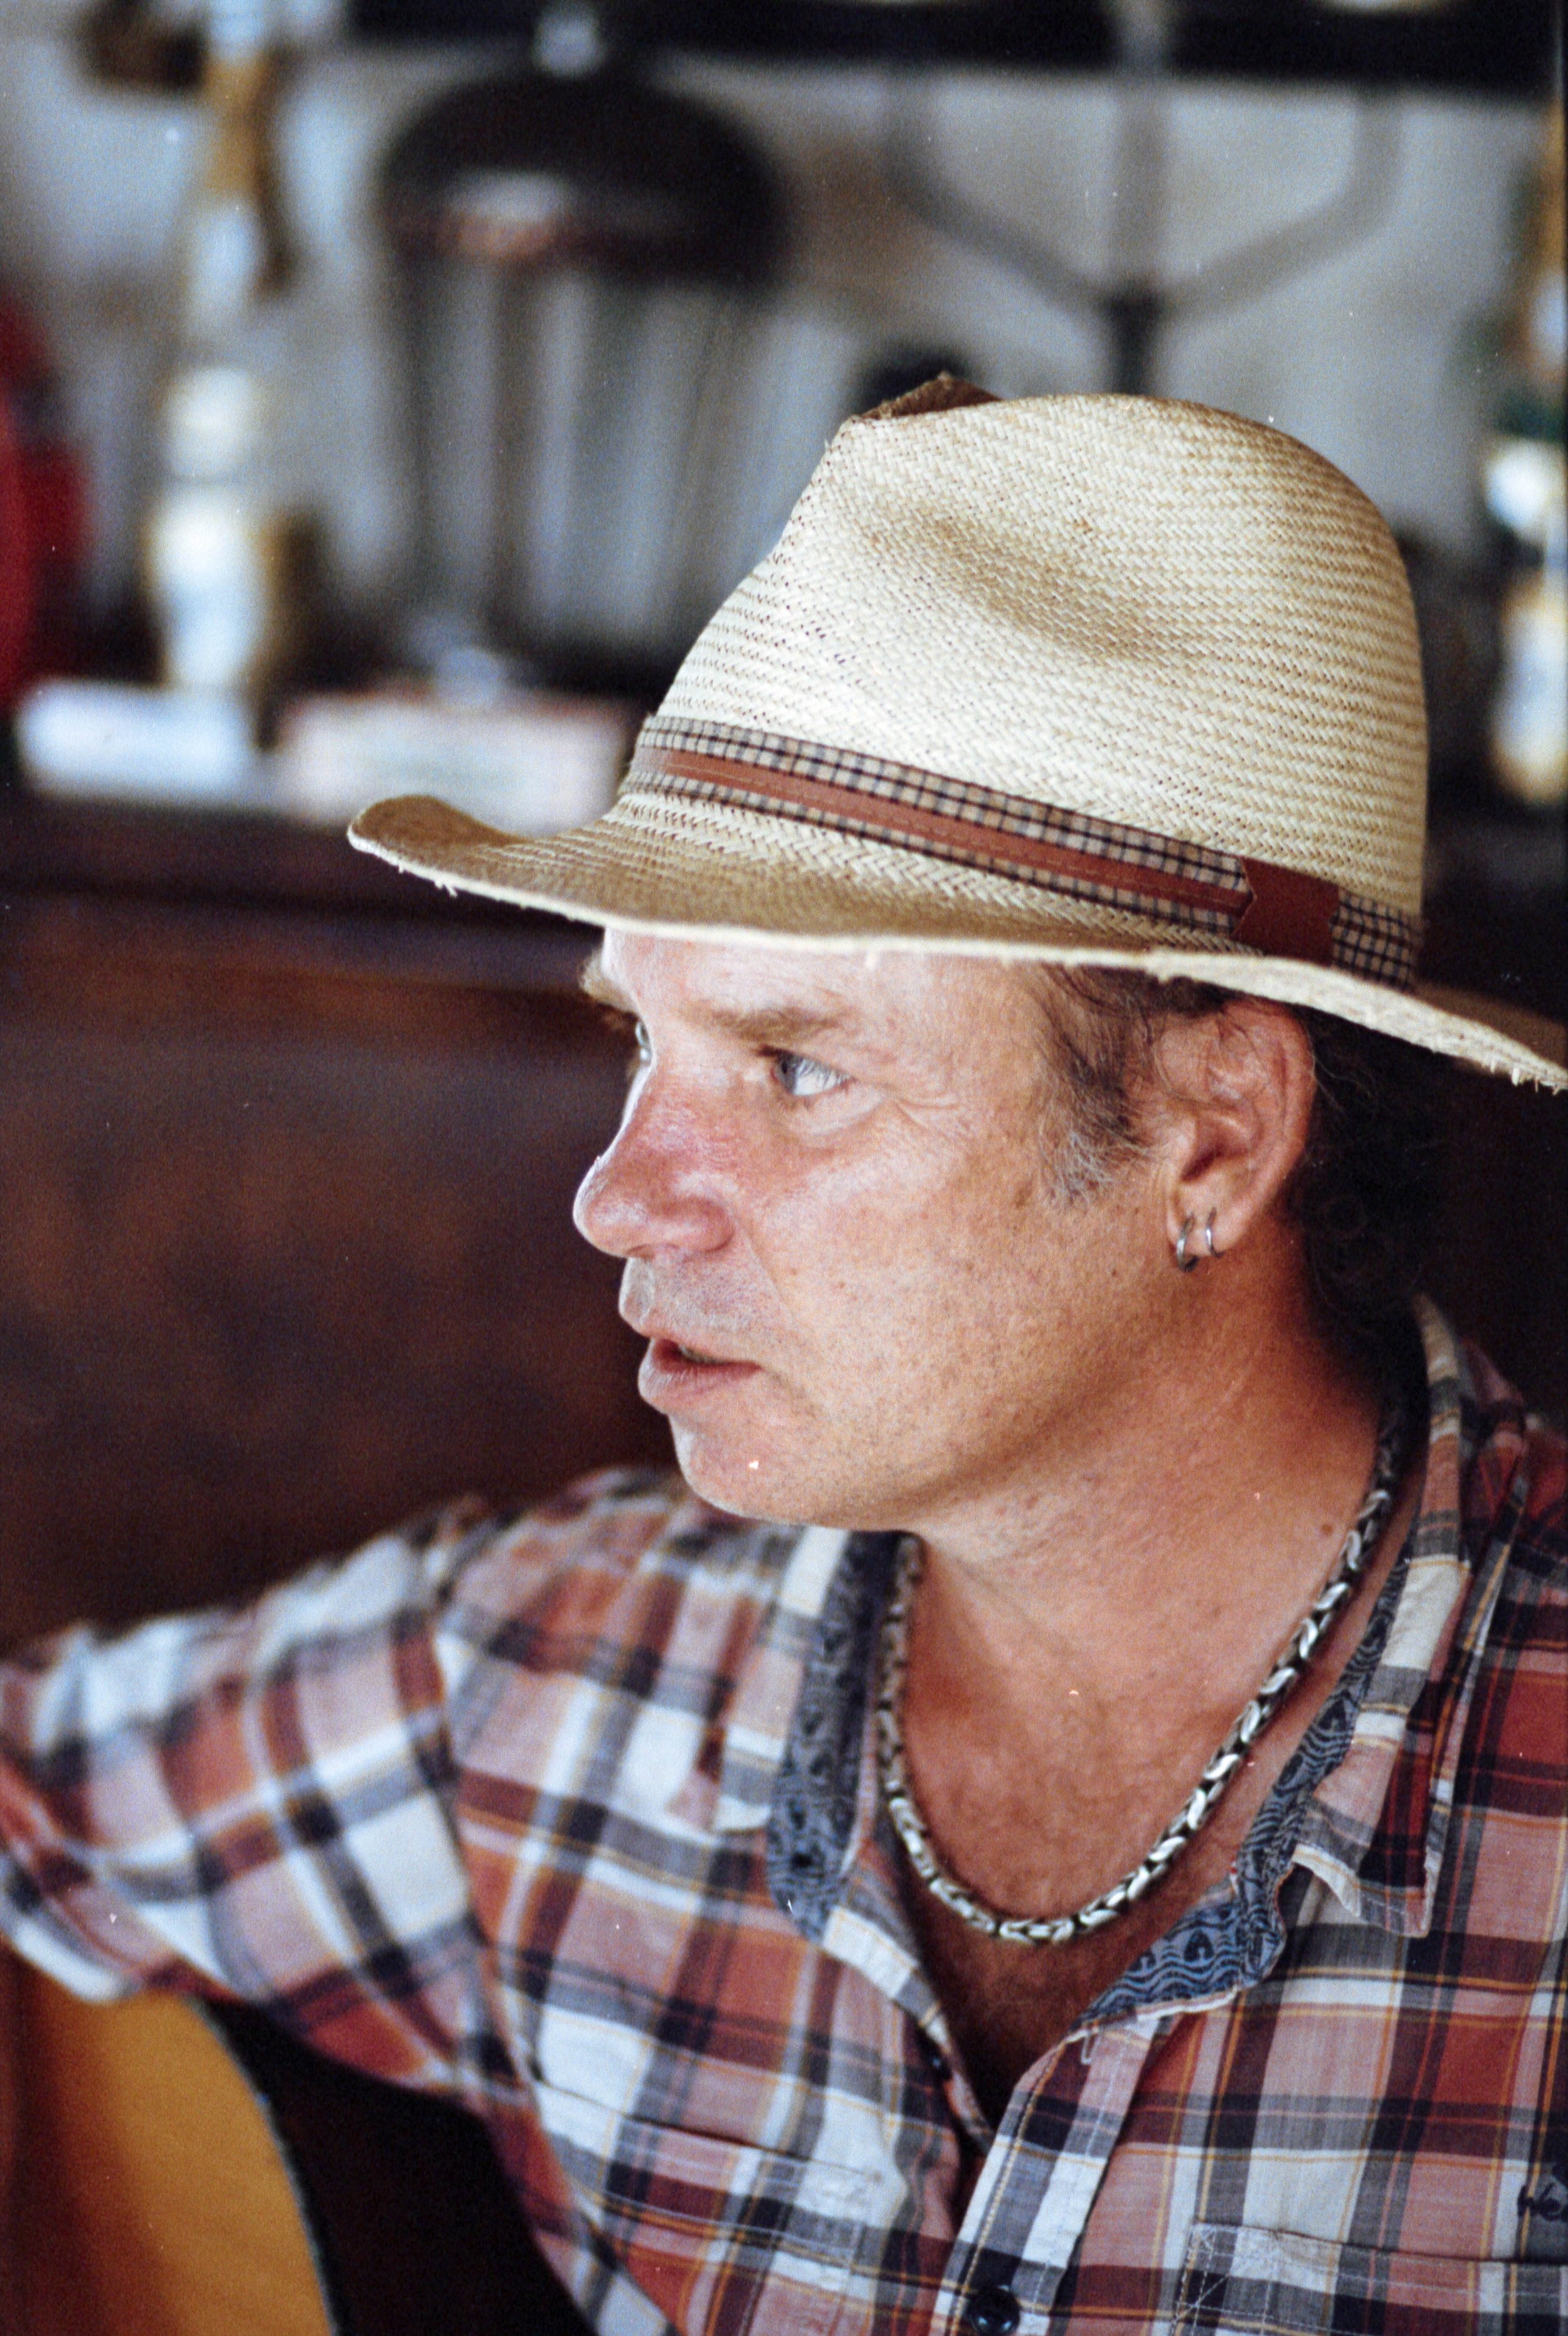
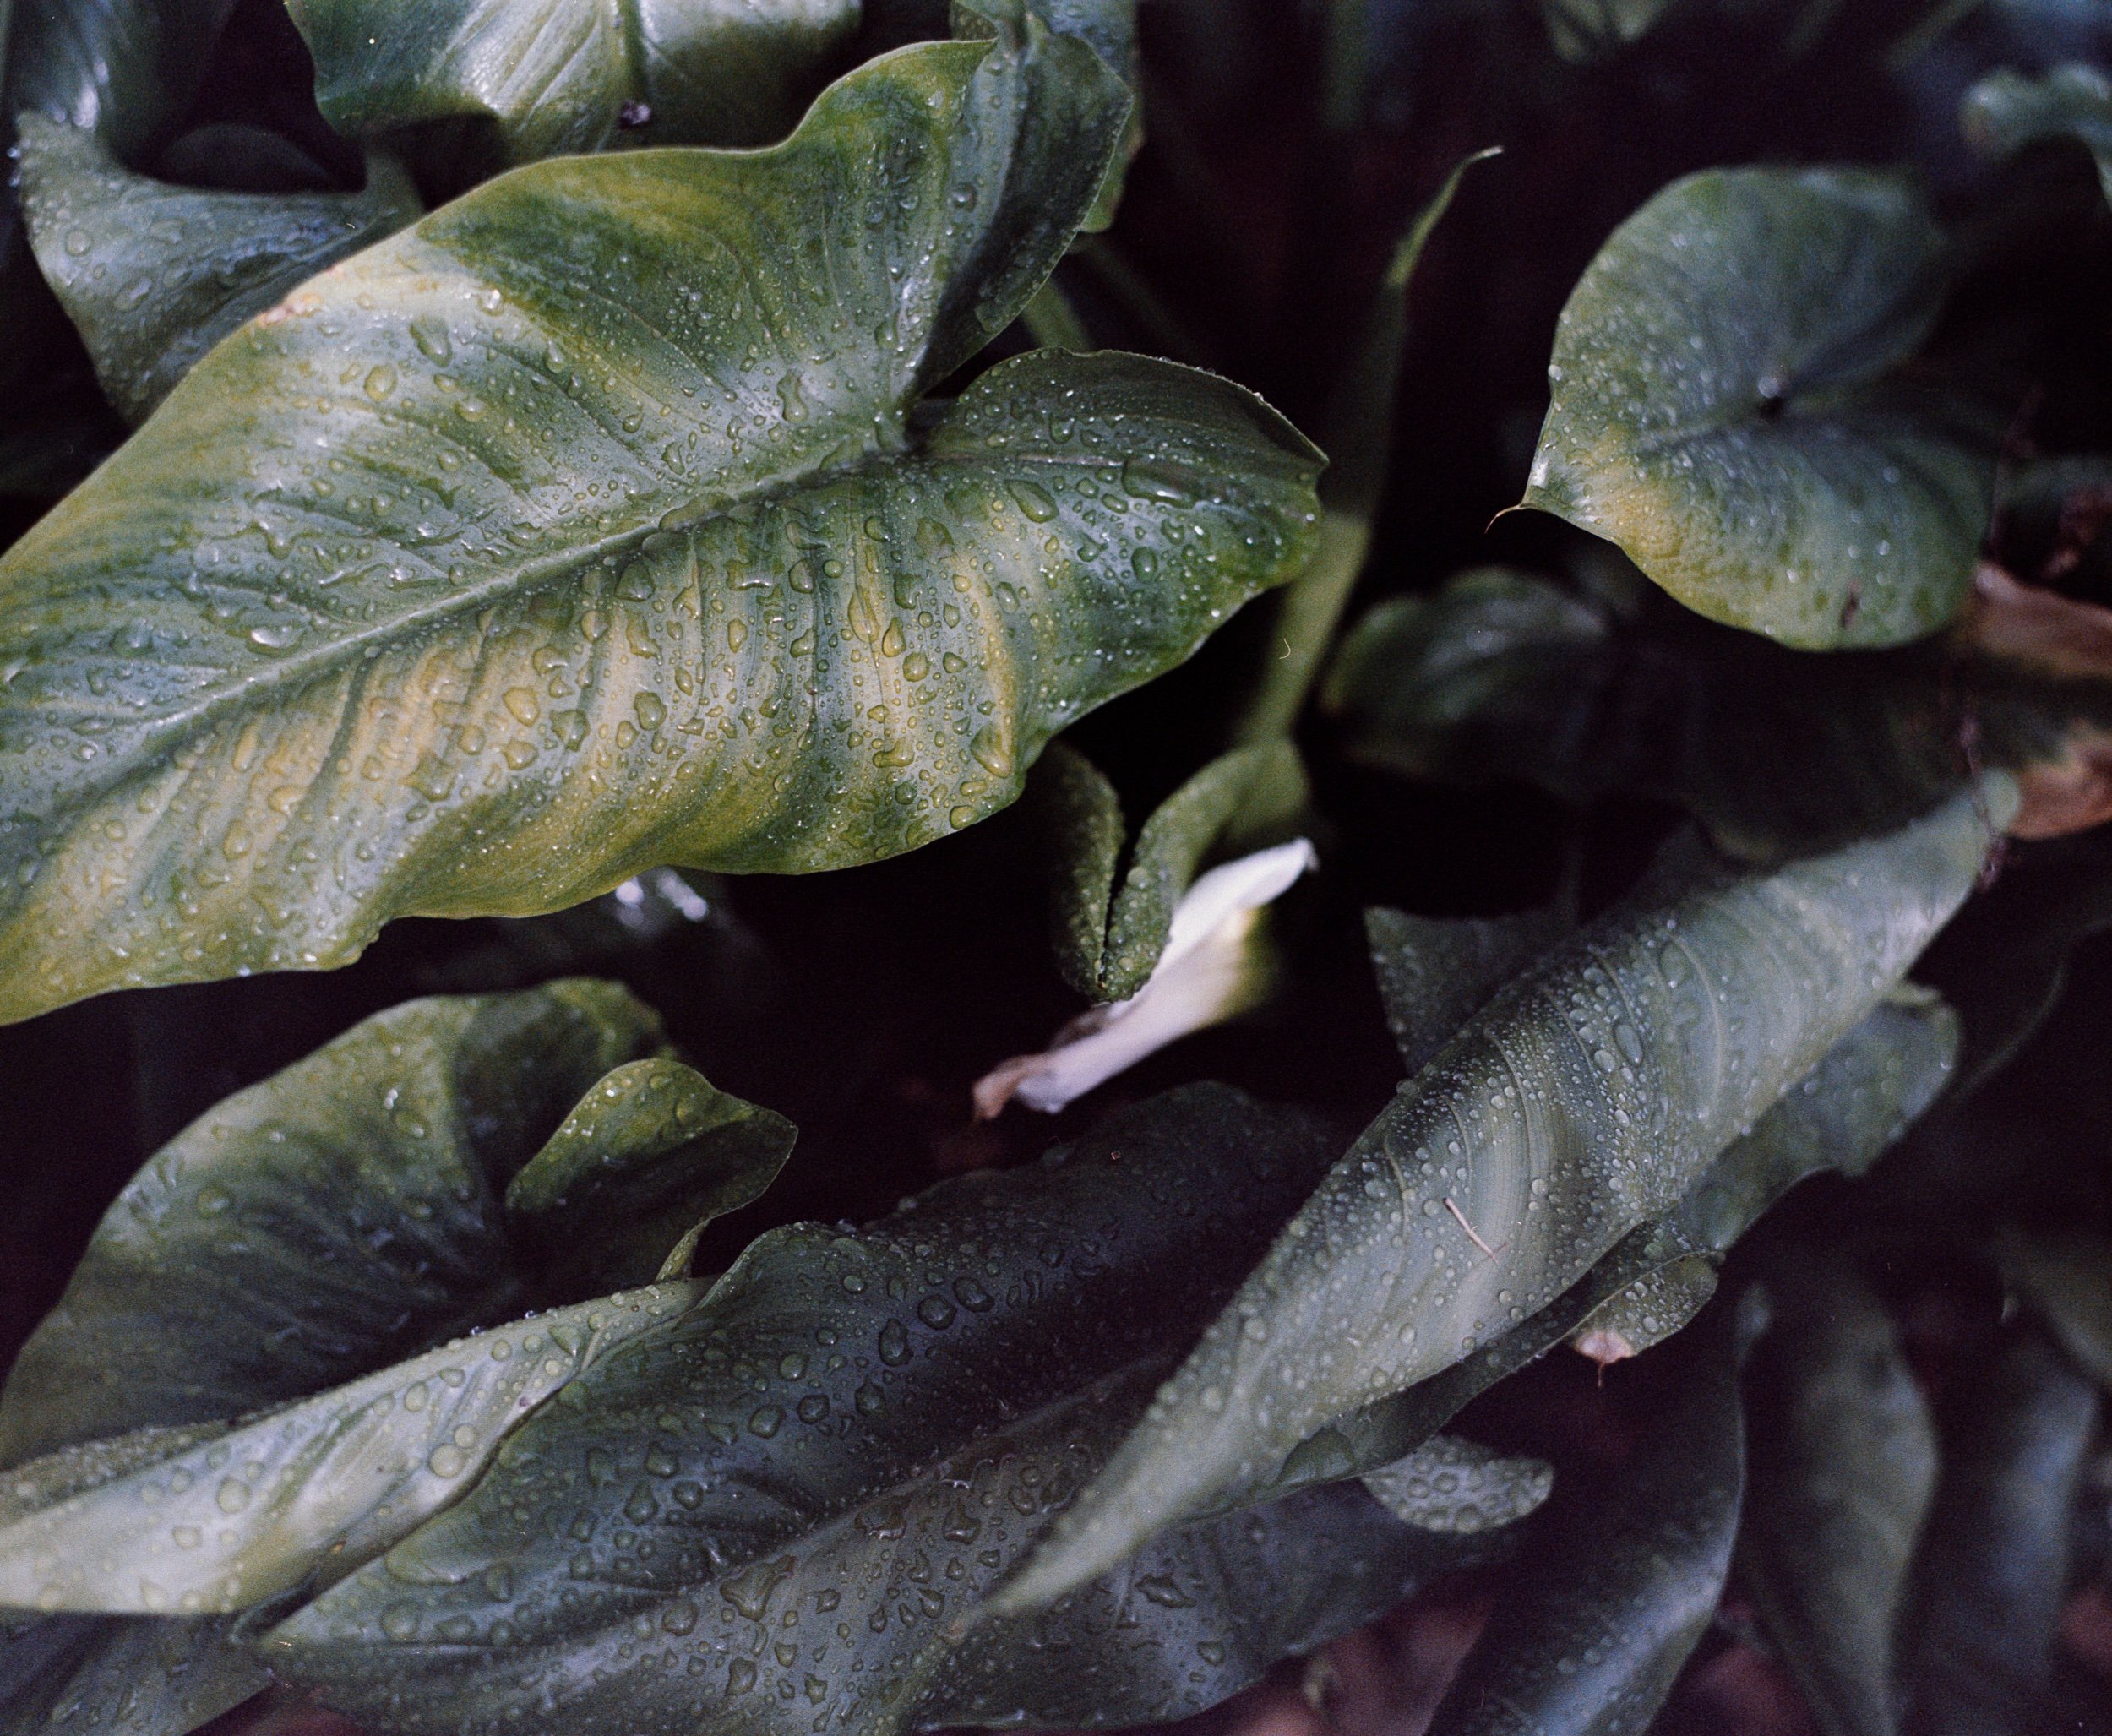
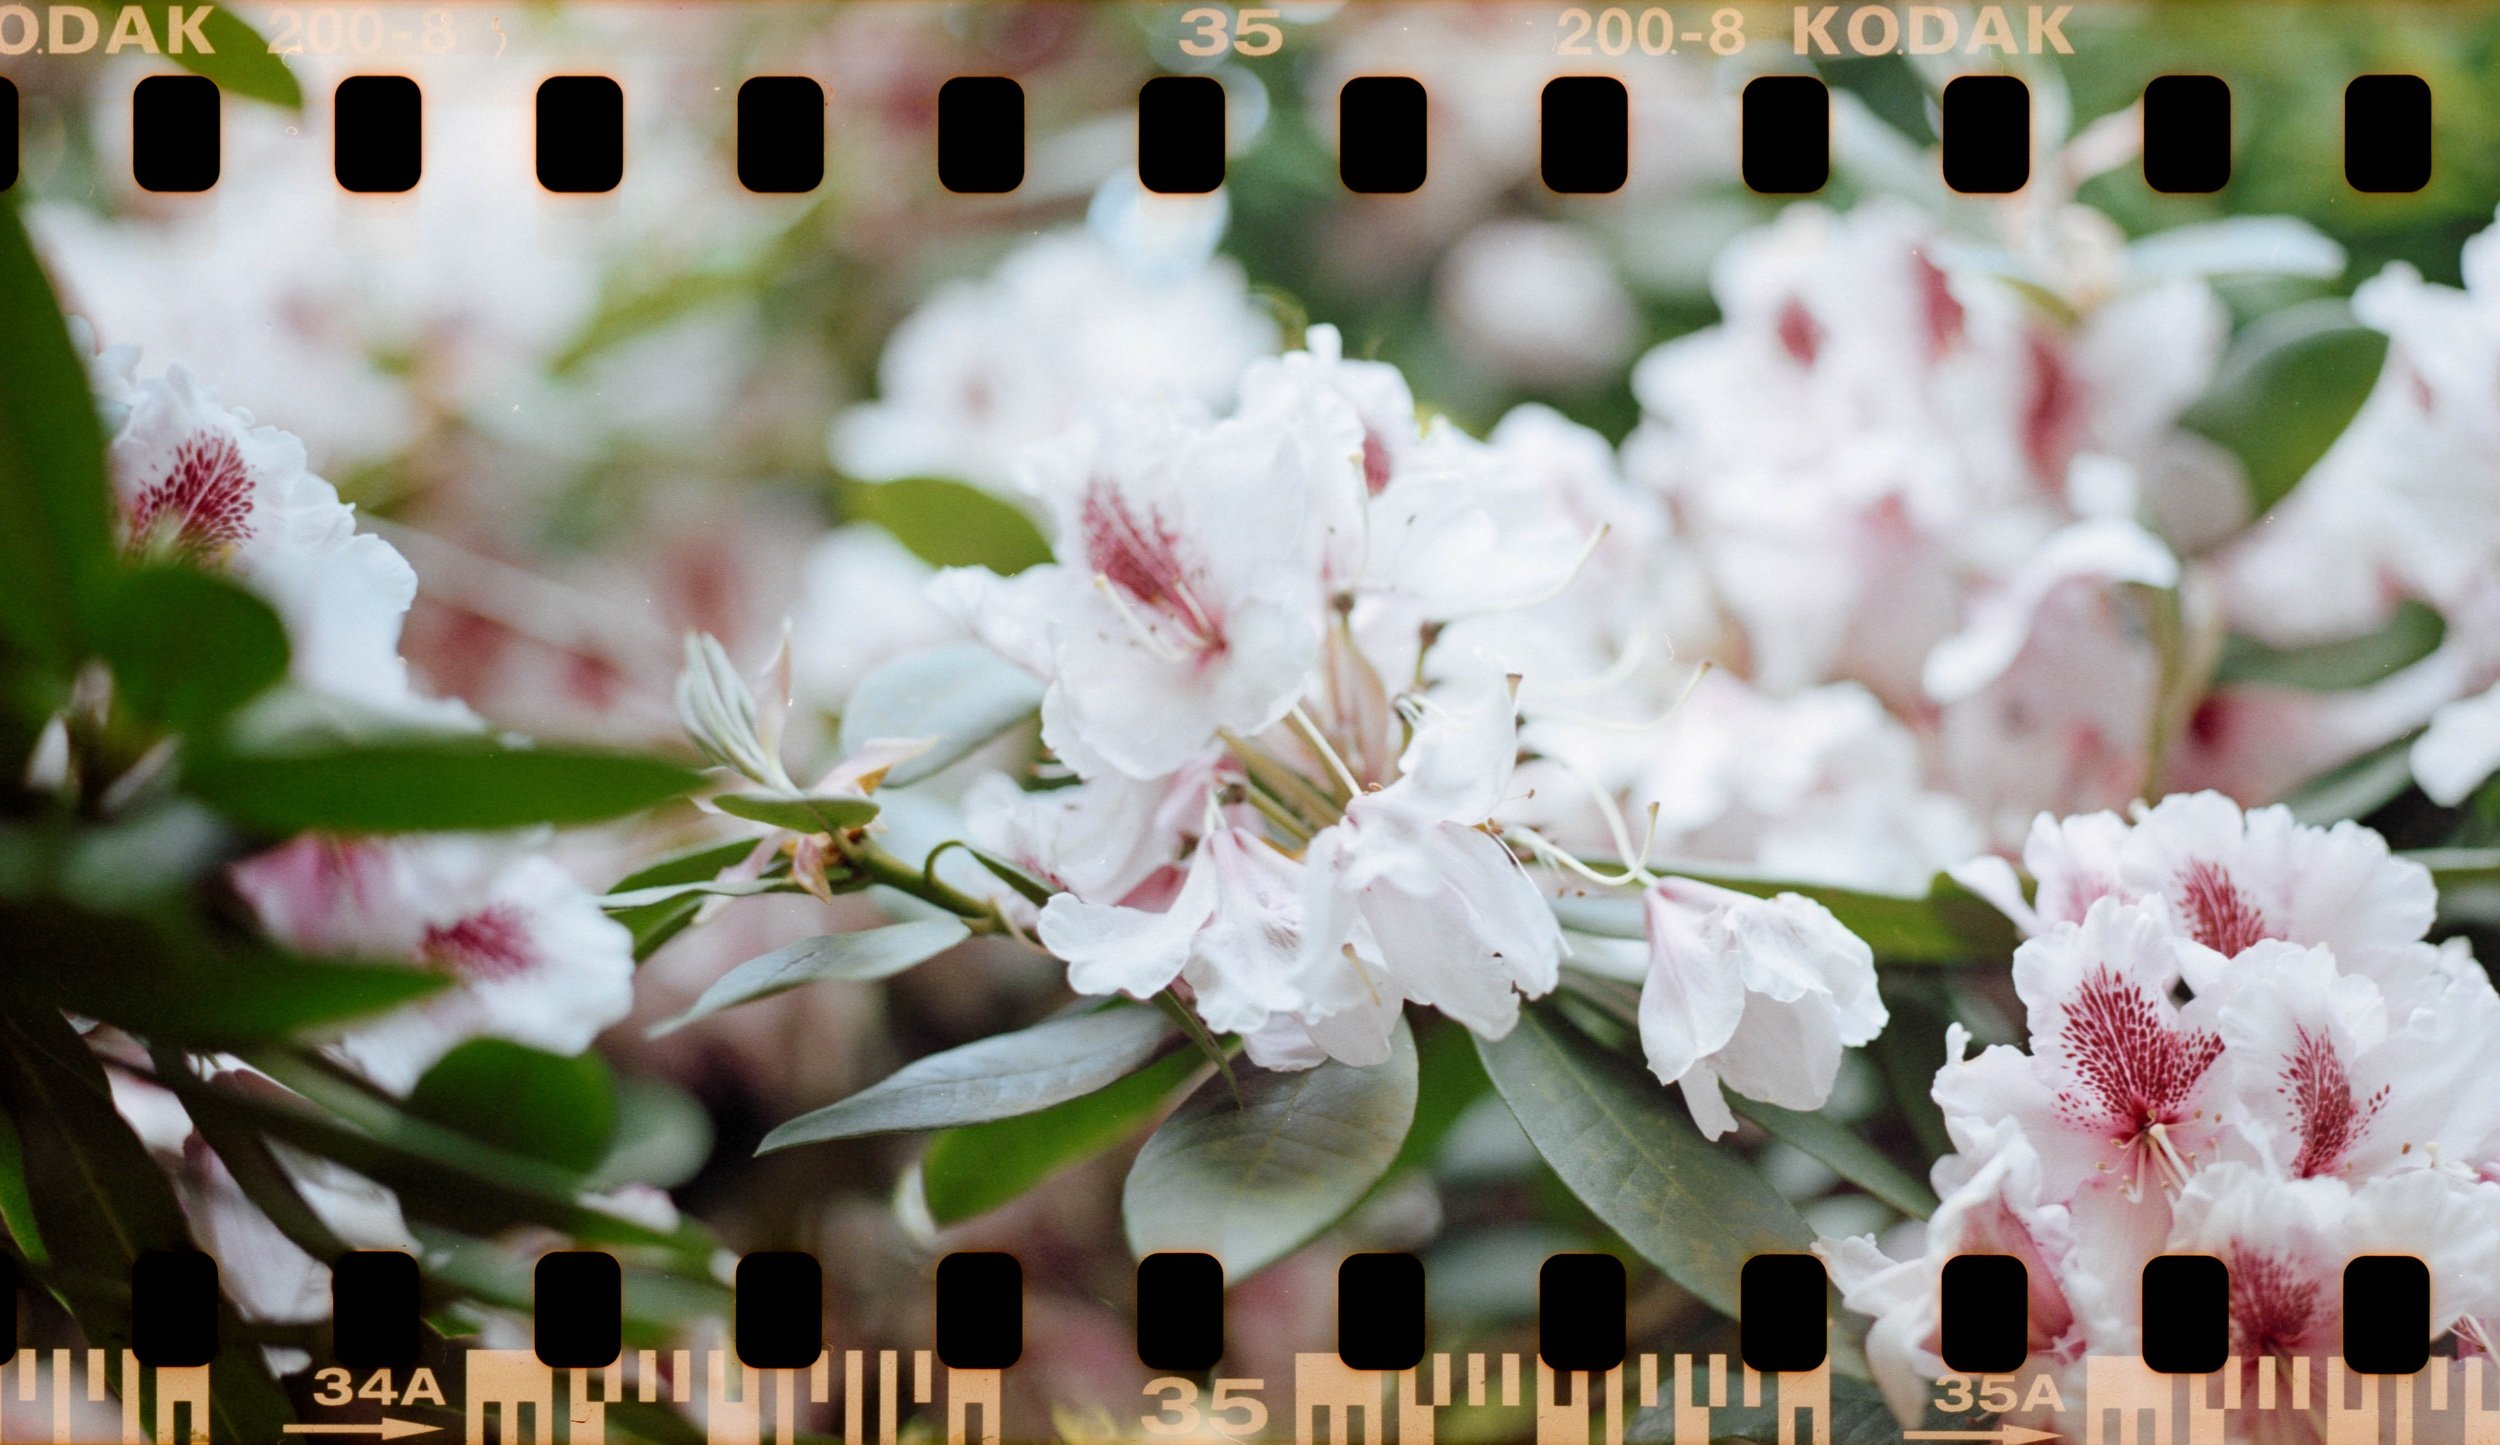
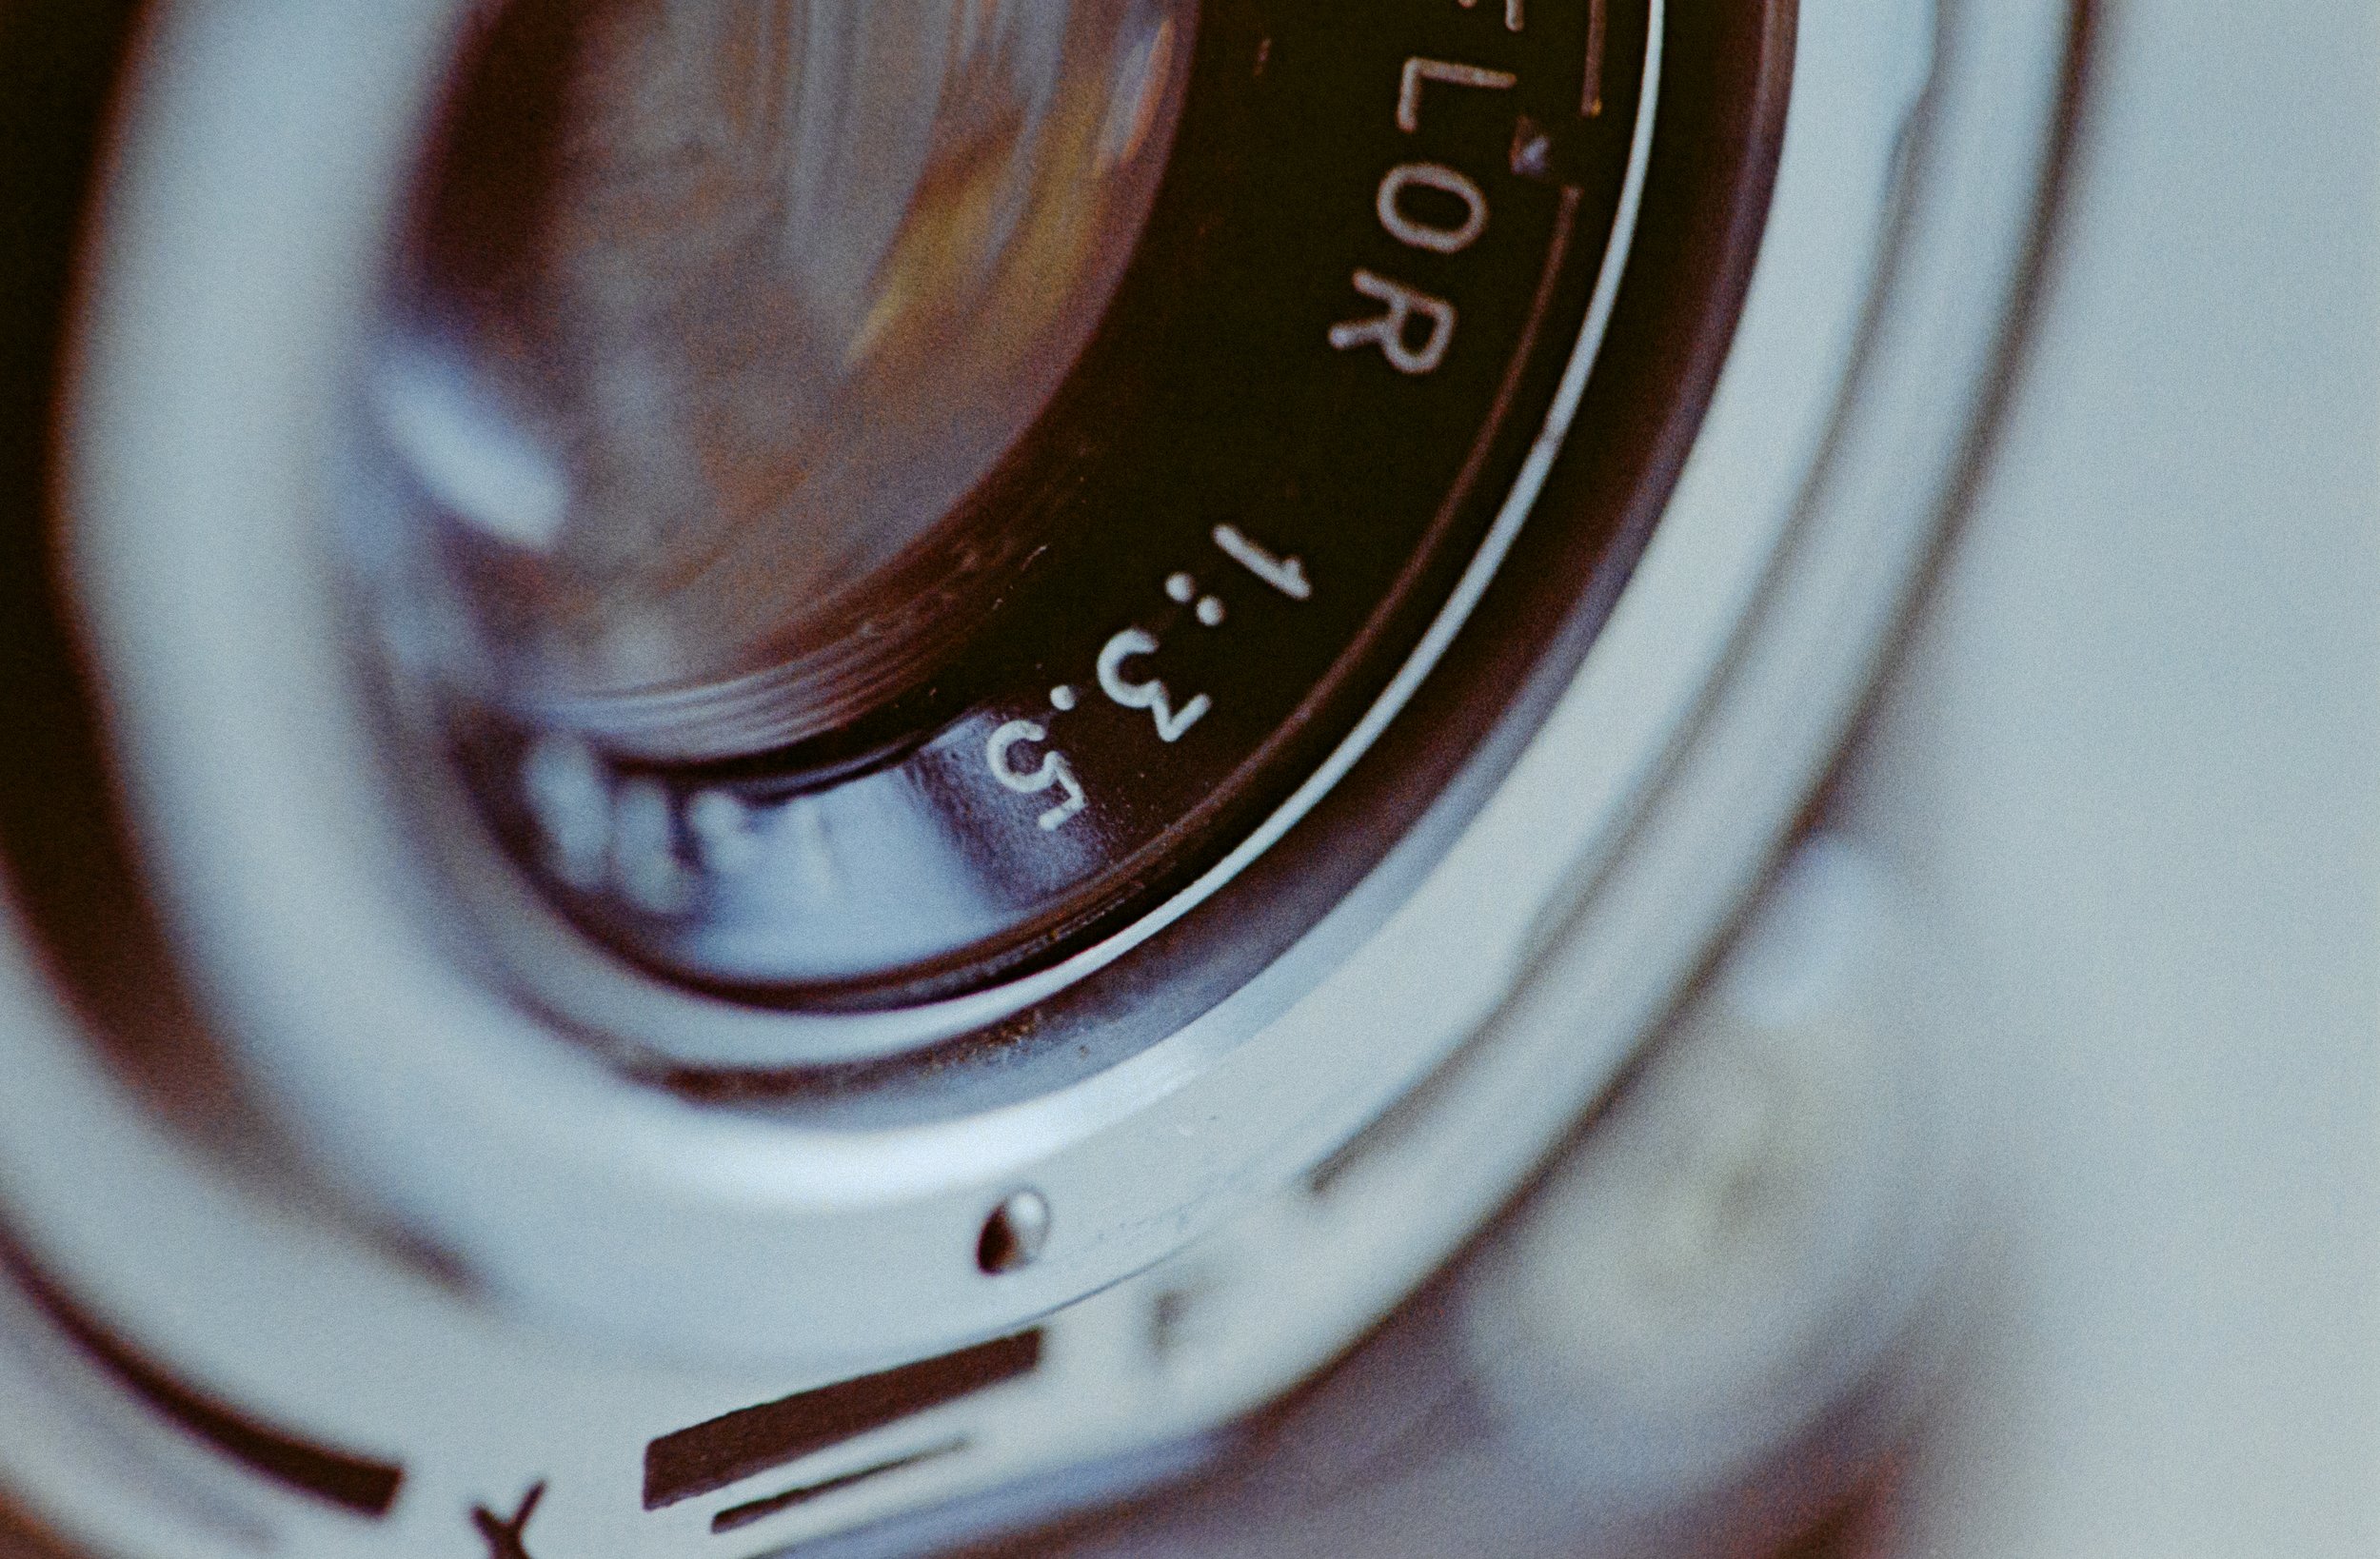
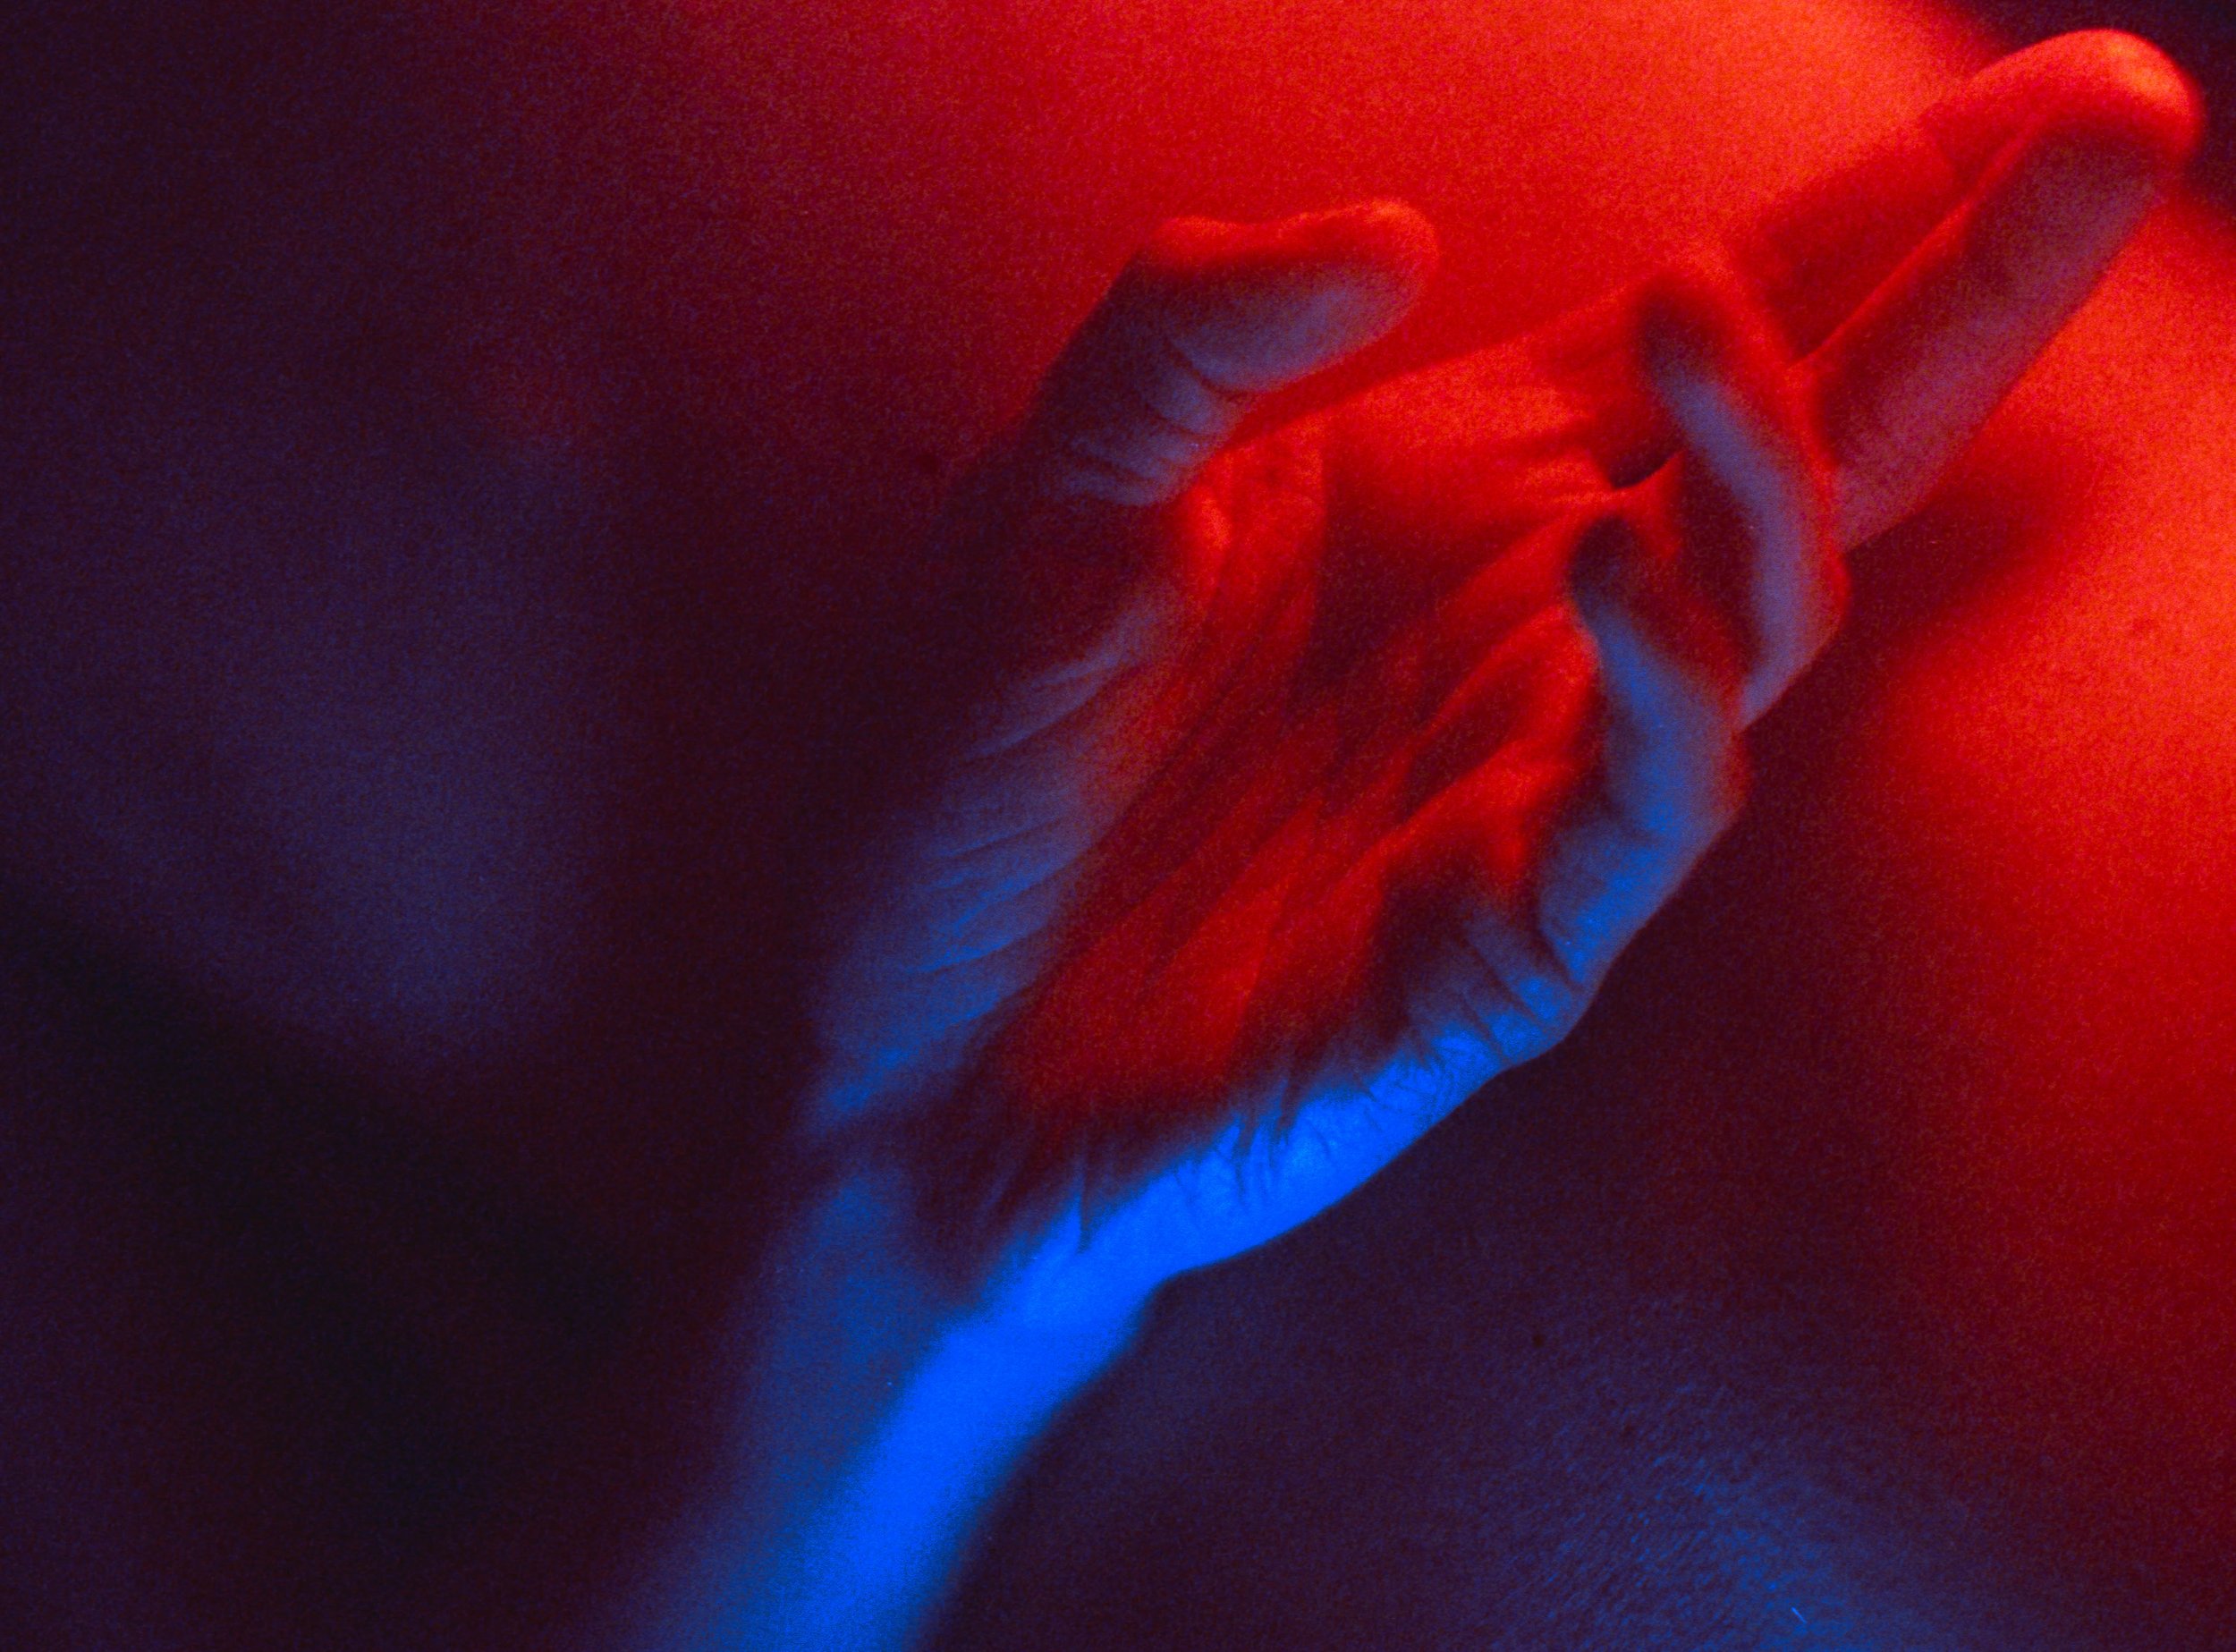
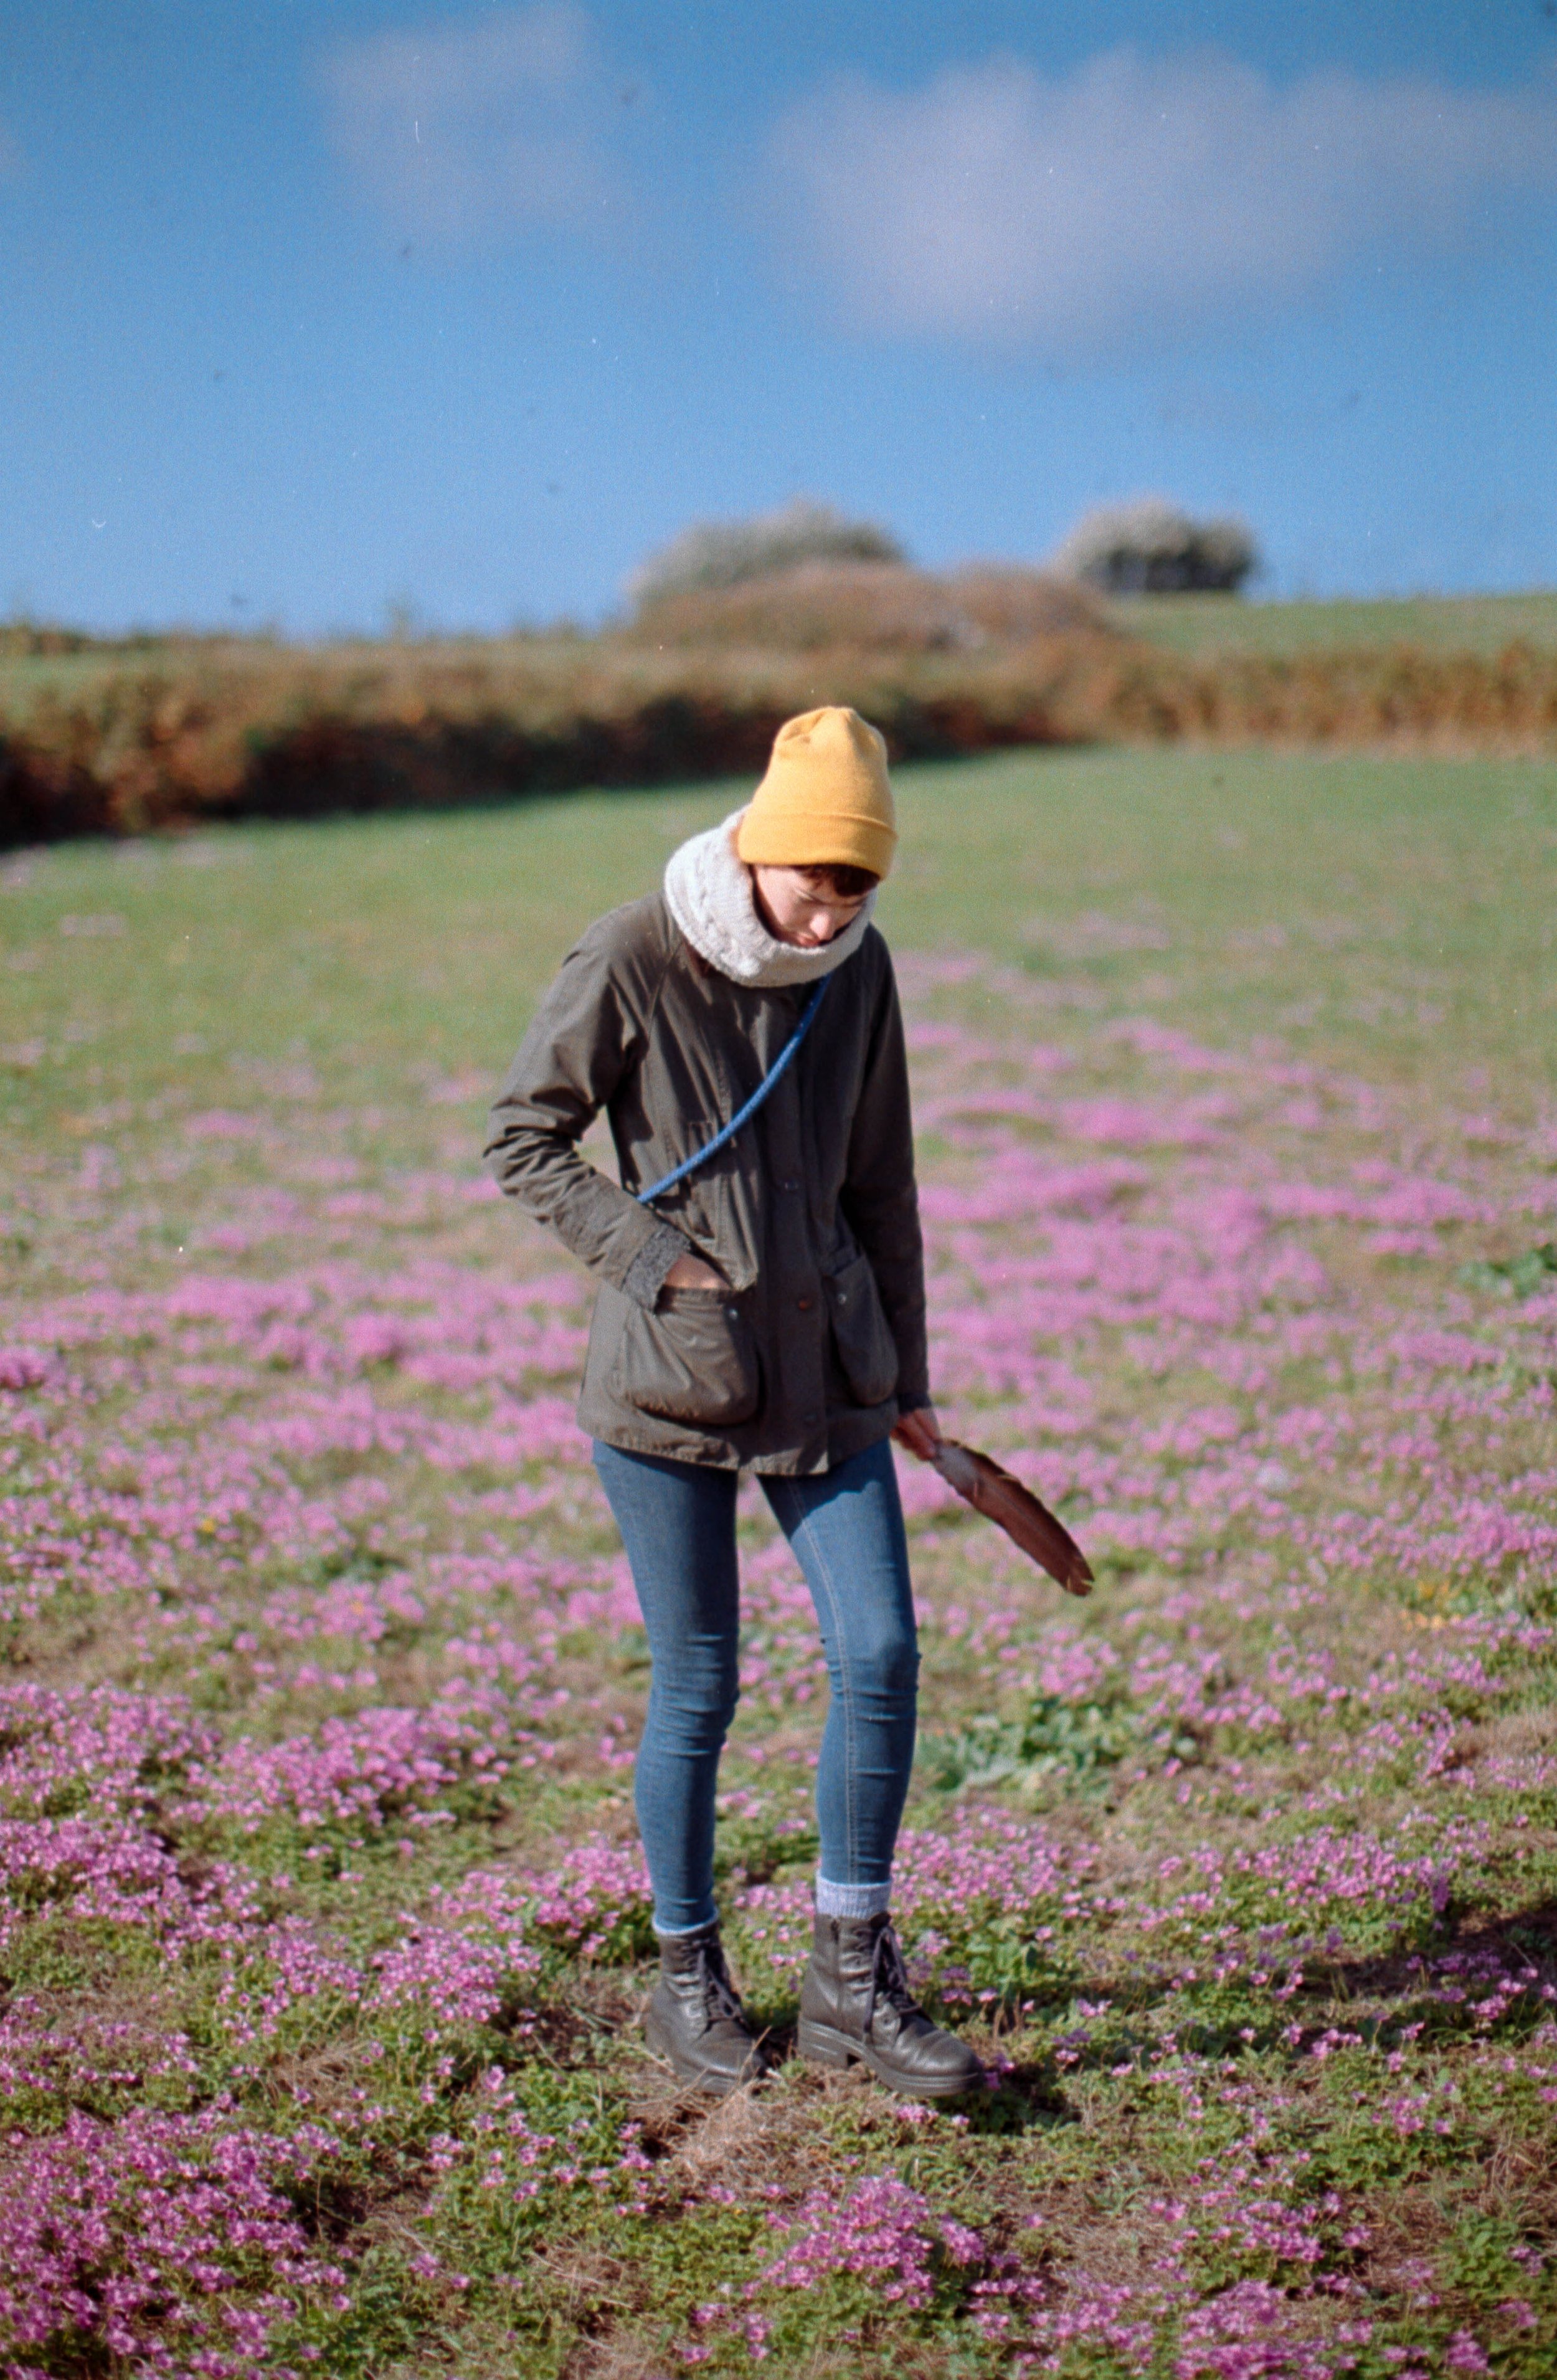
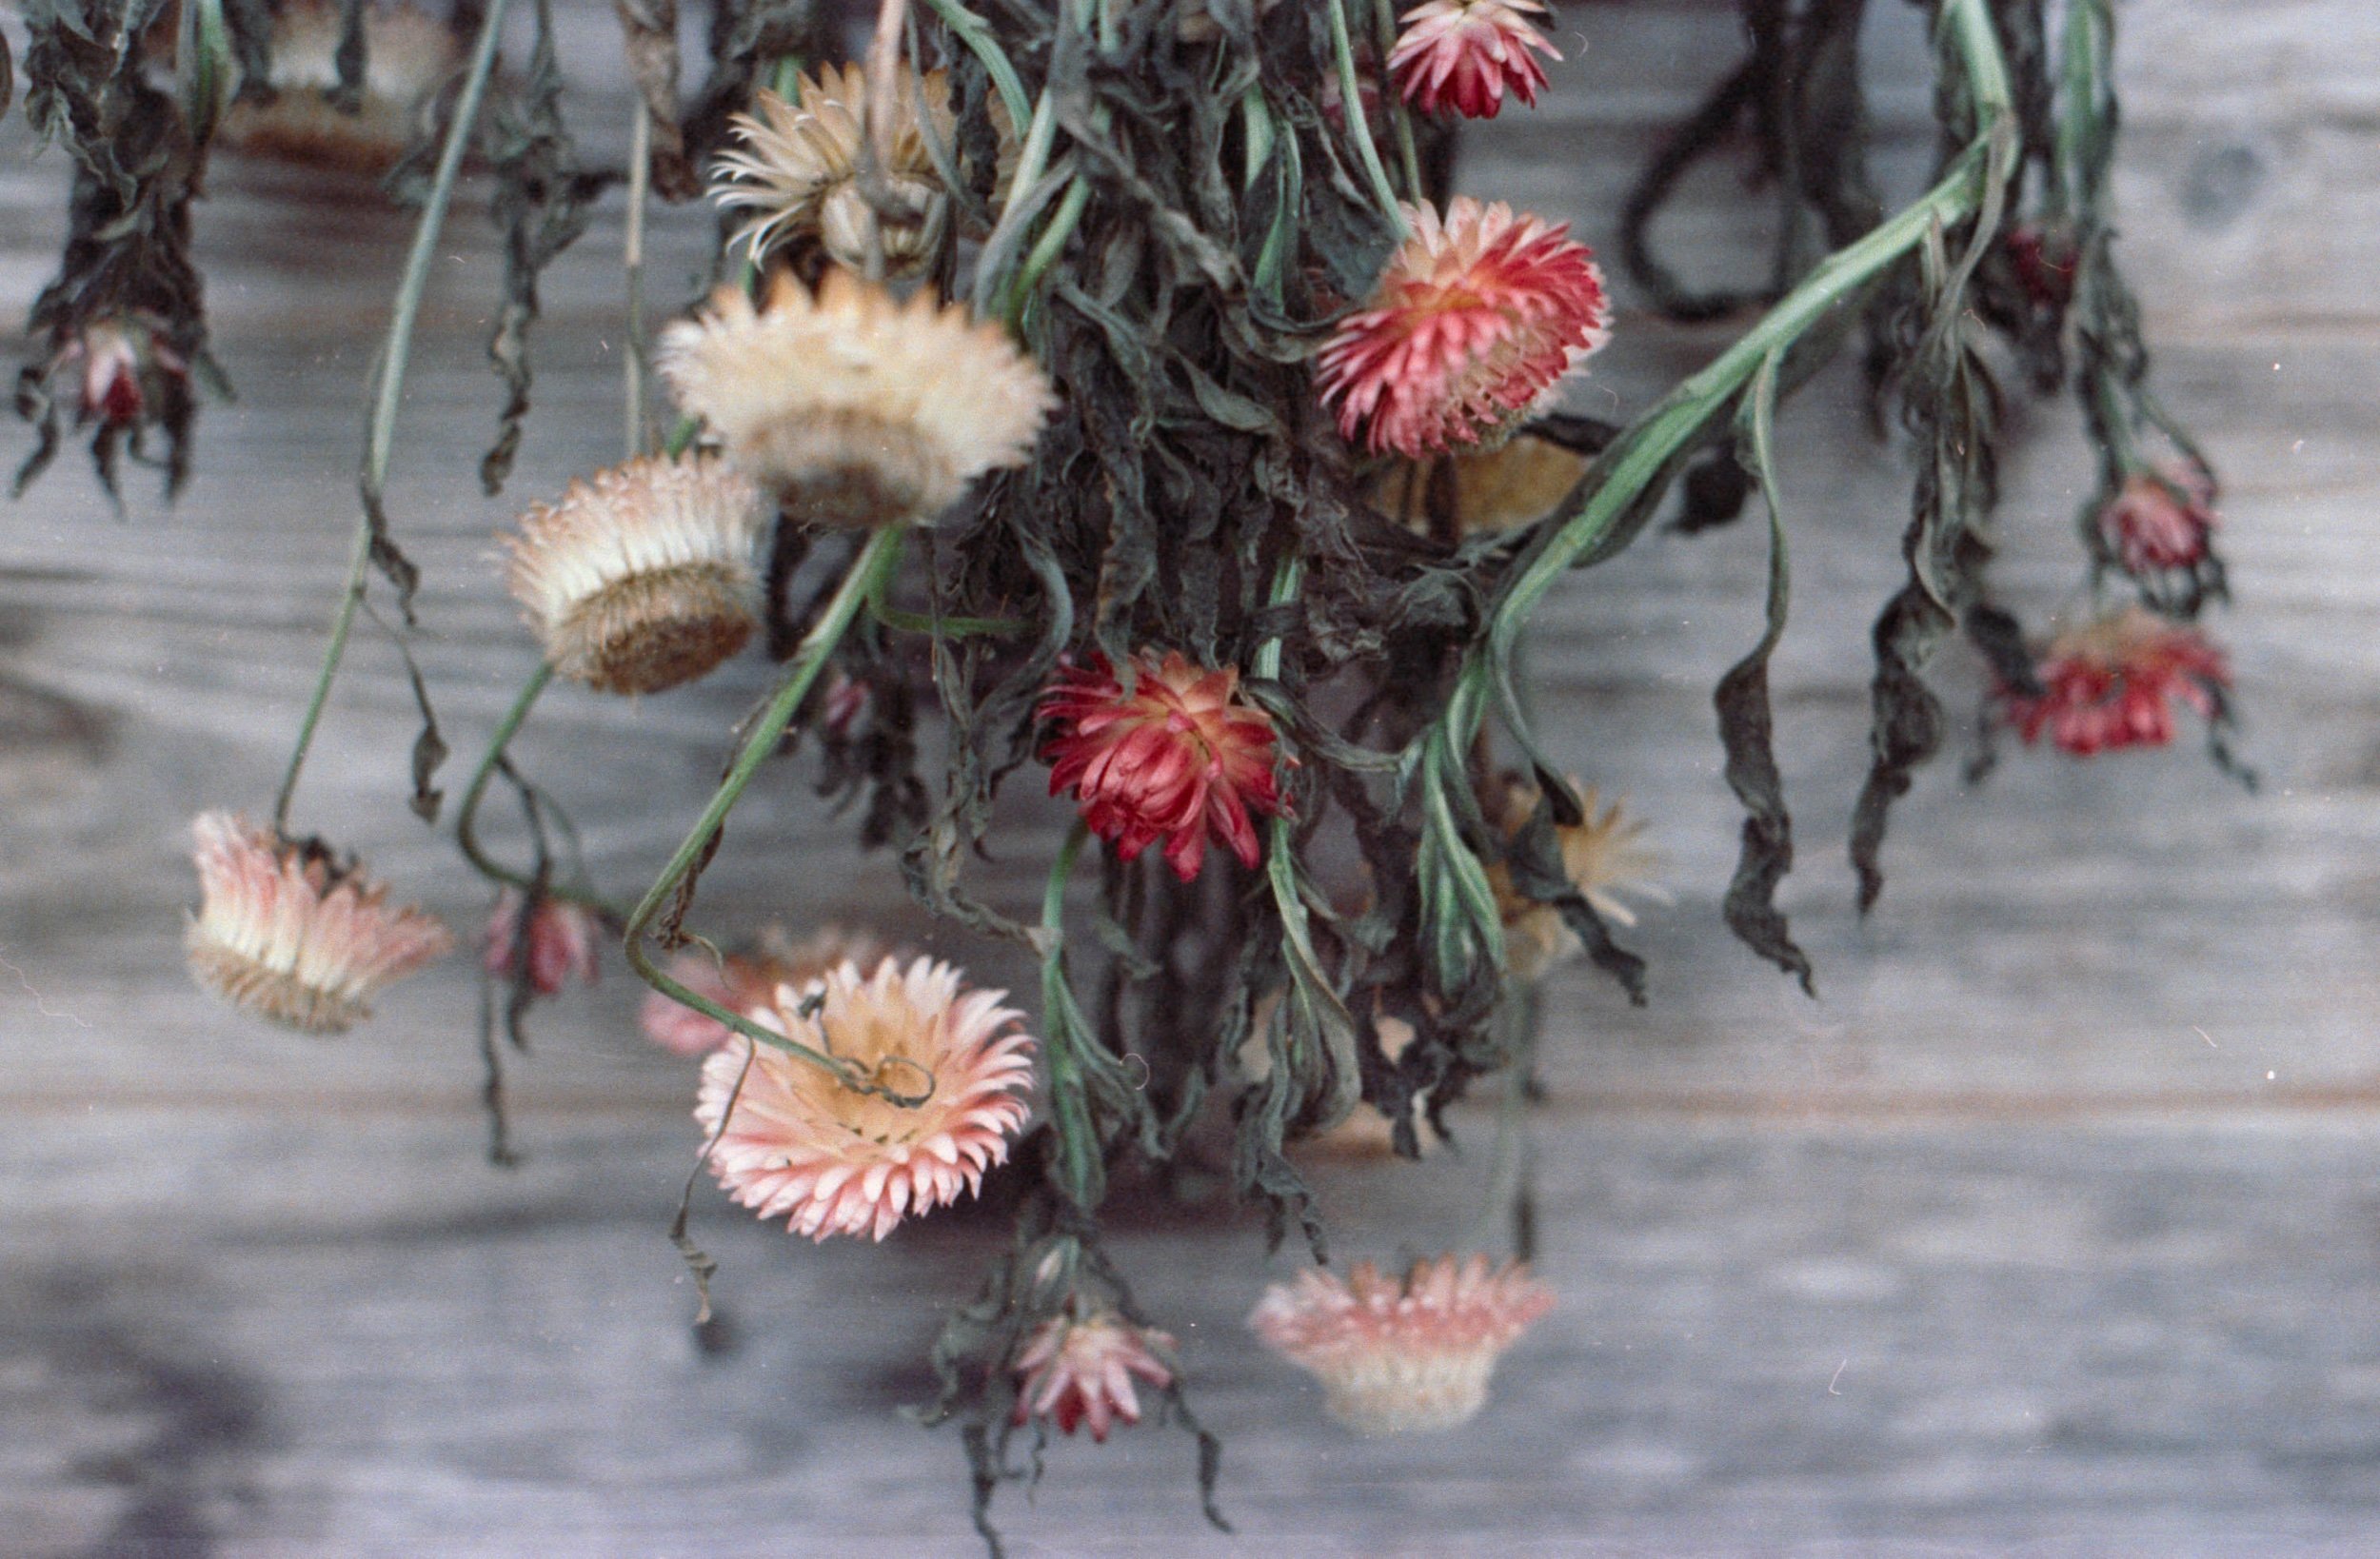
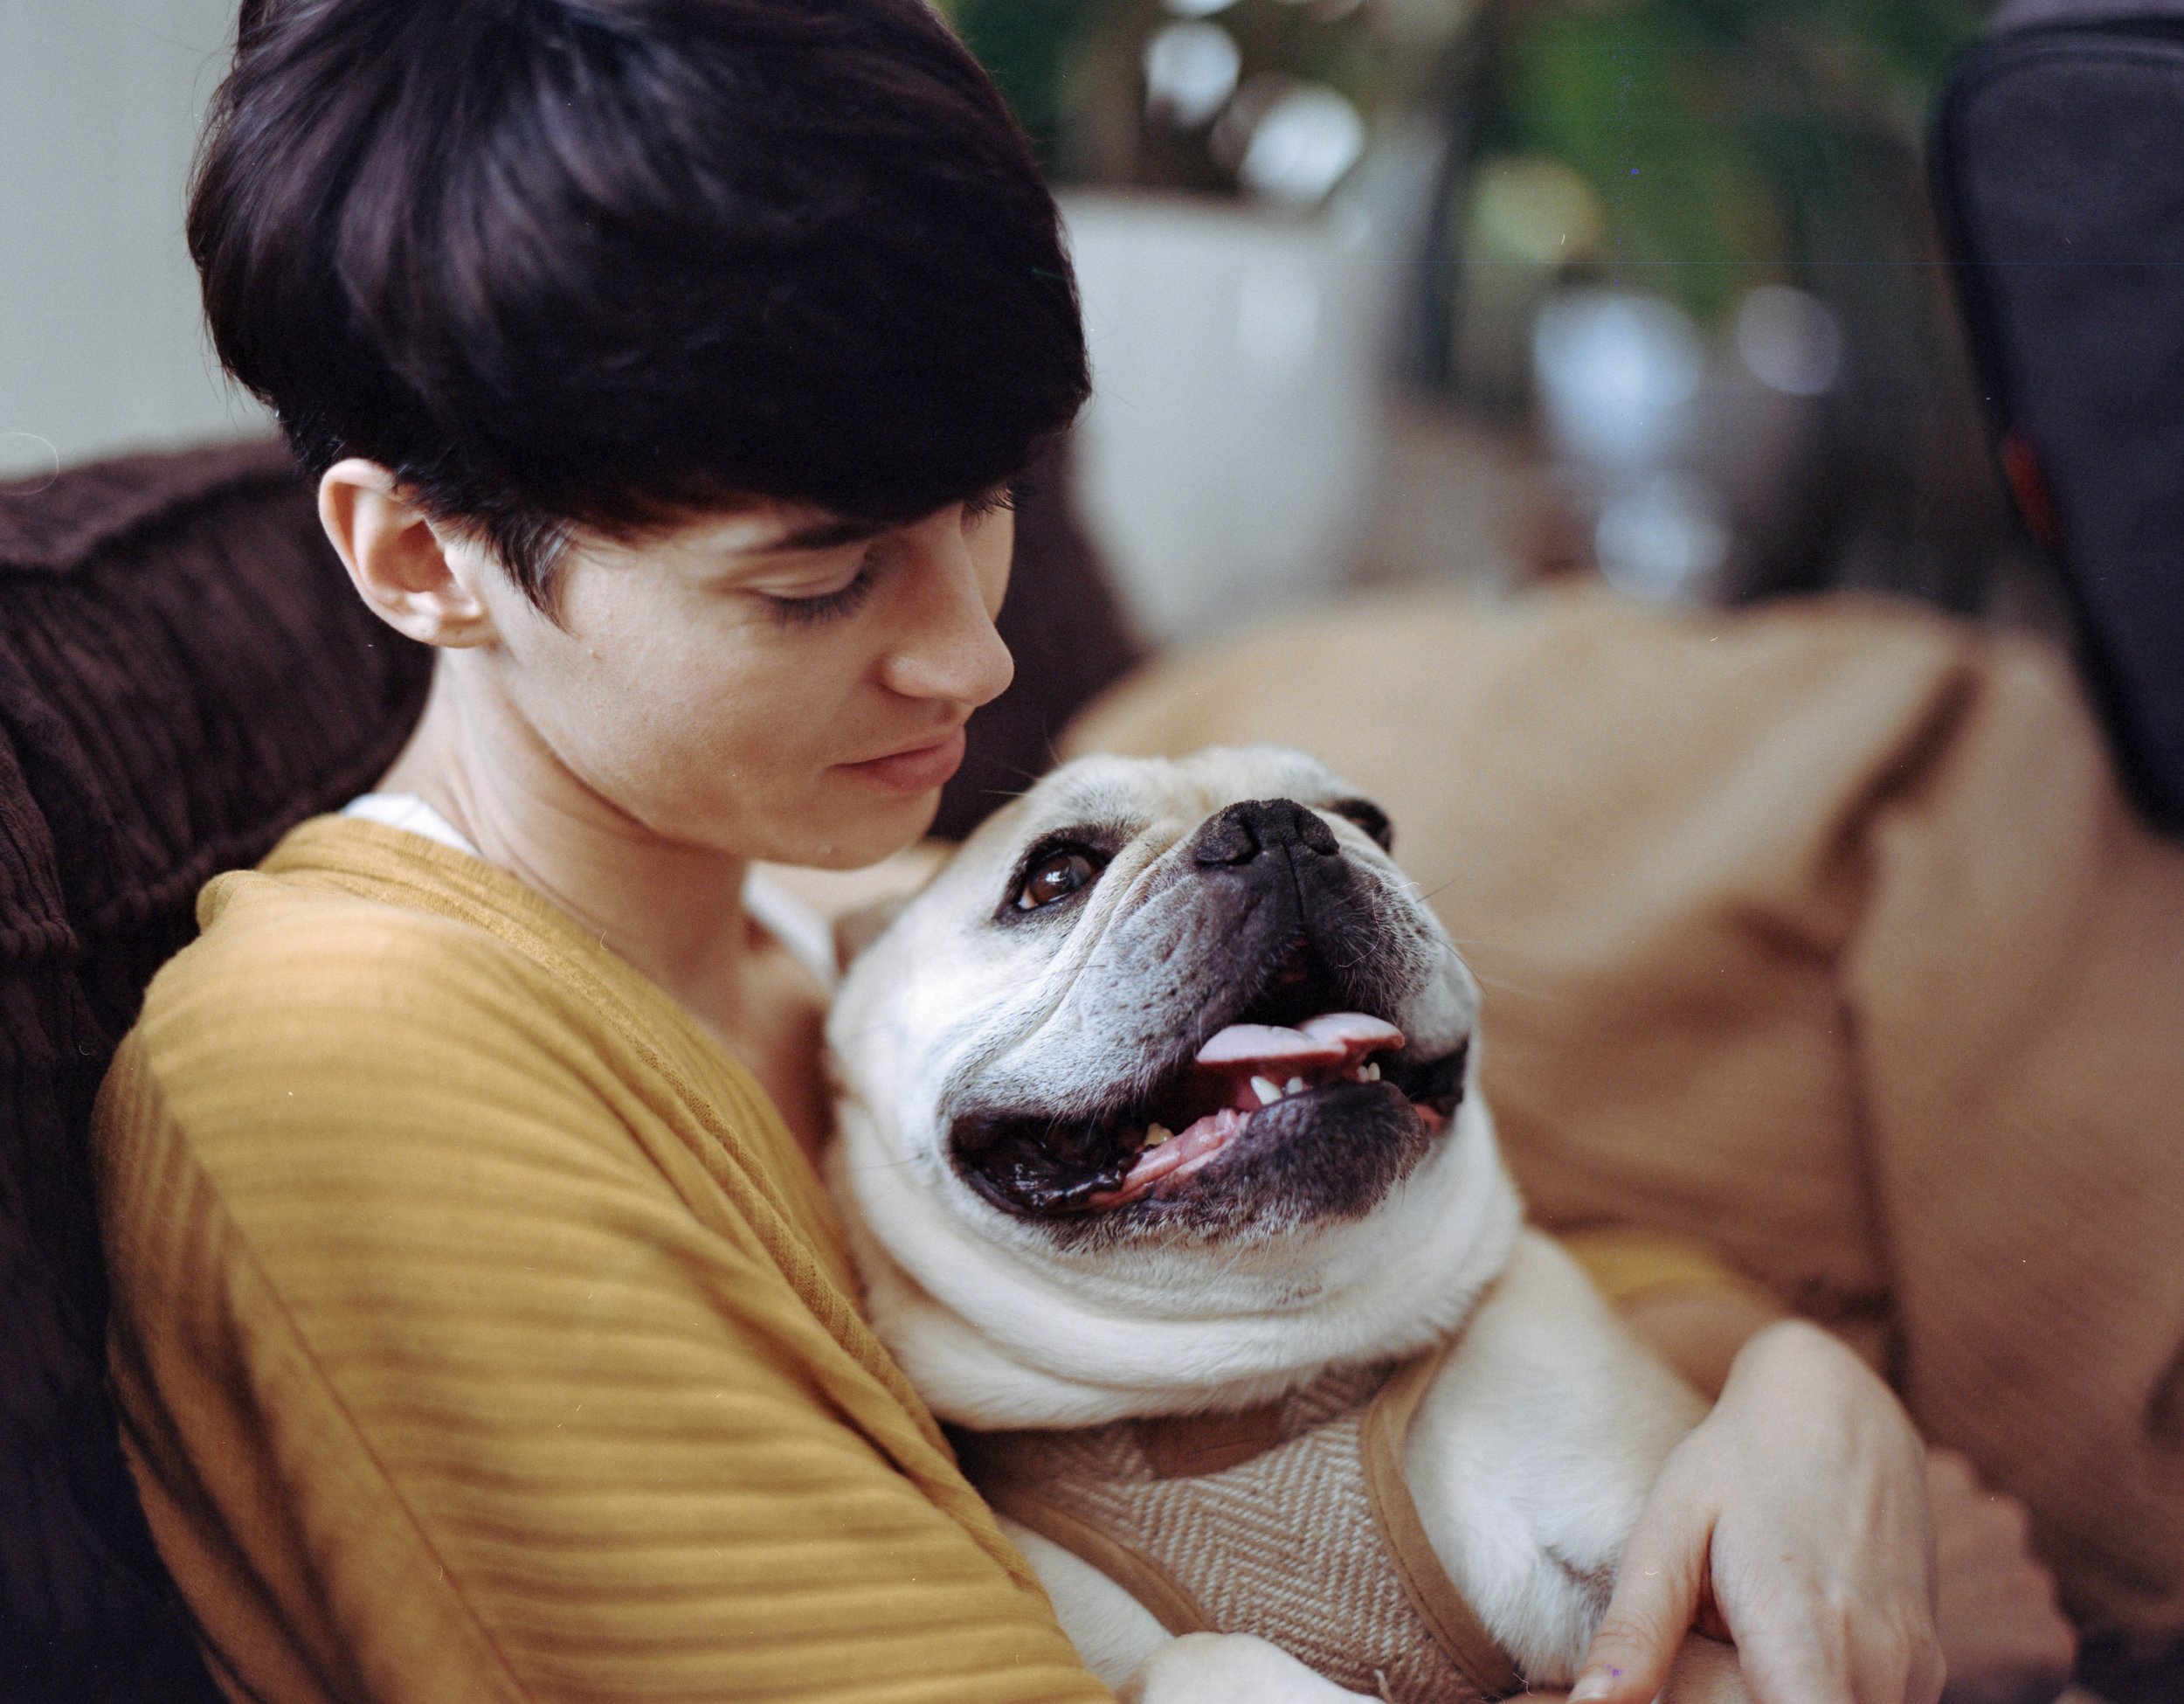
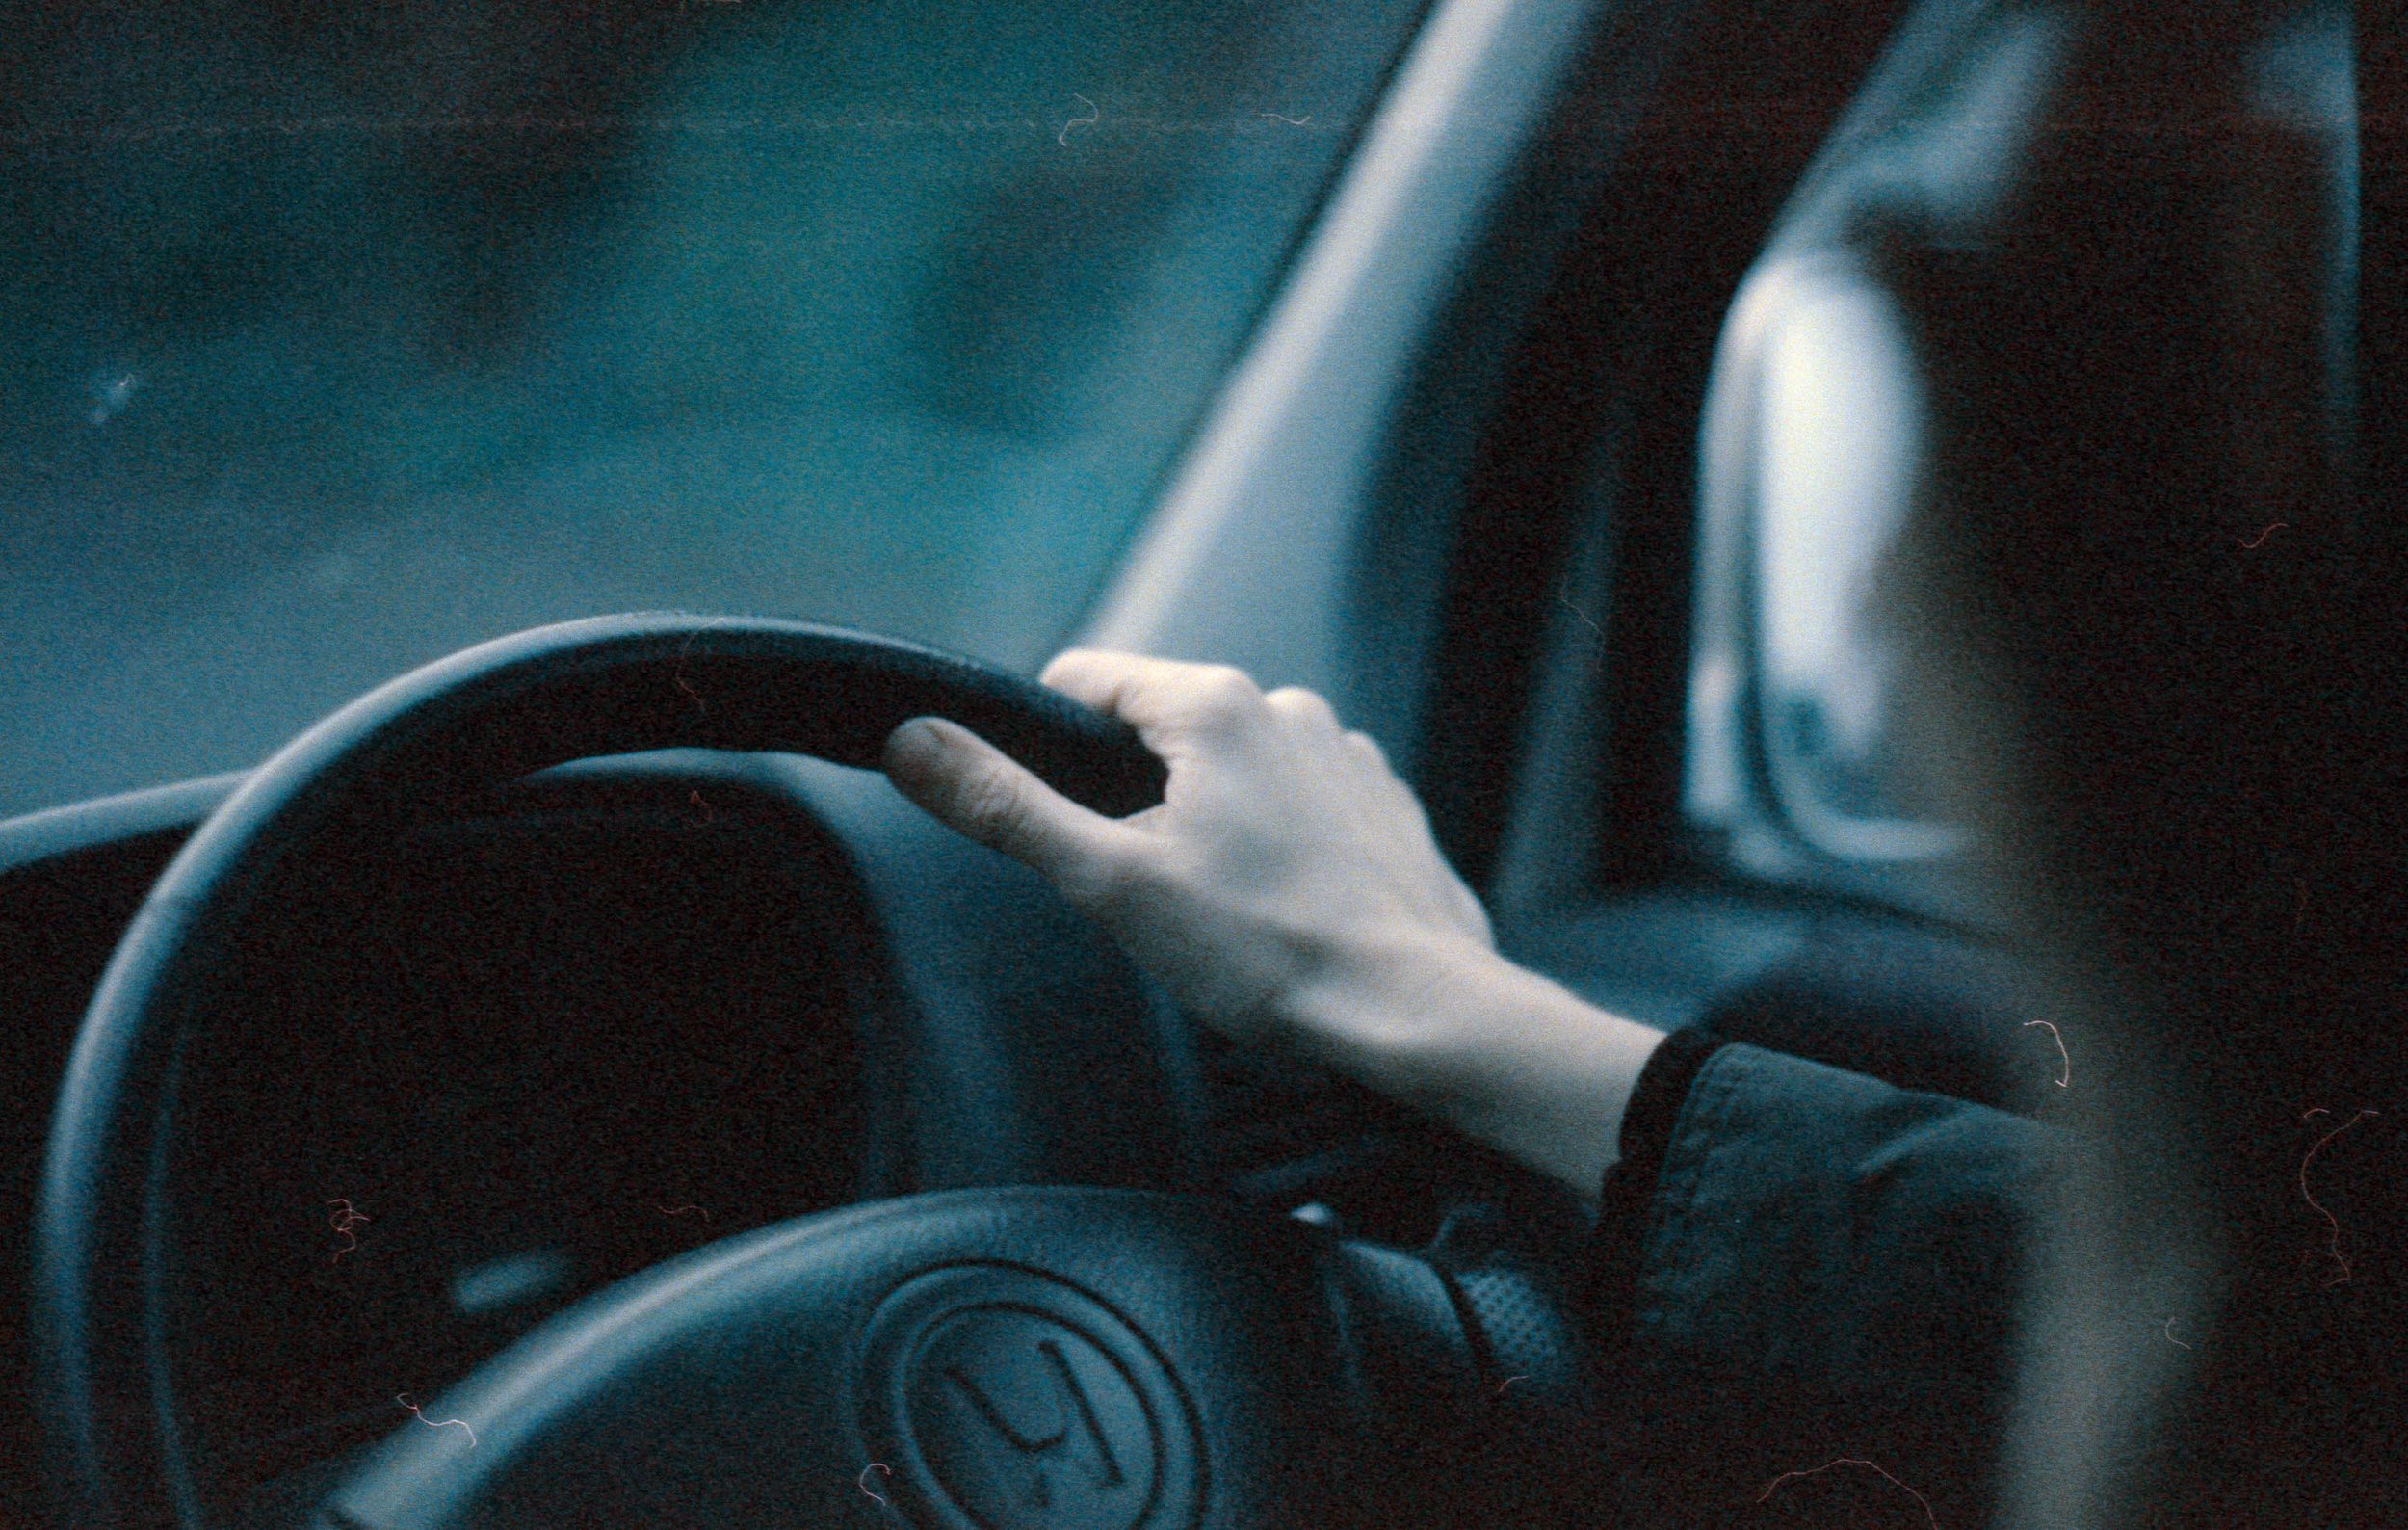
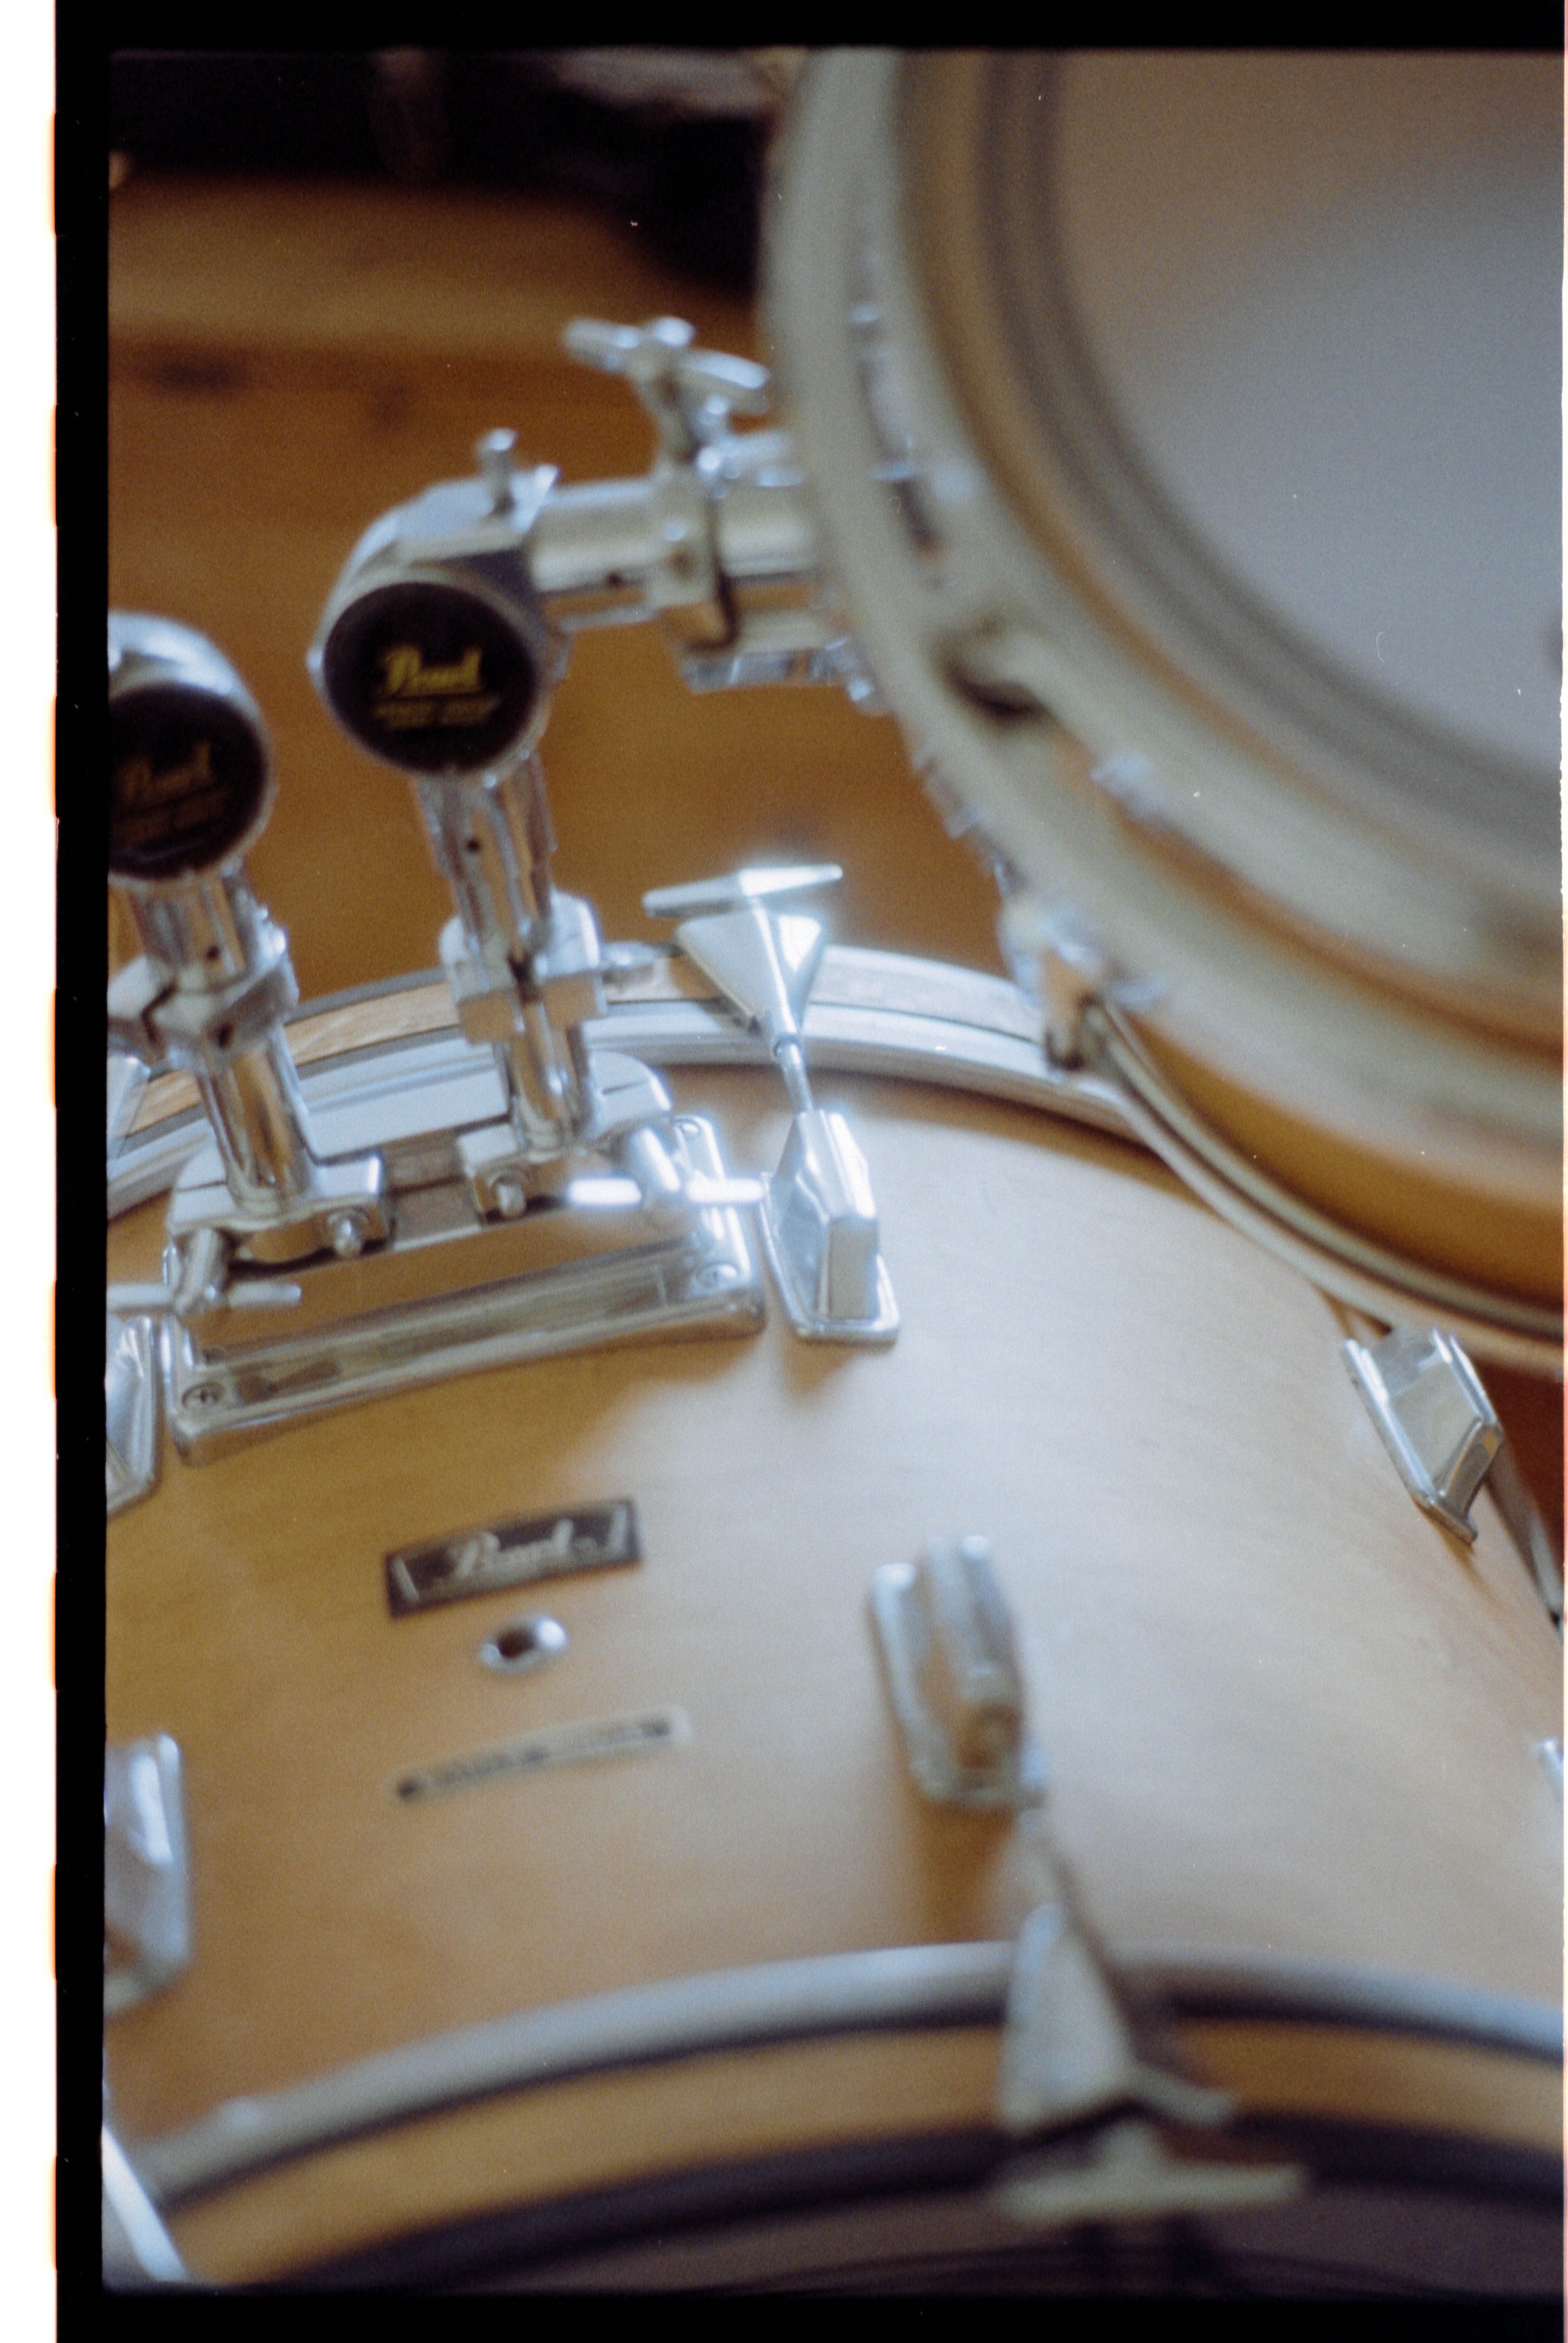
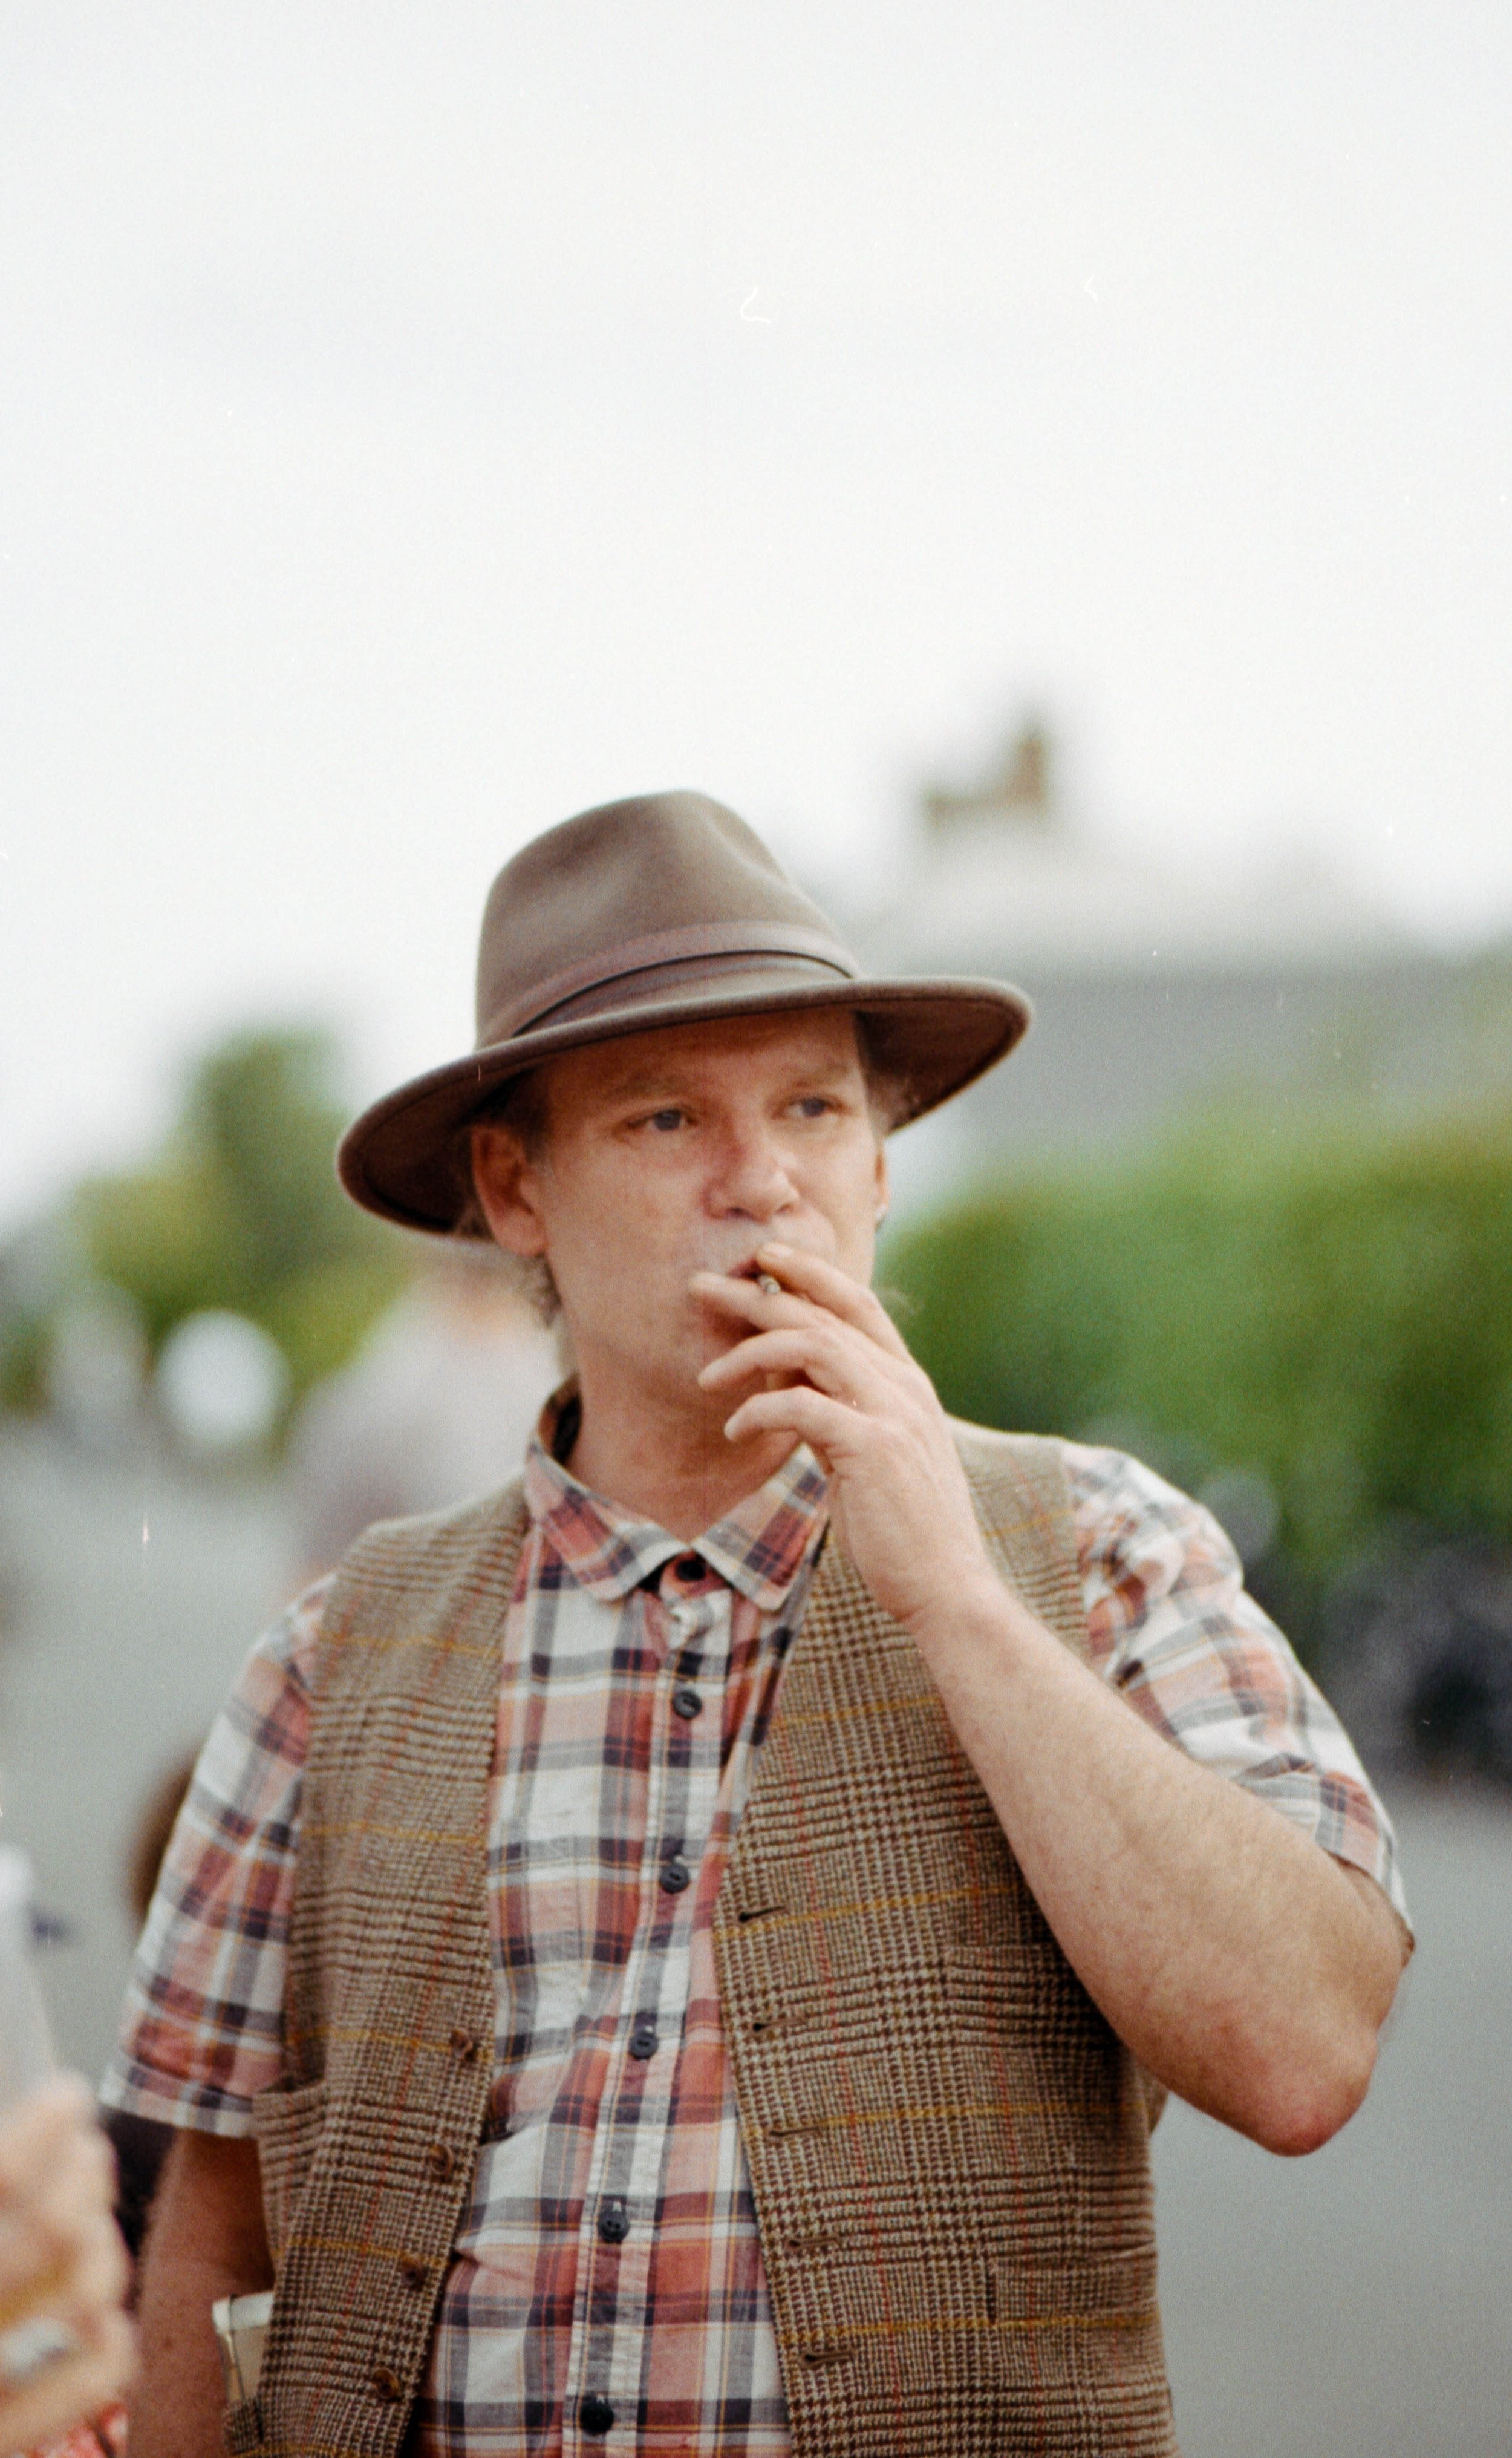
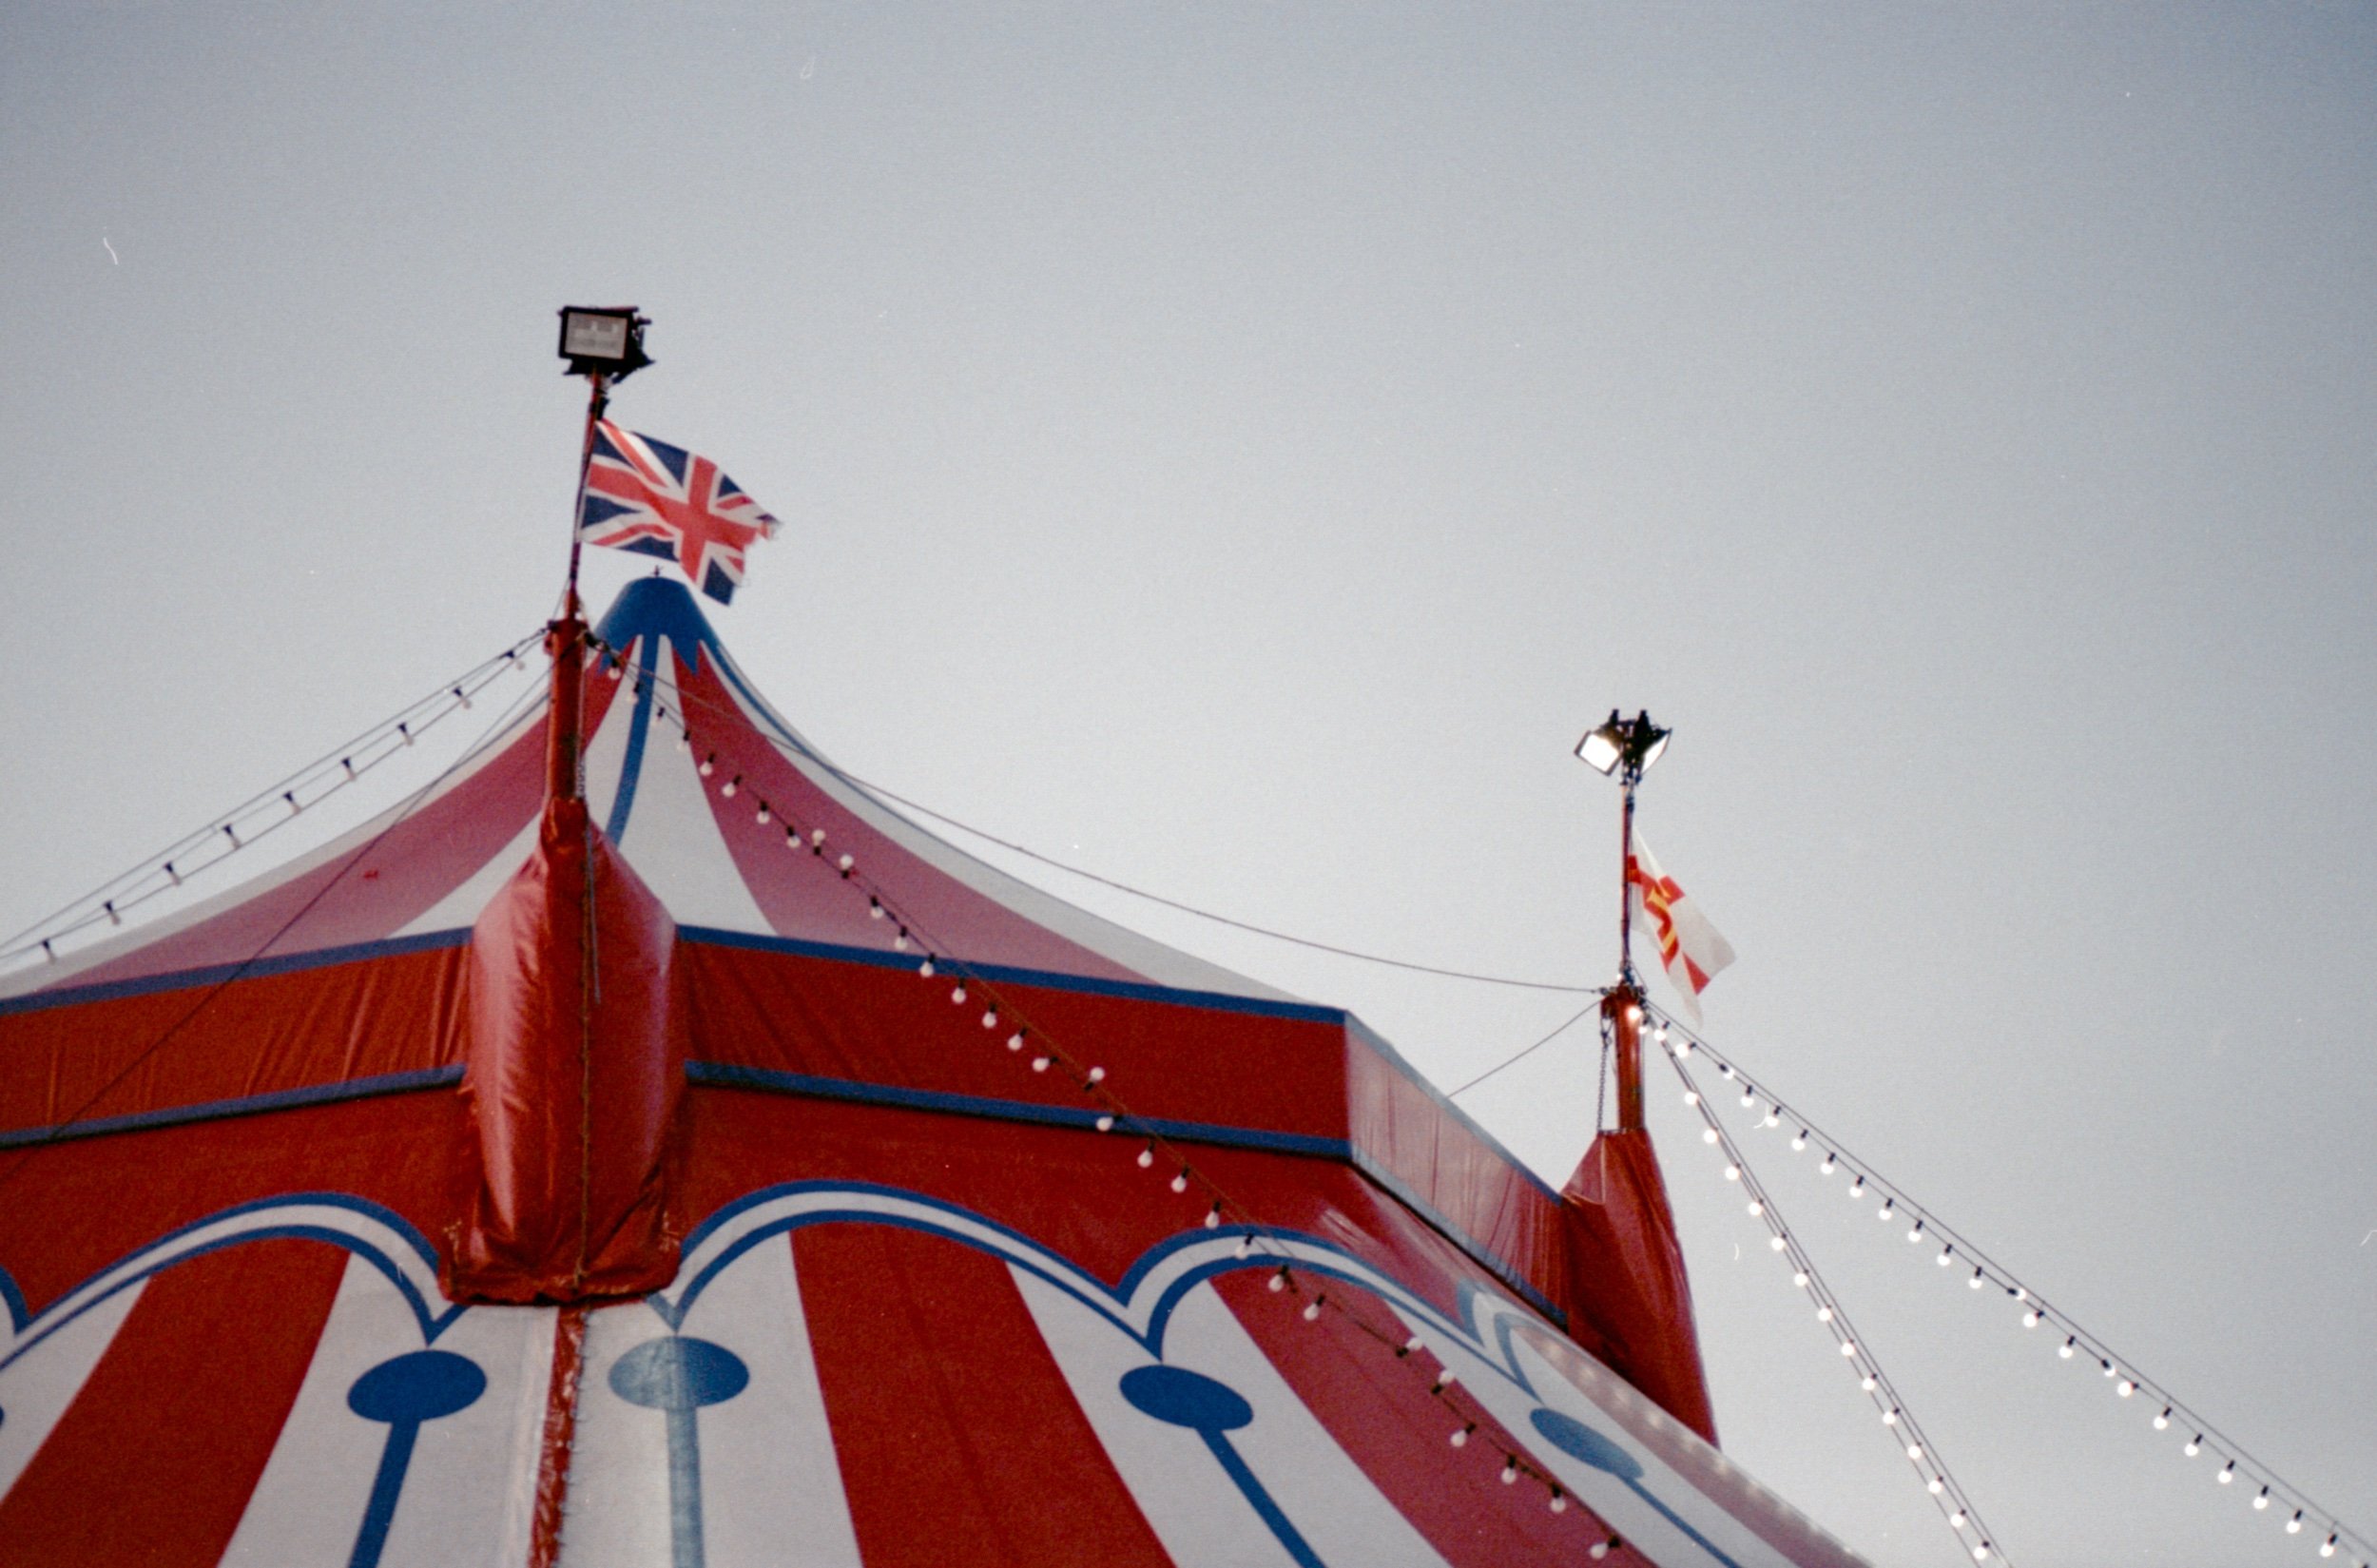
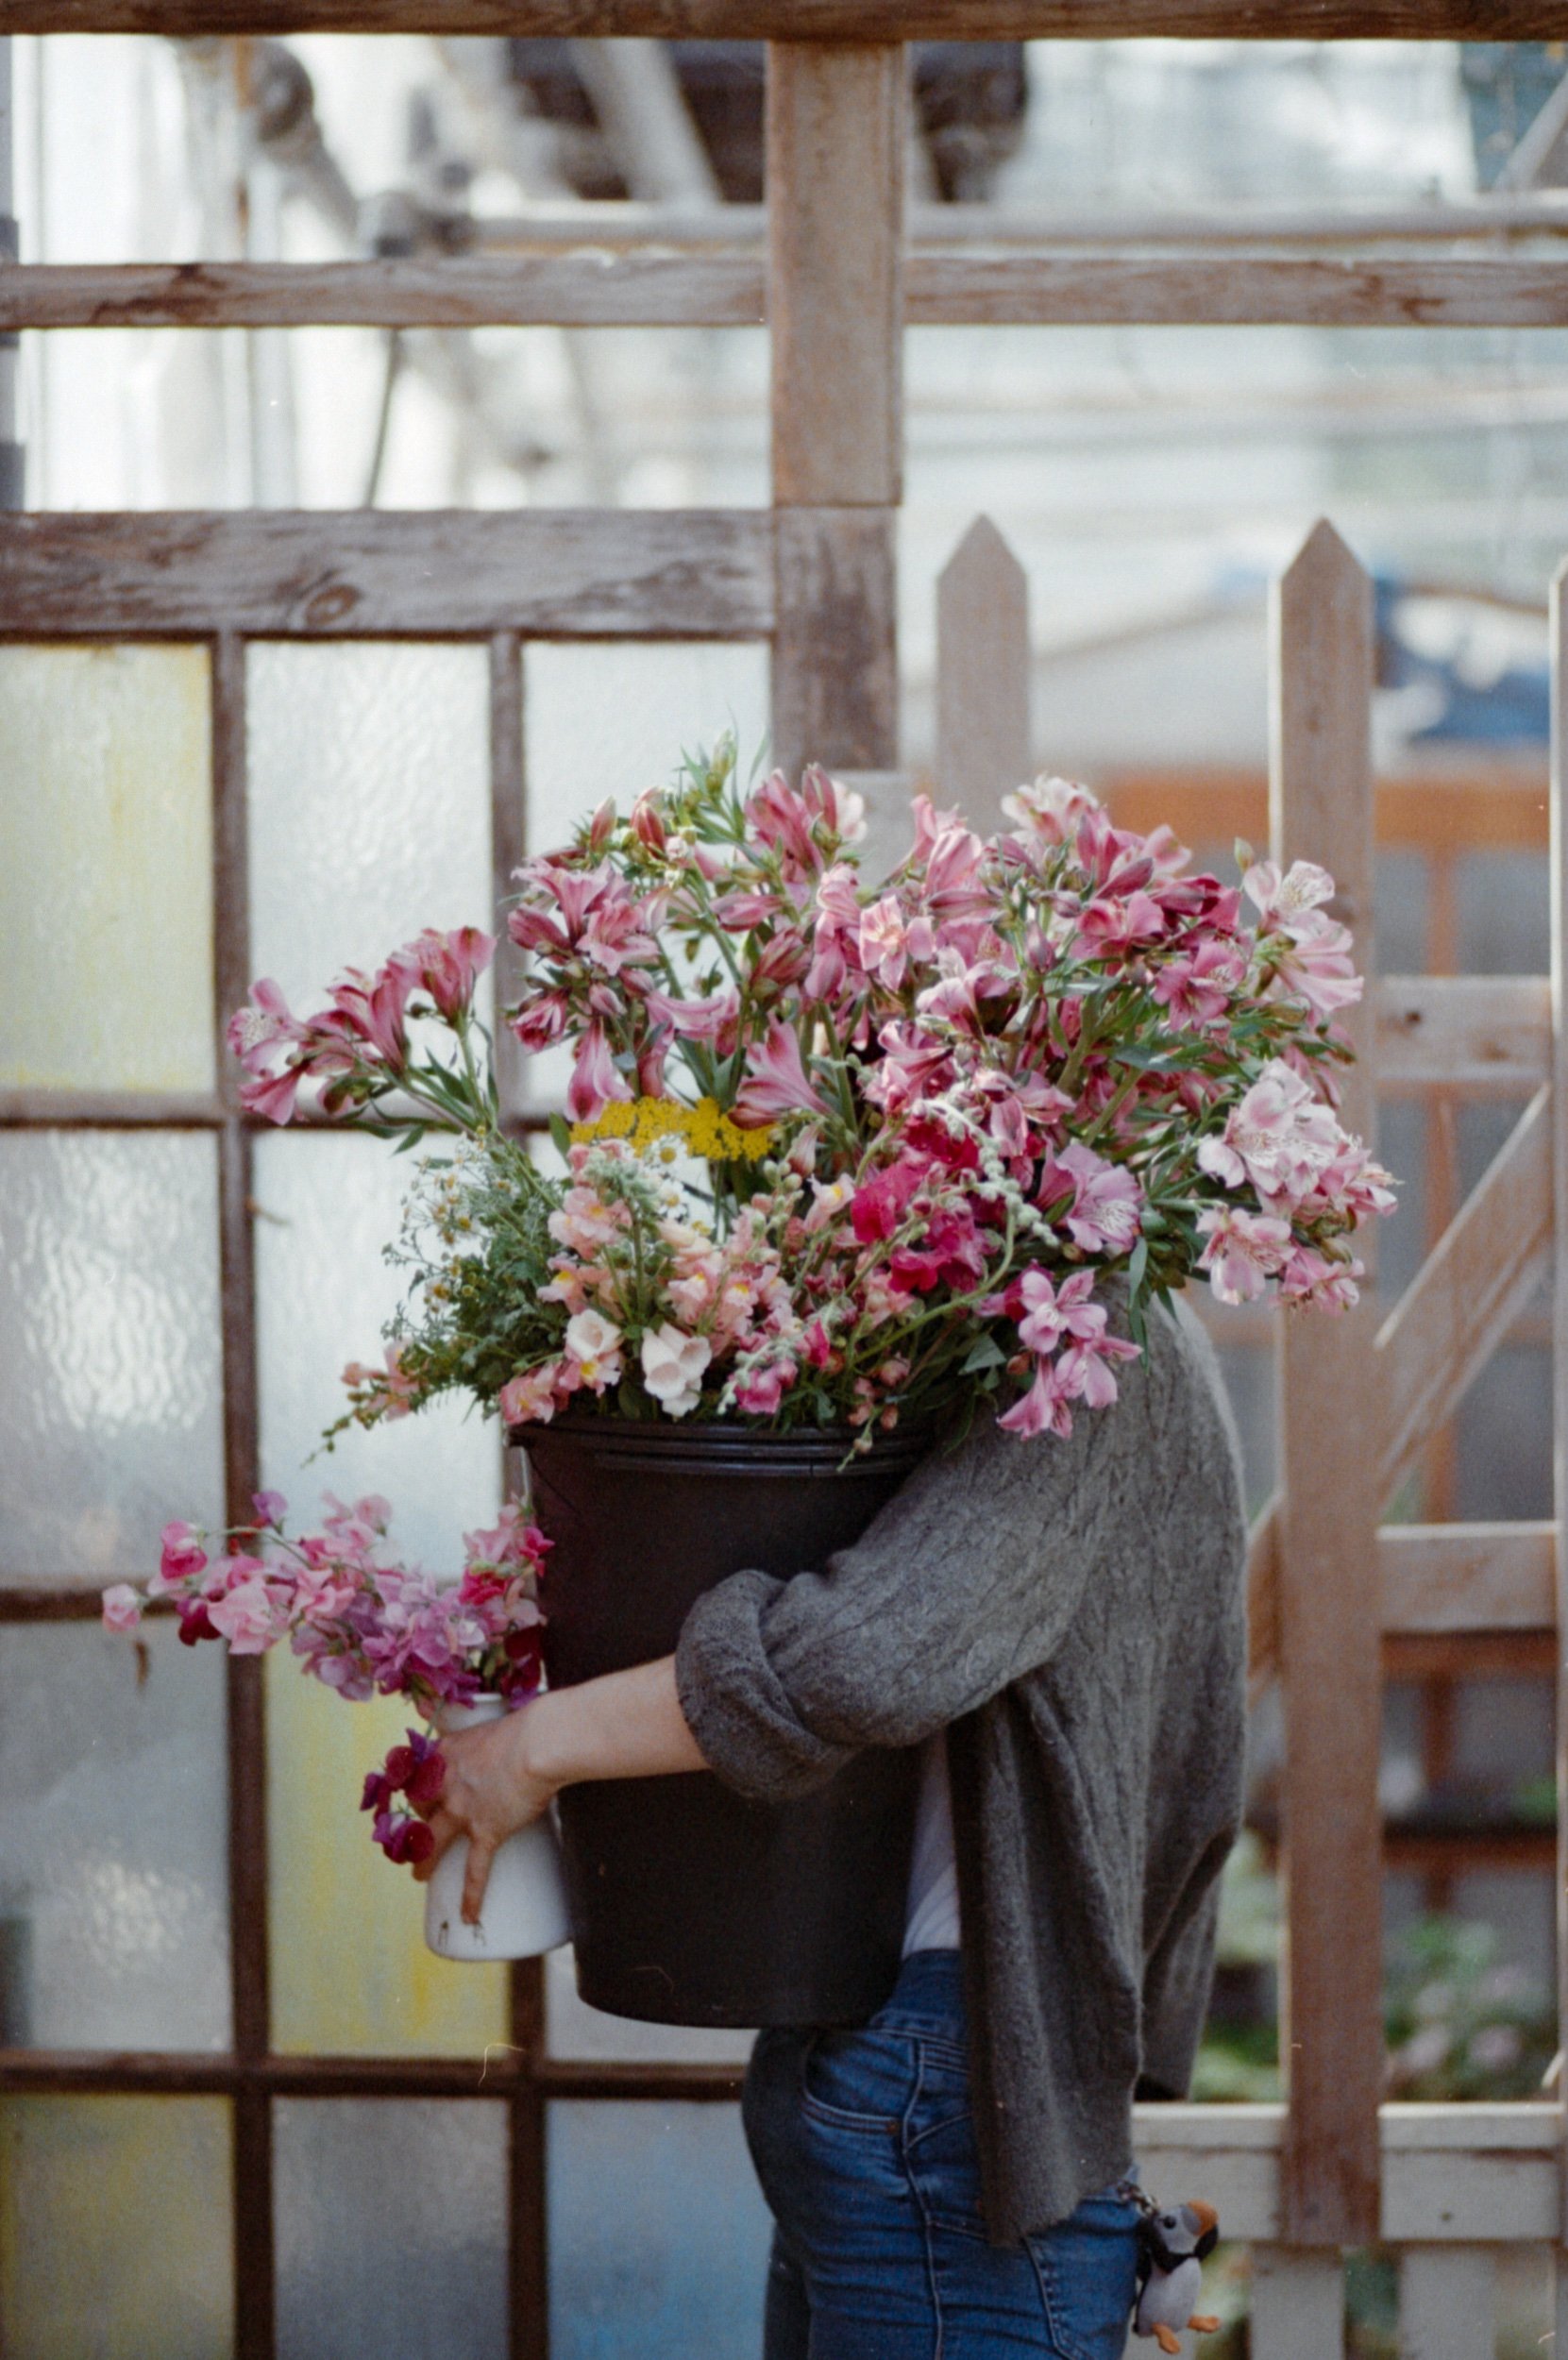
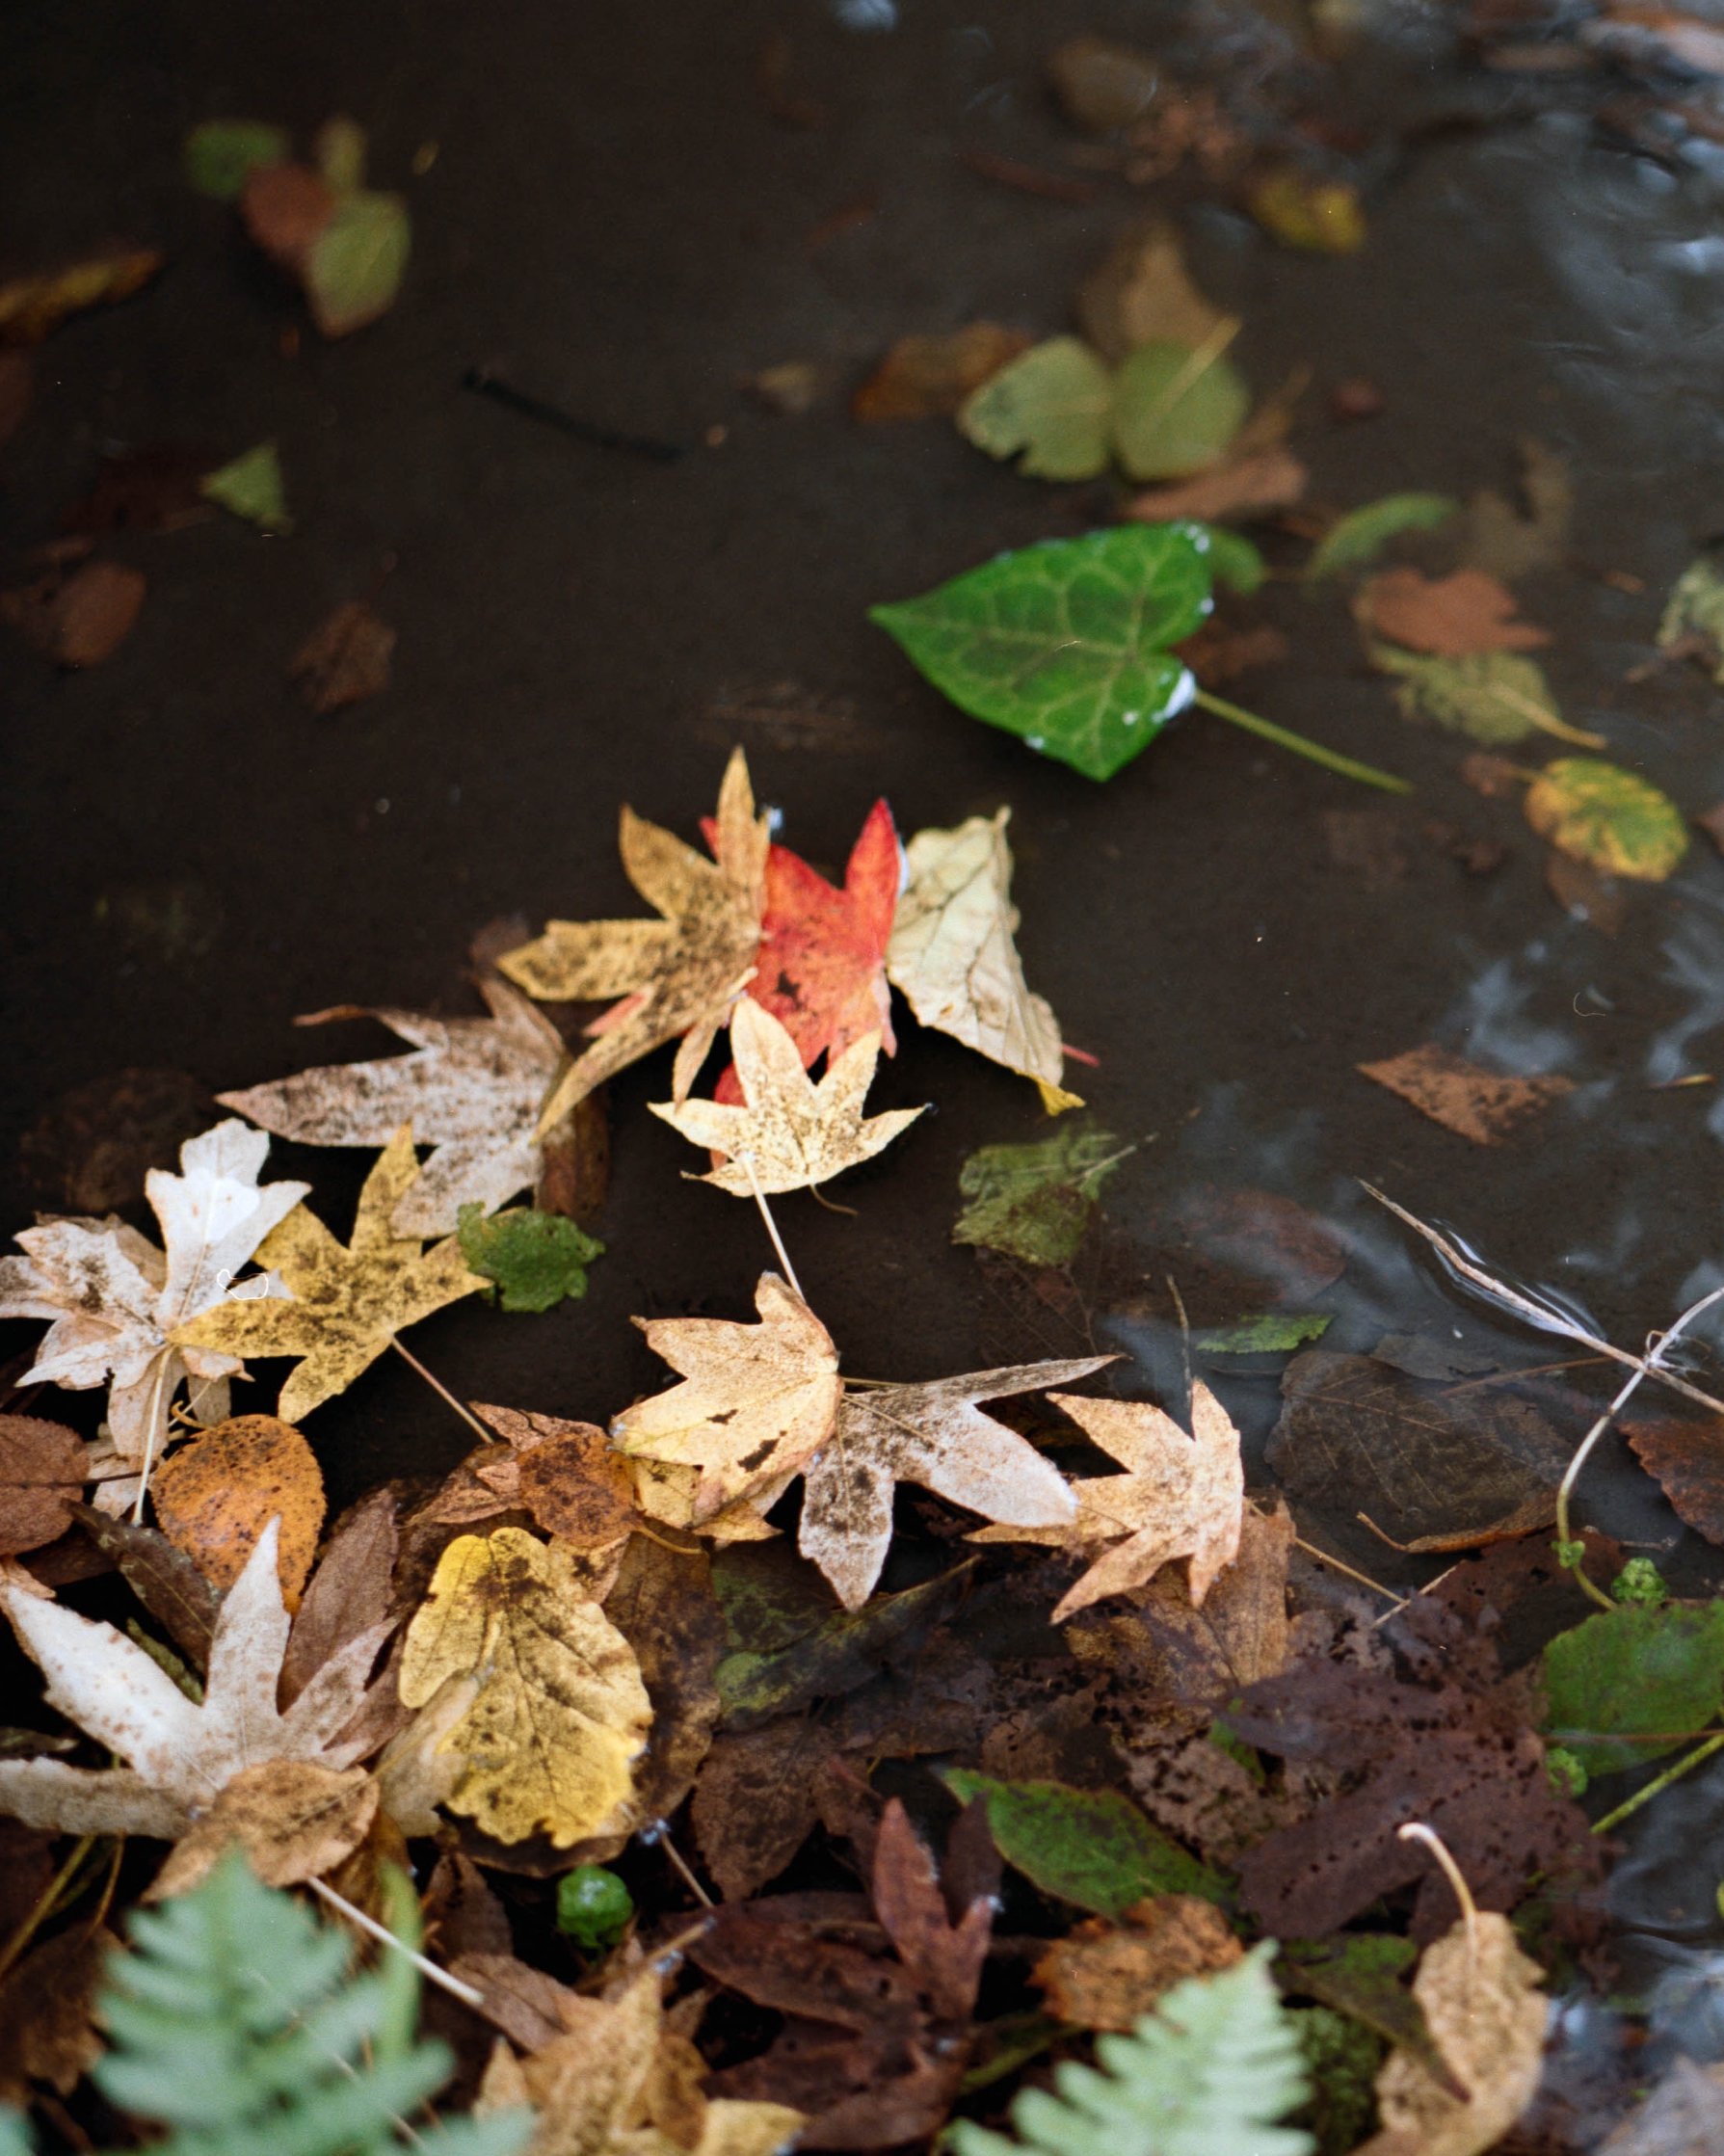
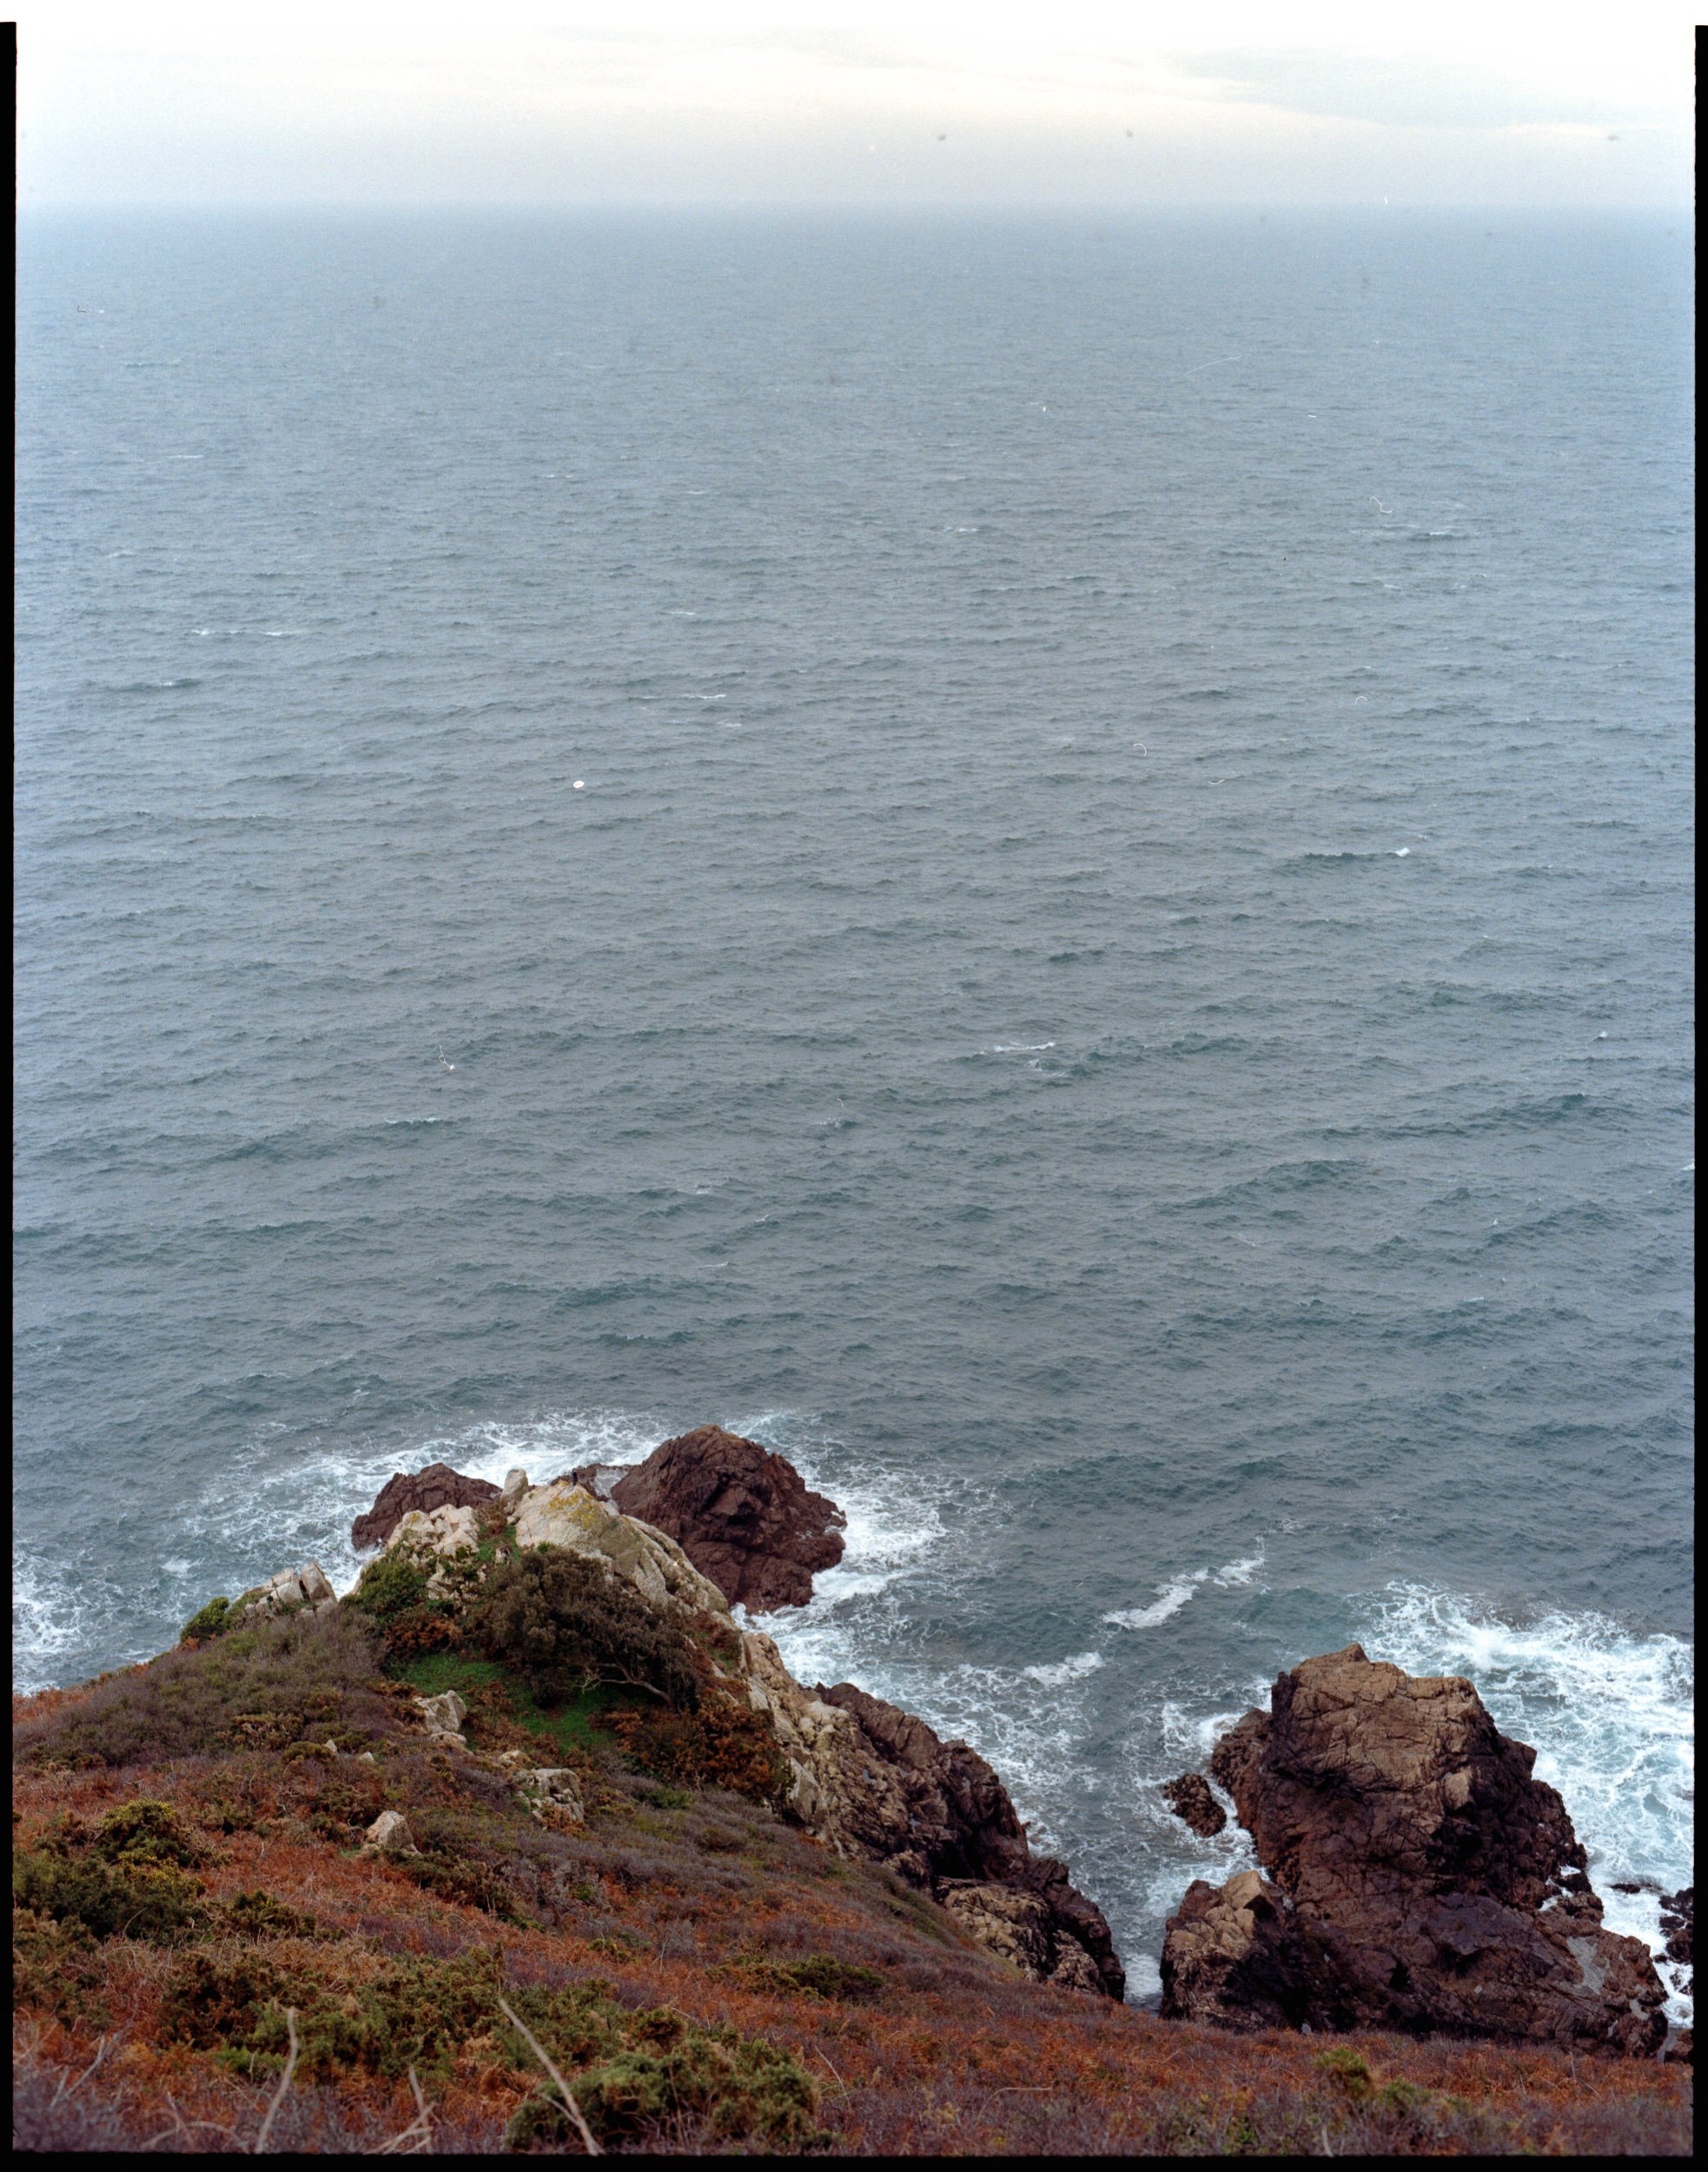
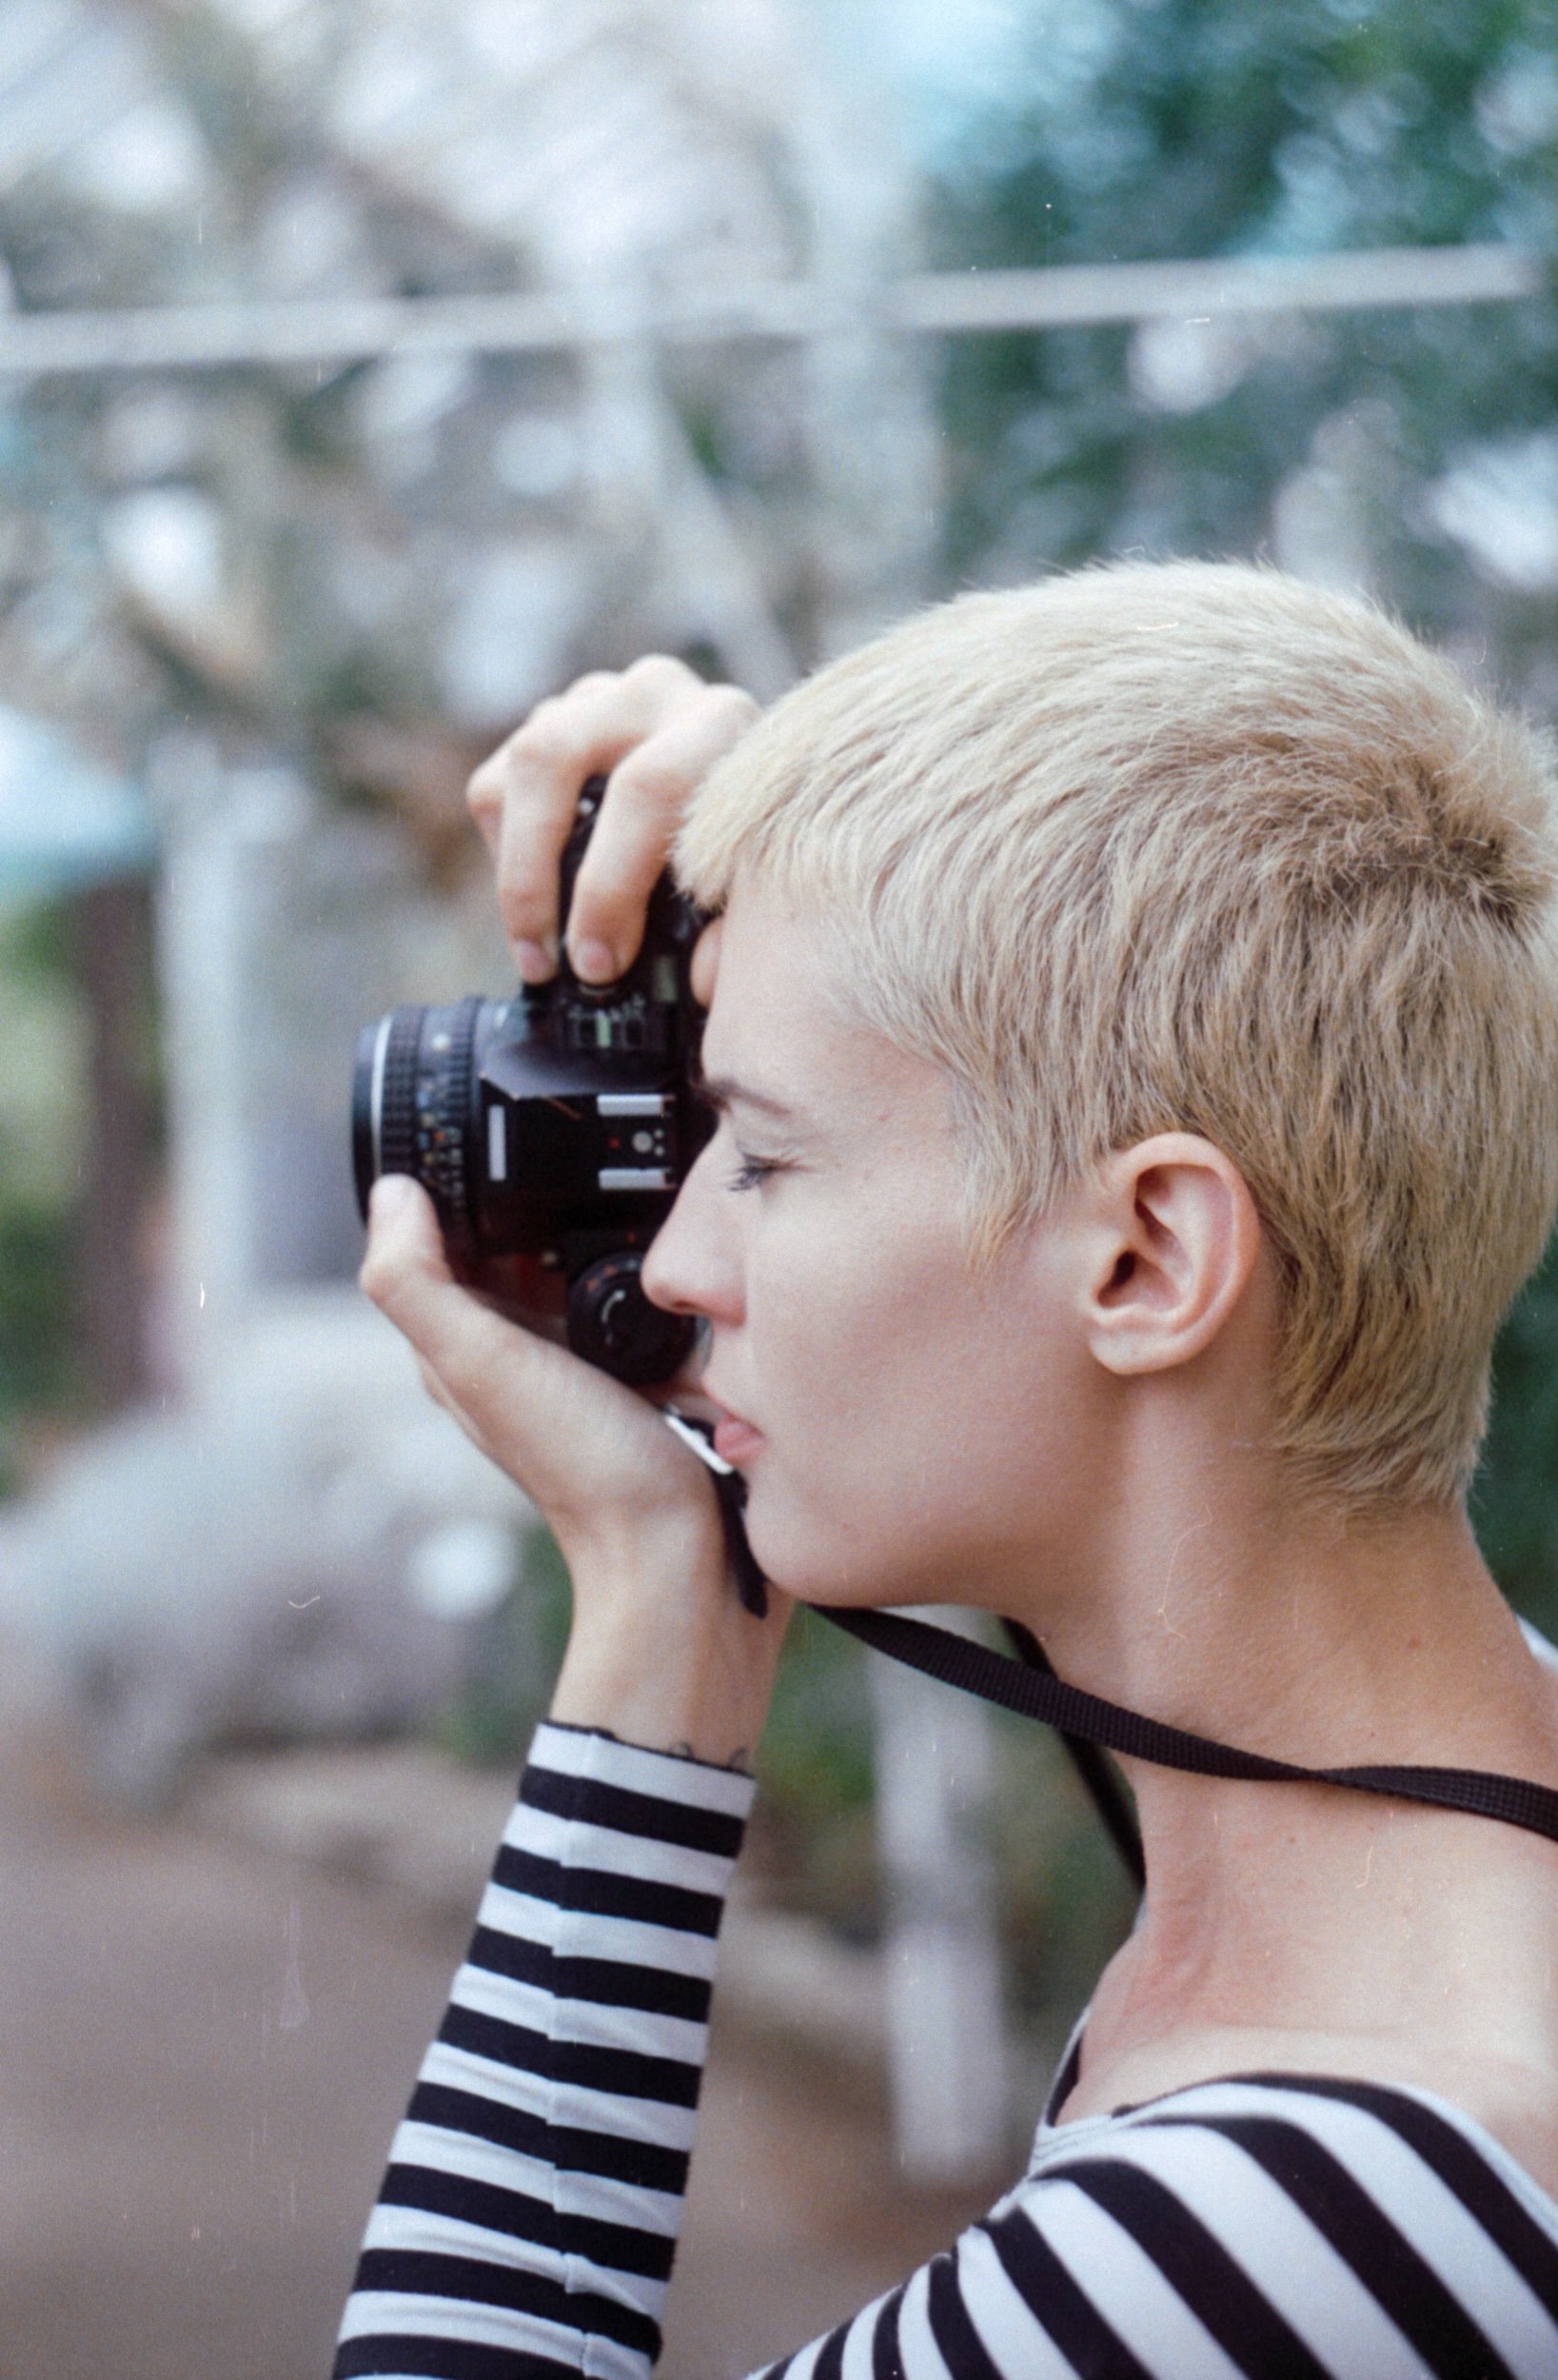
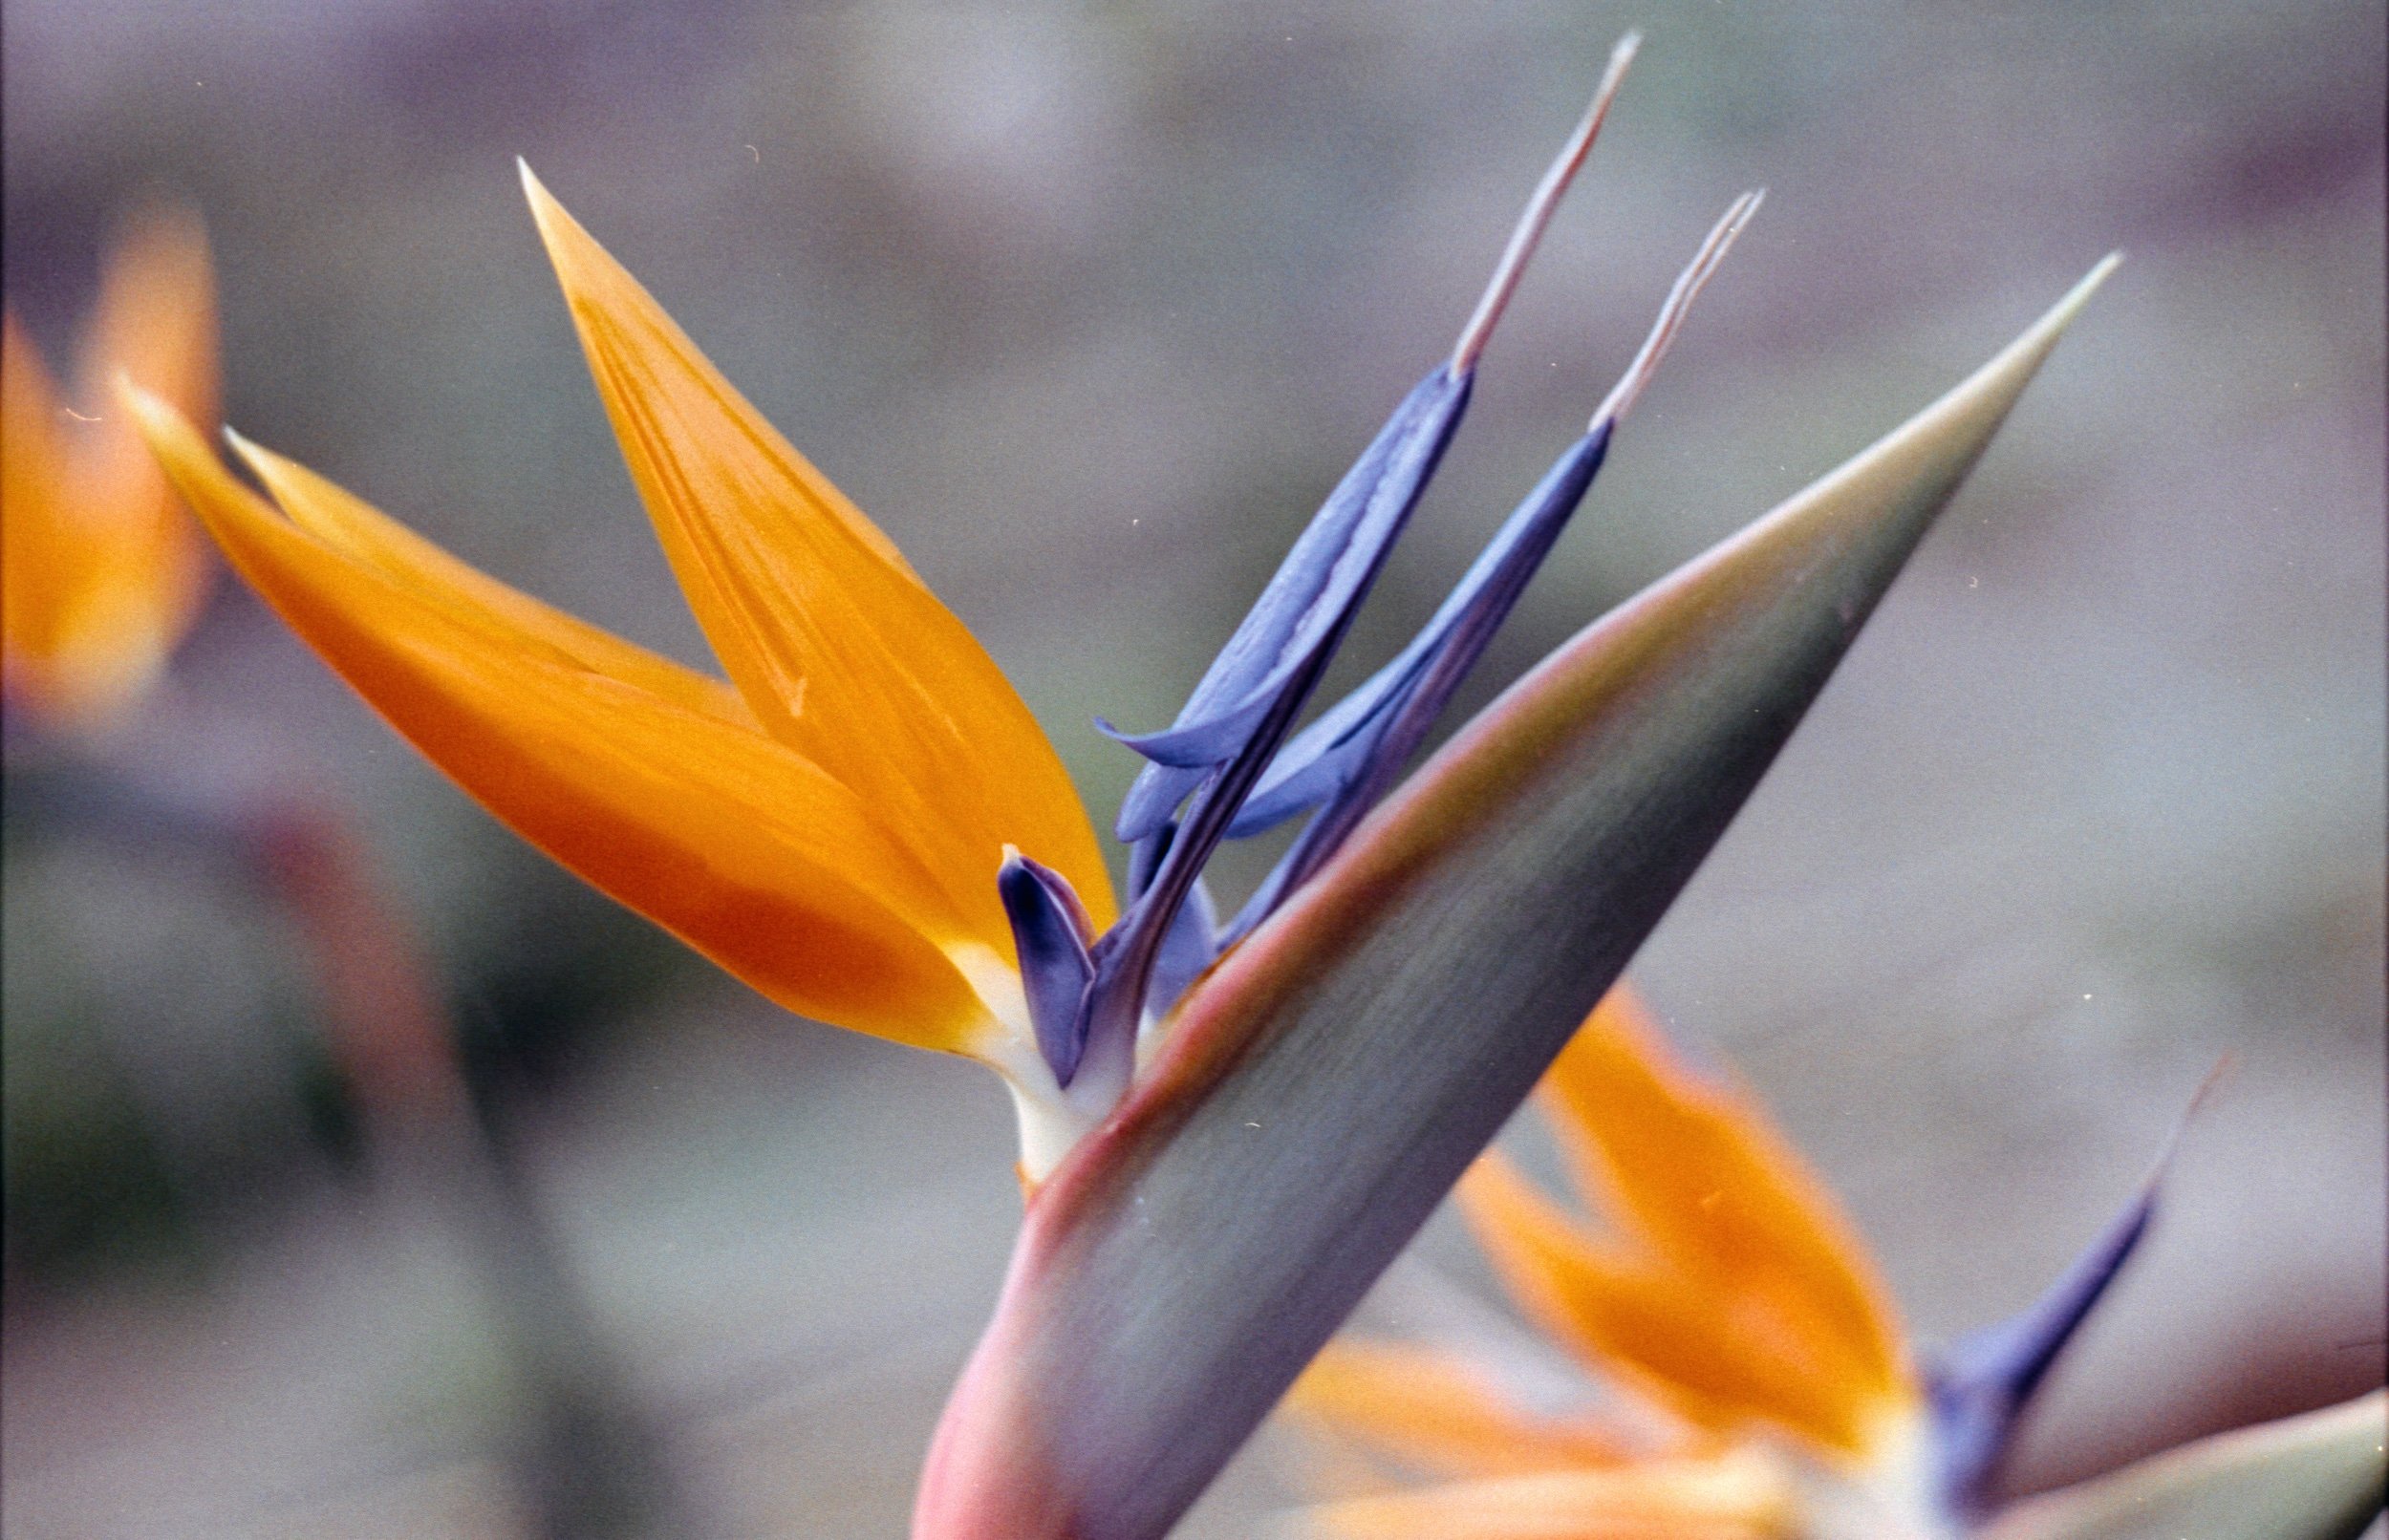
Here’s some examples of the results I’ve gotten using this method: