Experiments with stand developIng film, bleach bypass and home scanning
I’ve been shooting on film for a few years now and always dabbled a little here and there with processing my own at college and in friends dark rooms etc. But it always seemed like a really cumbersome process with a lot of timing, measurements and maths. Not my strongest point as a creative.
I recently acquired my dads old paterson tank a light proof film tank and learned about a technique called stand development which reduces the margin of error and means you don’t have to worry about temperatures etc.
the basic premise is that you dilute your chemicals 1-100 and leave your film sit in there for 45 minutes. Because the chemicals are so dilute they run out before your film can over develop so in theory you have perfect processing every time.
Then you put the film In a stopper bath for 6 minutes to finish the process here’s my notes on ratios and times for anyone interested.
3ml developer + 300ml water
1 hour wait
Dispose of developer
75ml fixer + 300ml water
6min wait
Reuse fixer up to 15 times
So once I’d developed my own film I needed to work out how to digitise it and began researching camera scanning. This is a process of using a camera to take a photo of your negative.
It may seem a bit silly to take a photo of a photo but this is something we’ve been doing since cameras first came about. If you’ve ever seen a large format camera in use you’ll know that part of the process is to take the negative image you create, place it back in front of the camera and take a second image which will then become a positive. I learnt this from a street photographer in Spain.
I came up with the idea of making a tube I could attach to my macro lens that I could pass the film through, this would hold it at the perfect distance from the film for it to quickly pull a roll of film through and take pictures of each frame.
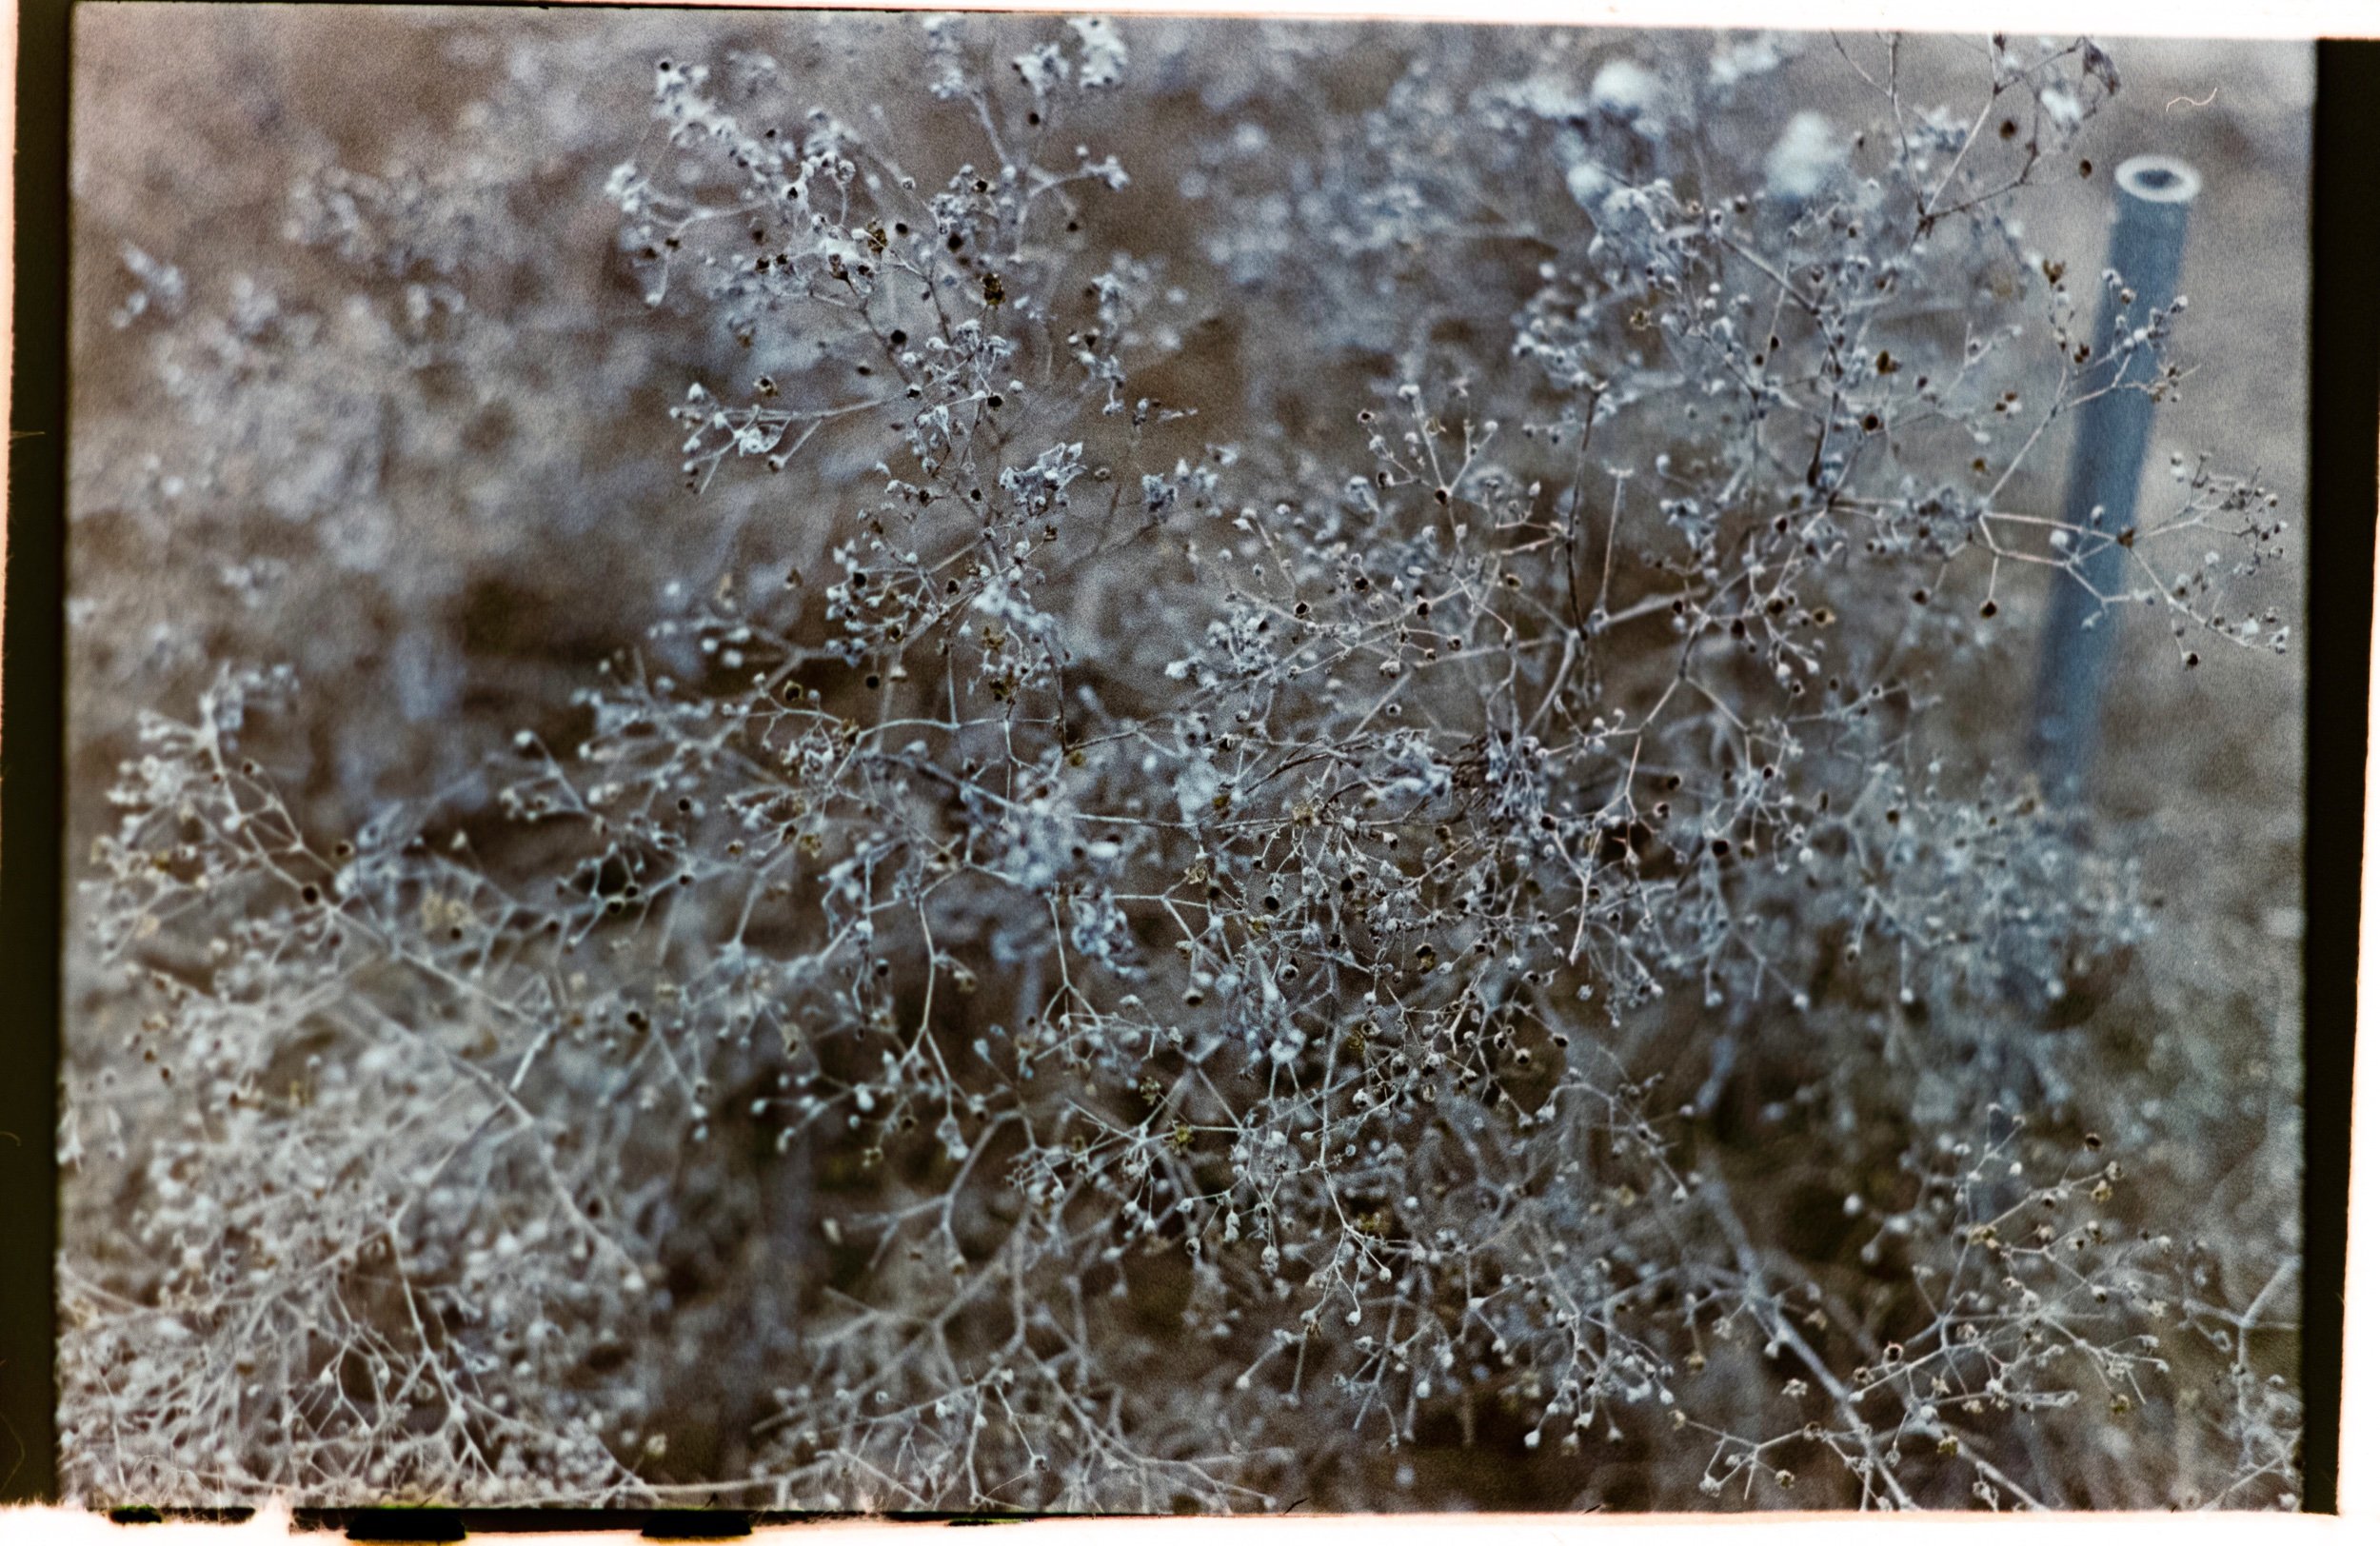
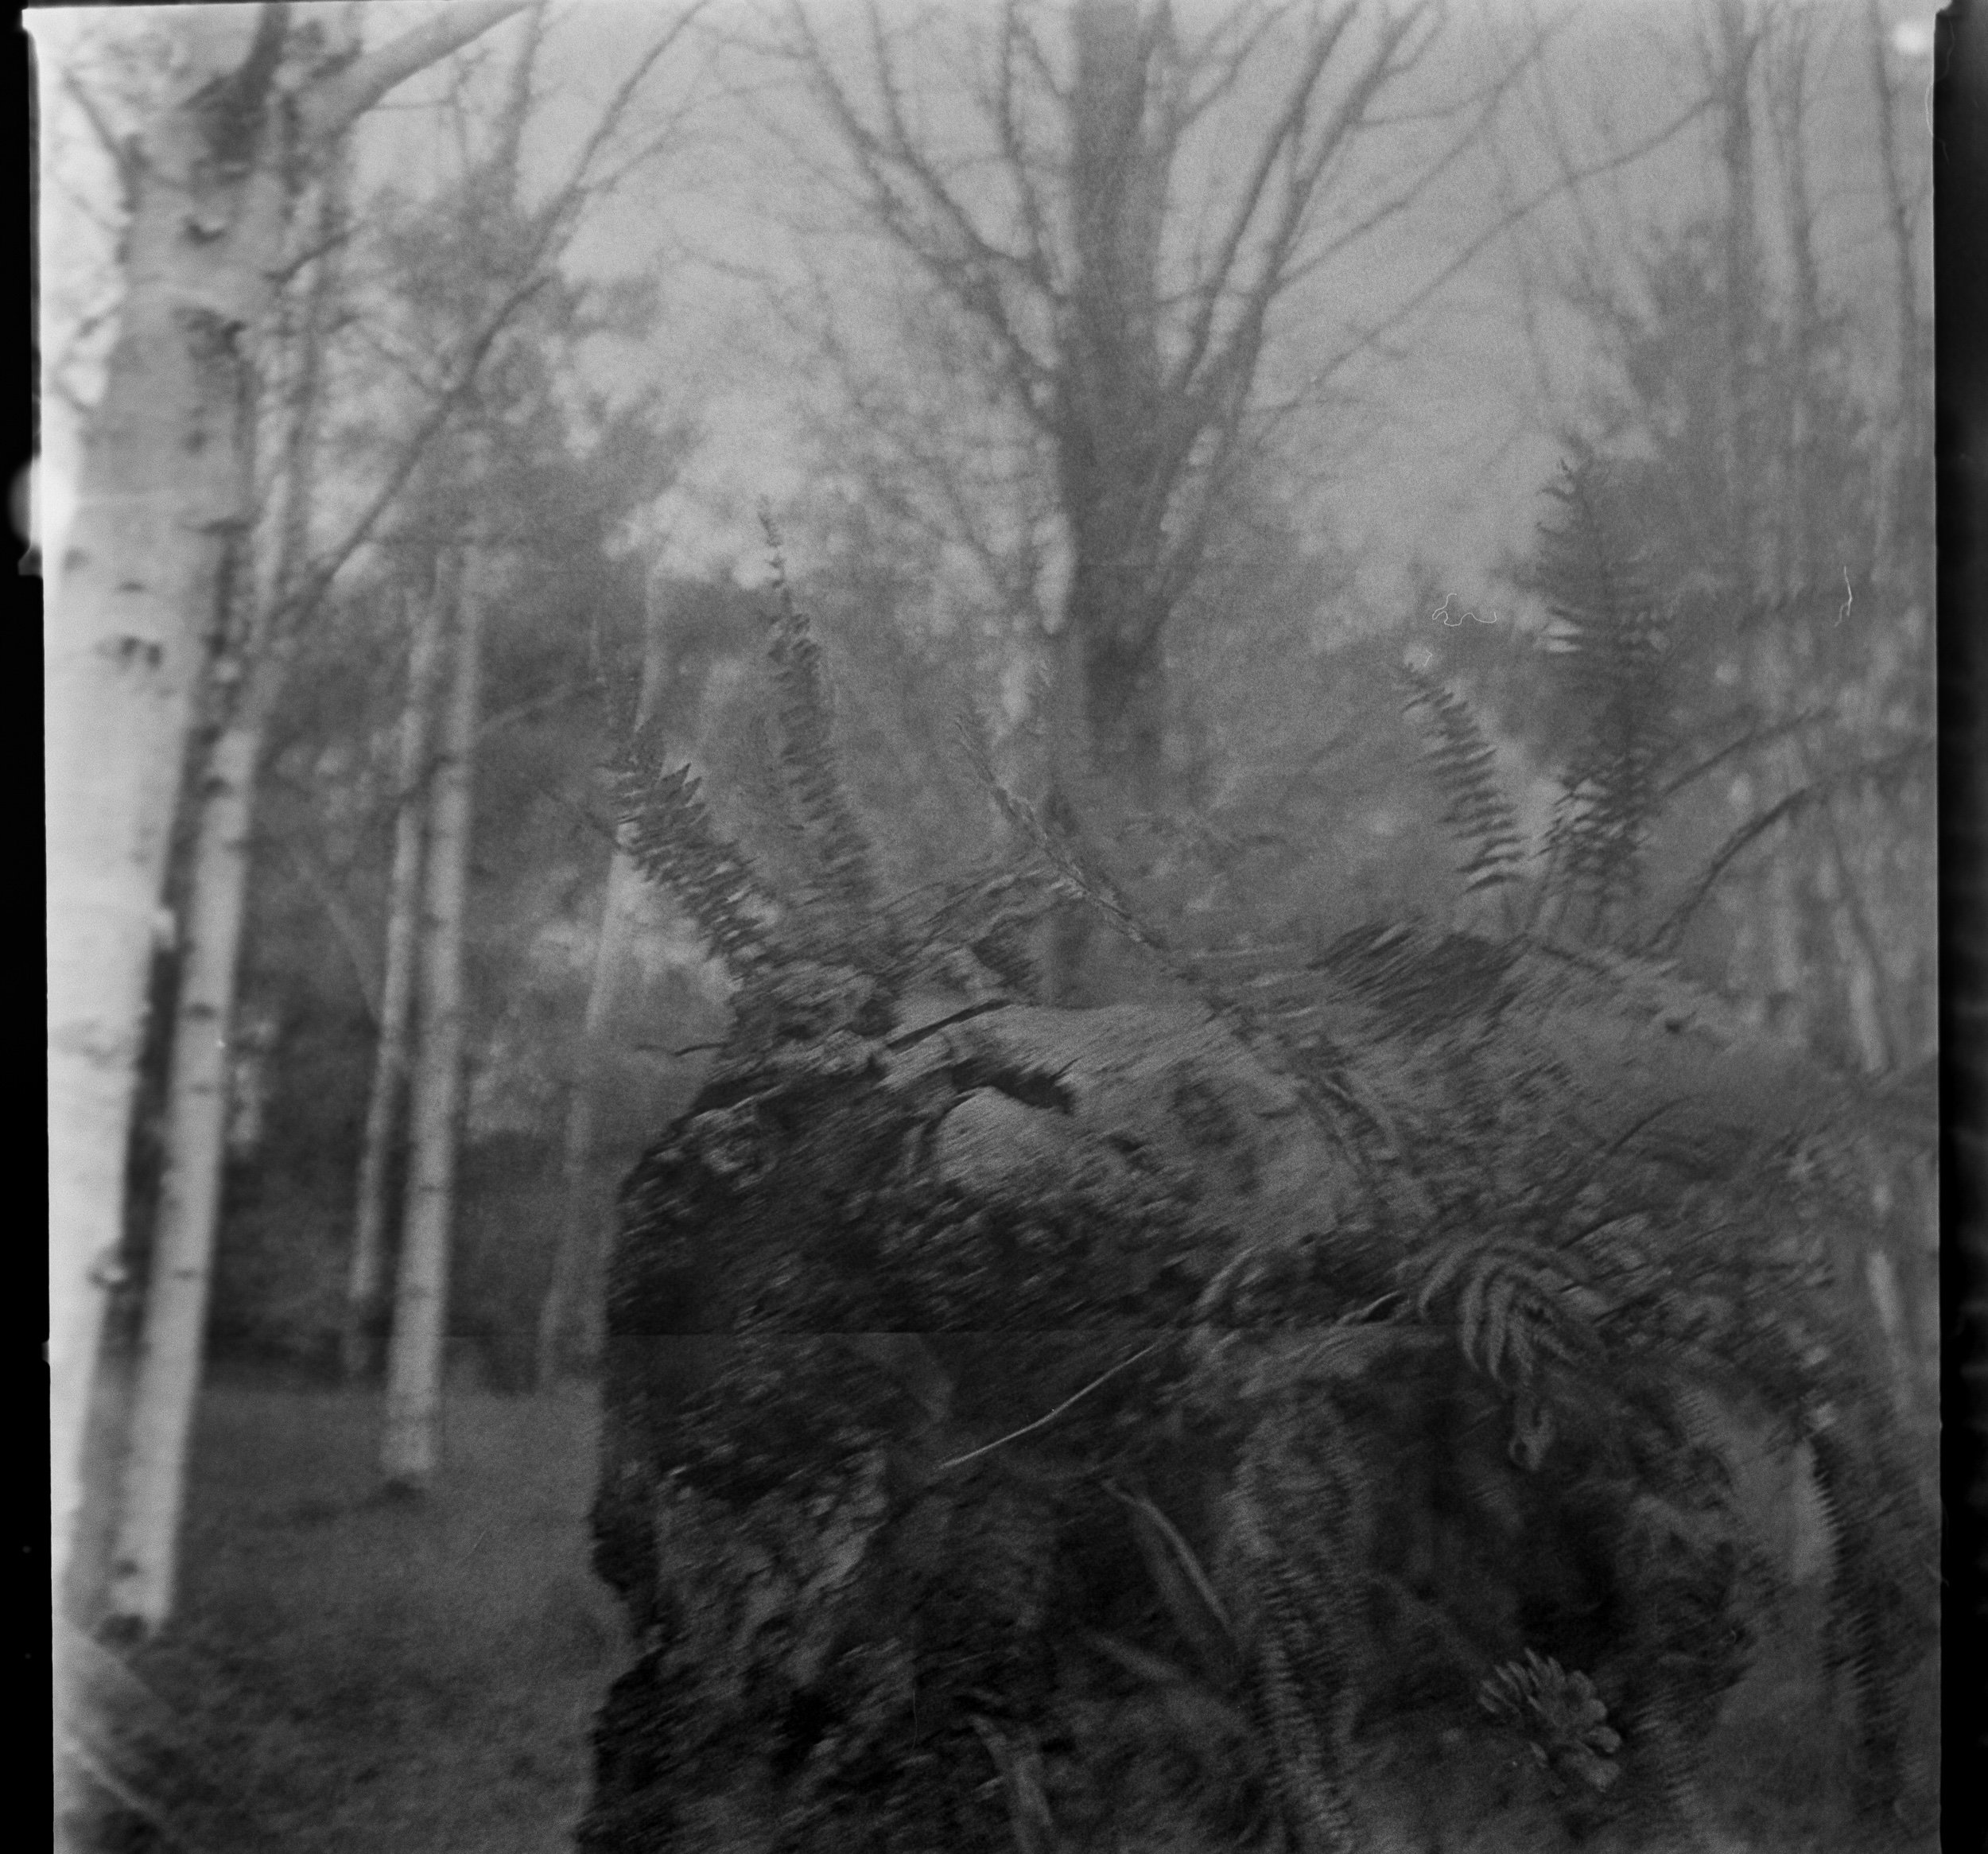
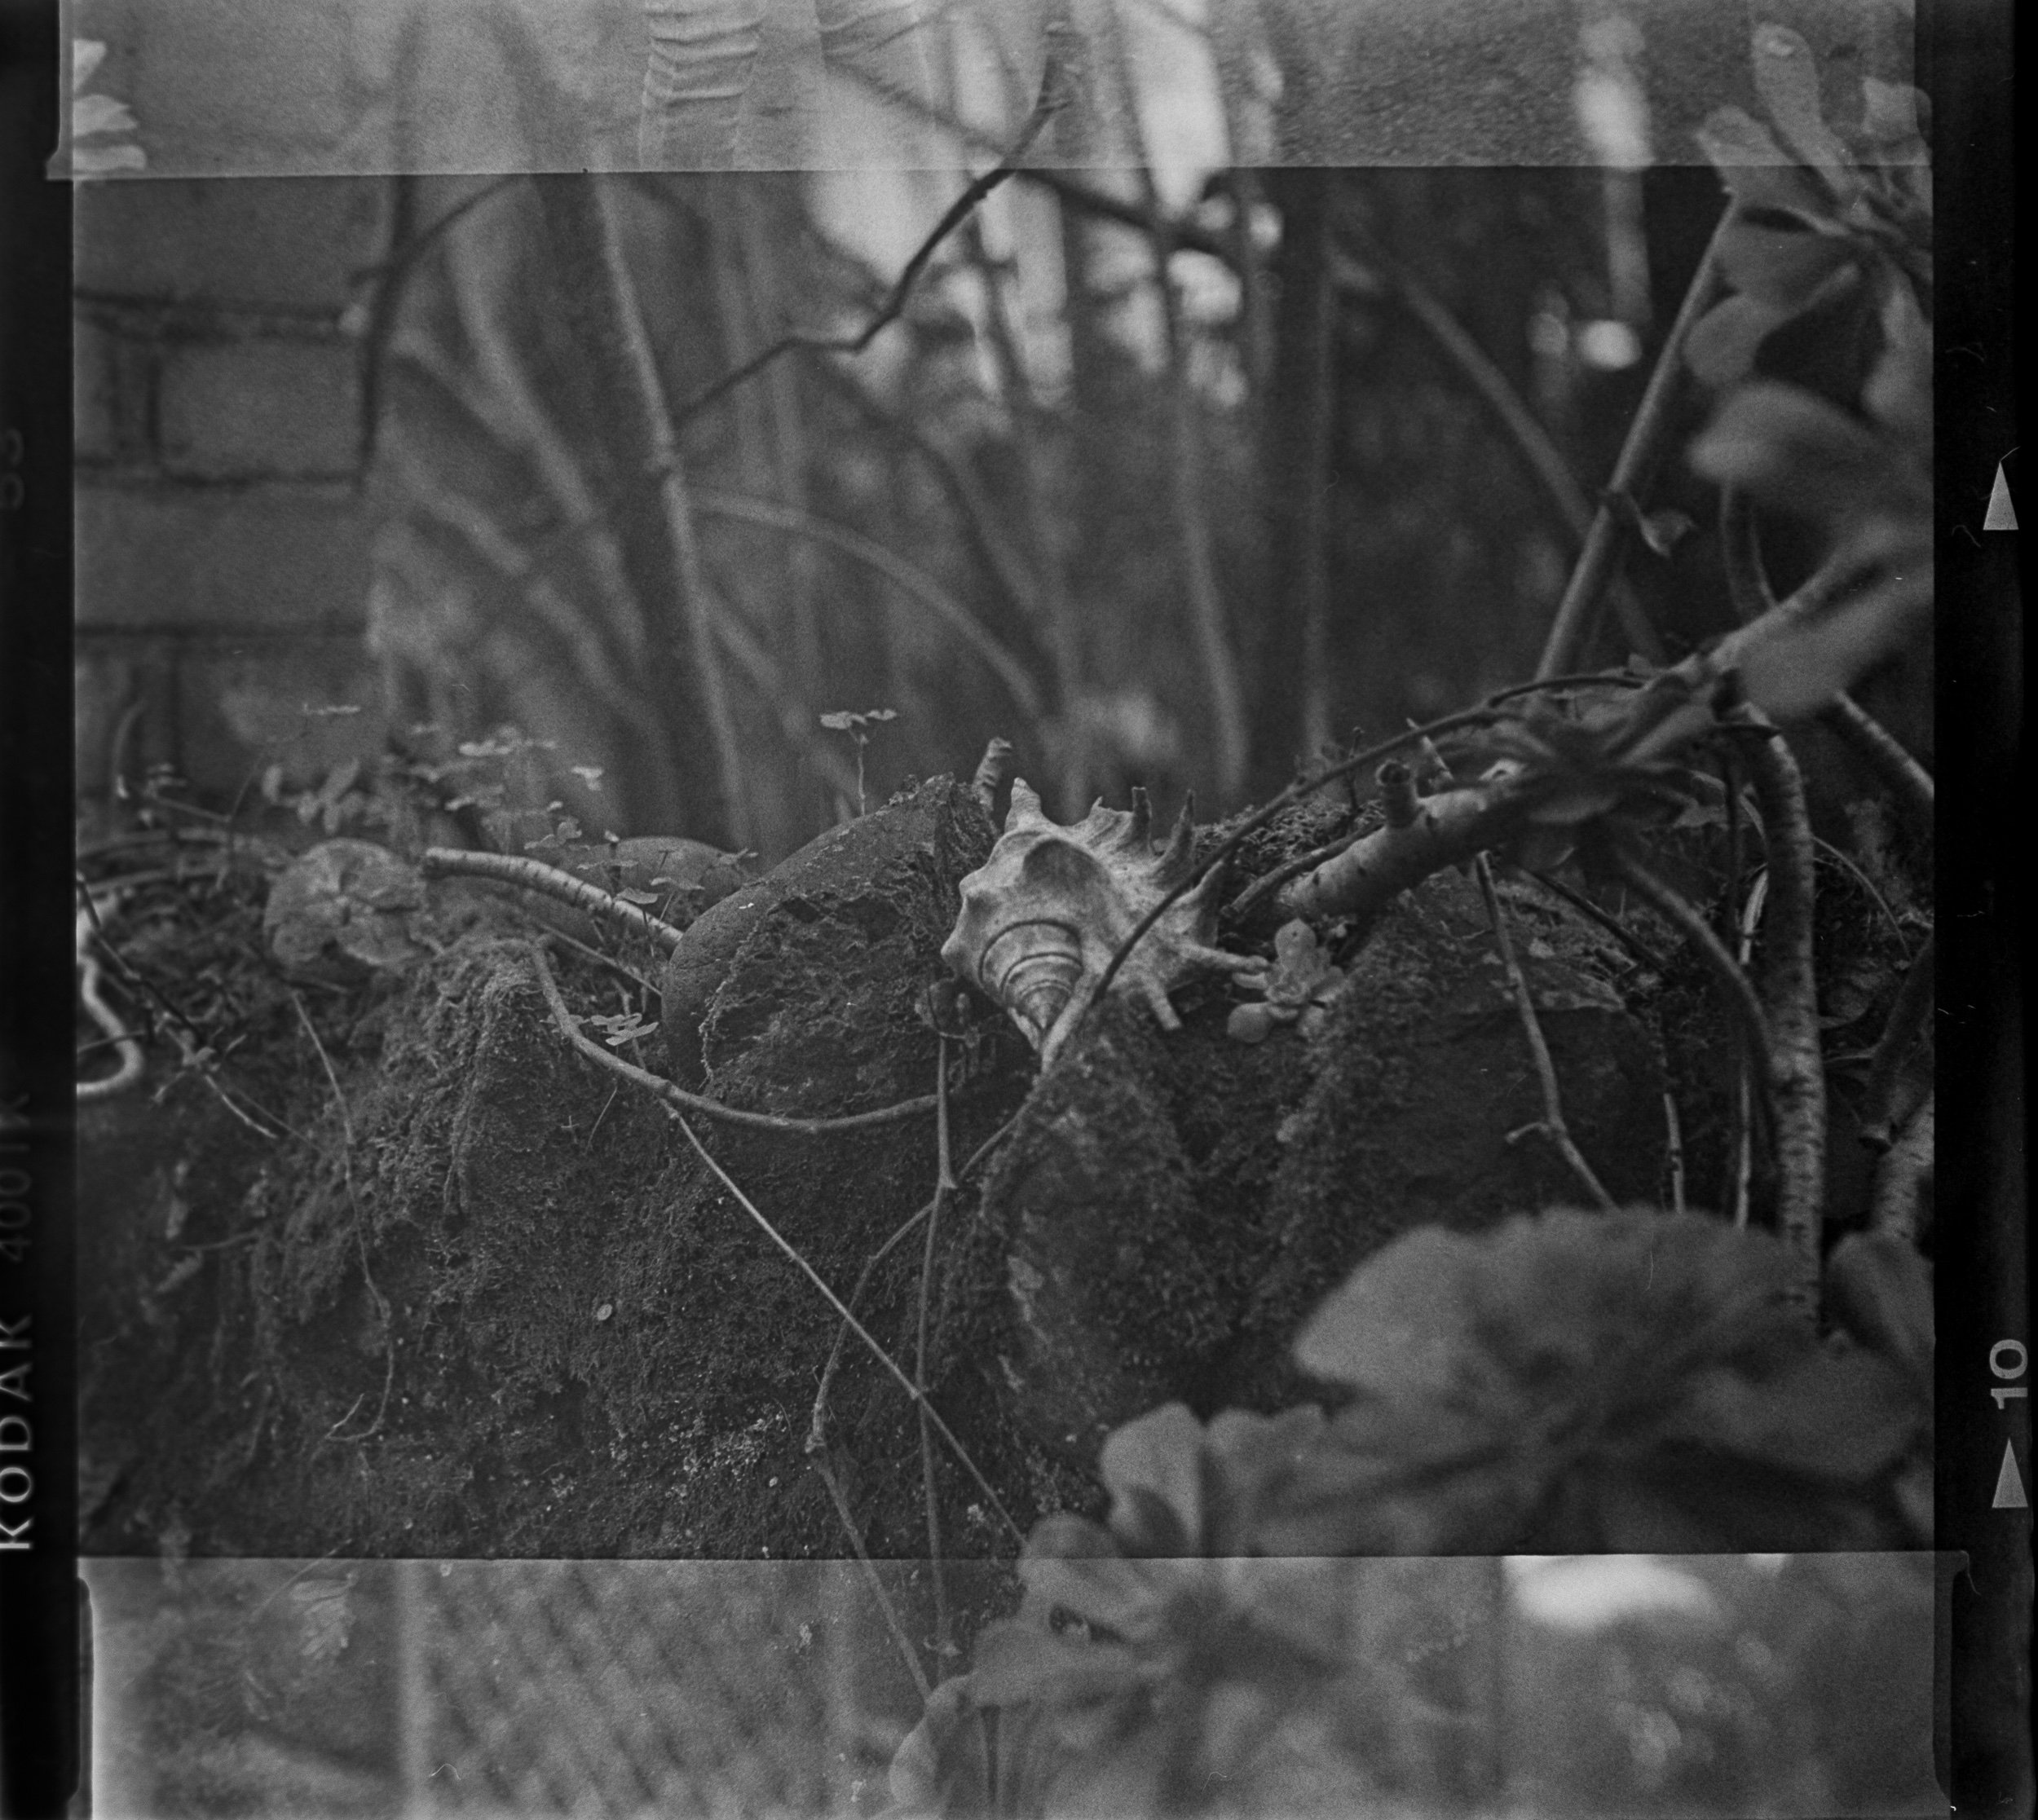
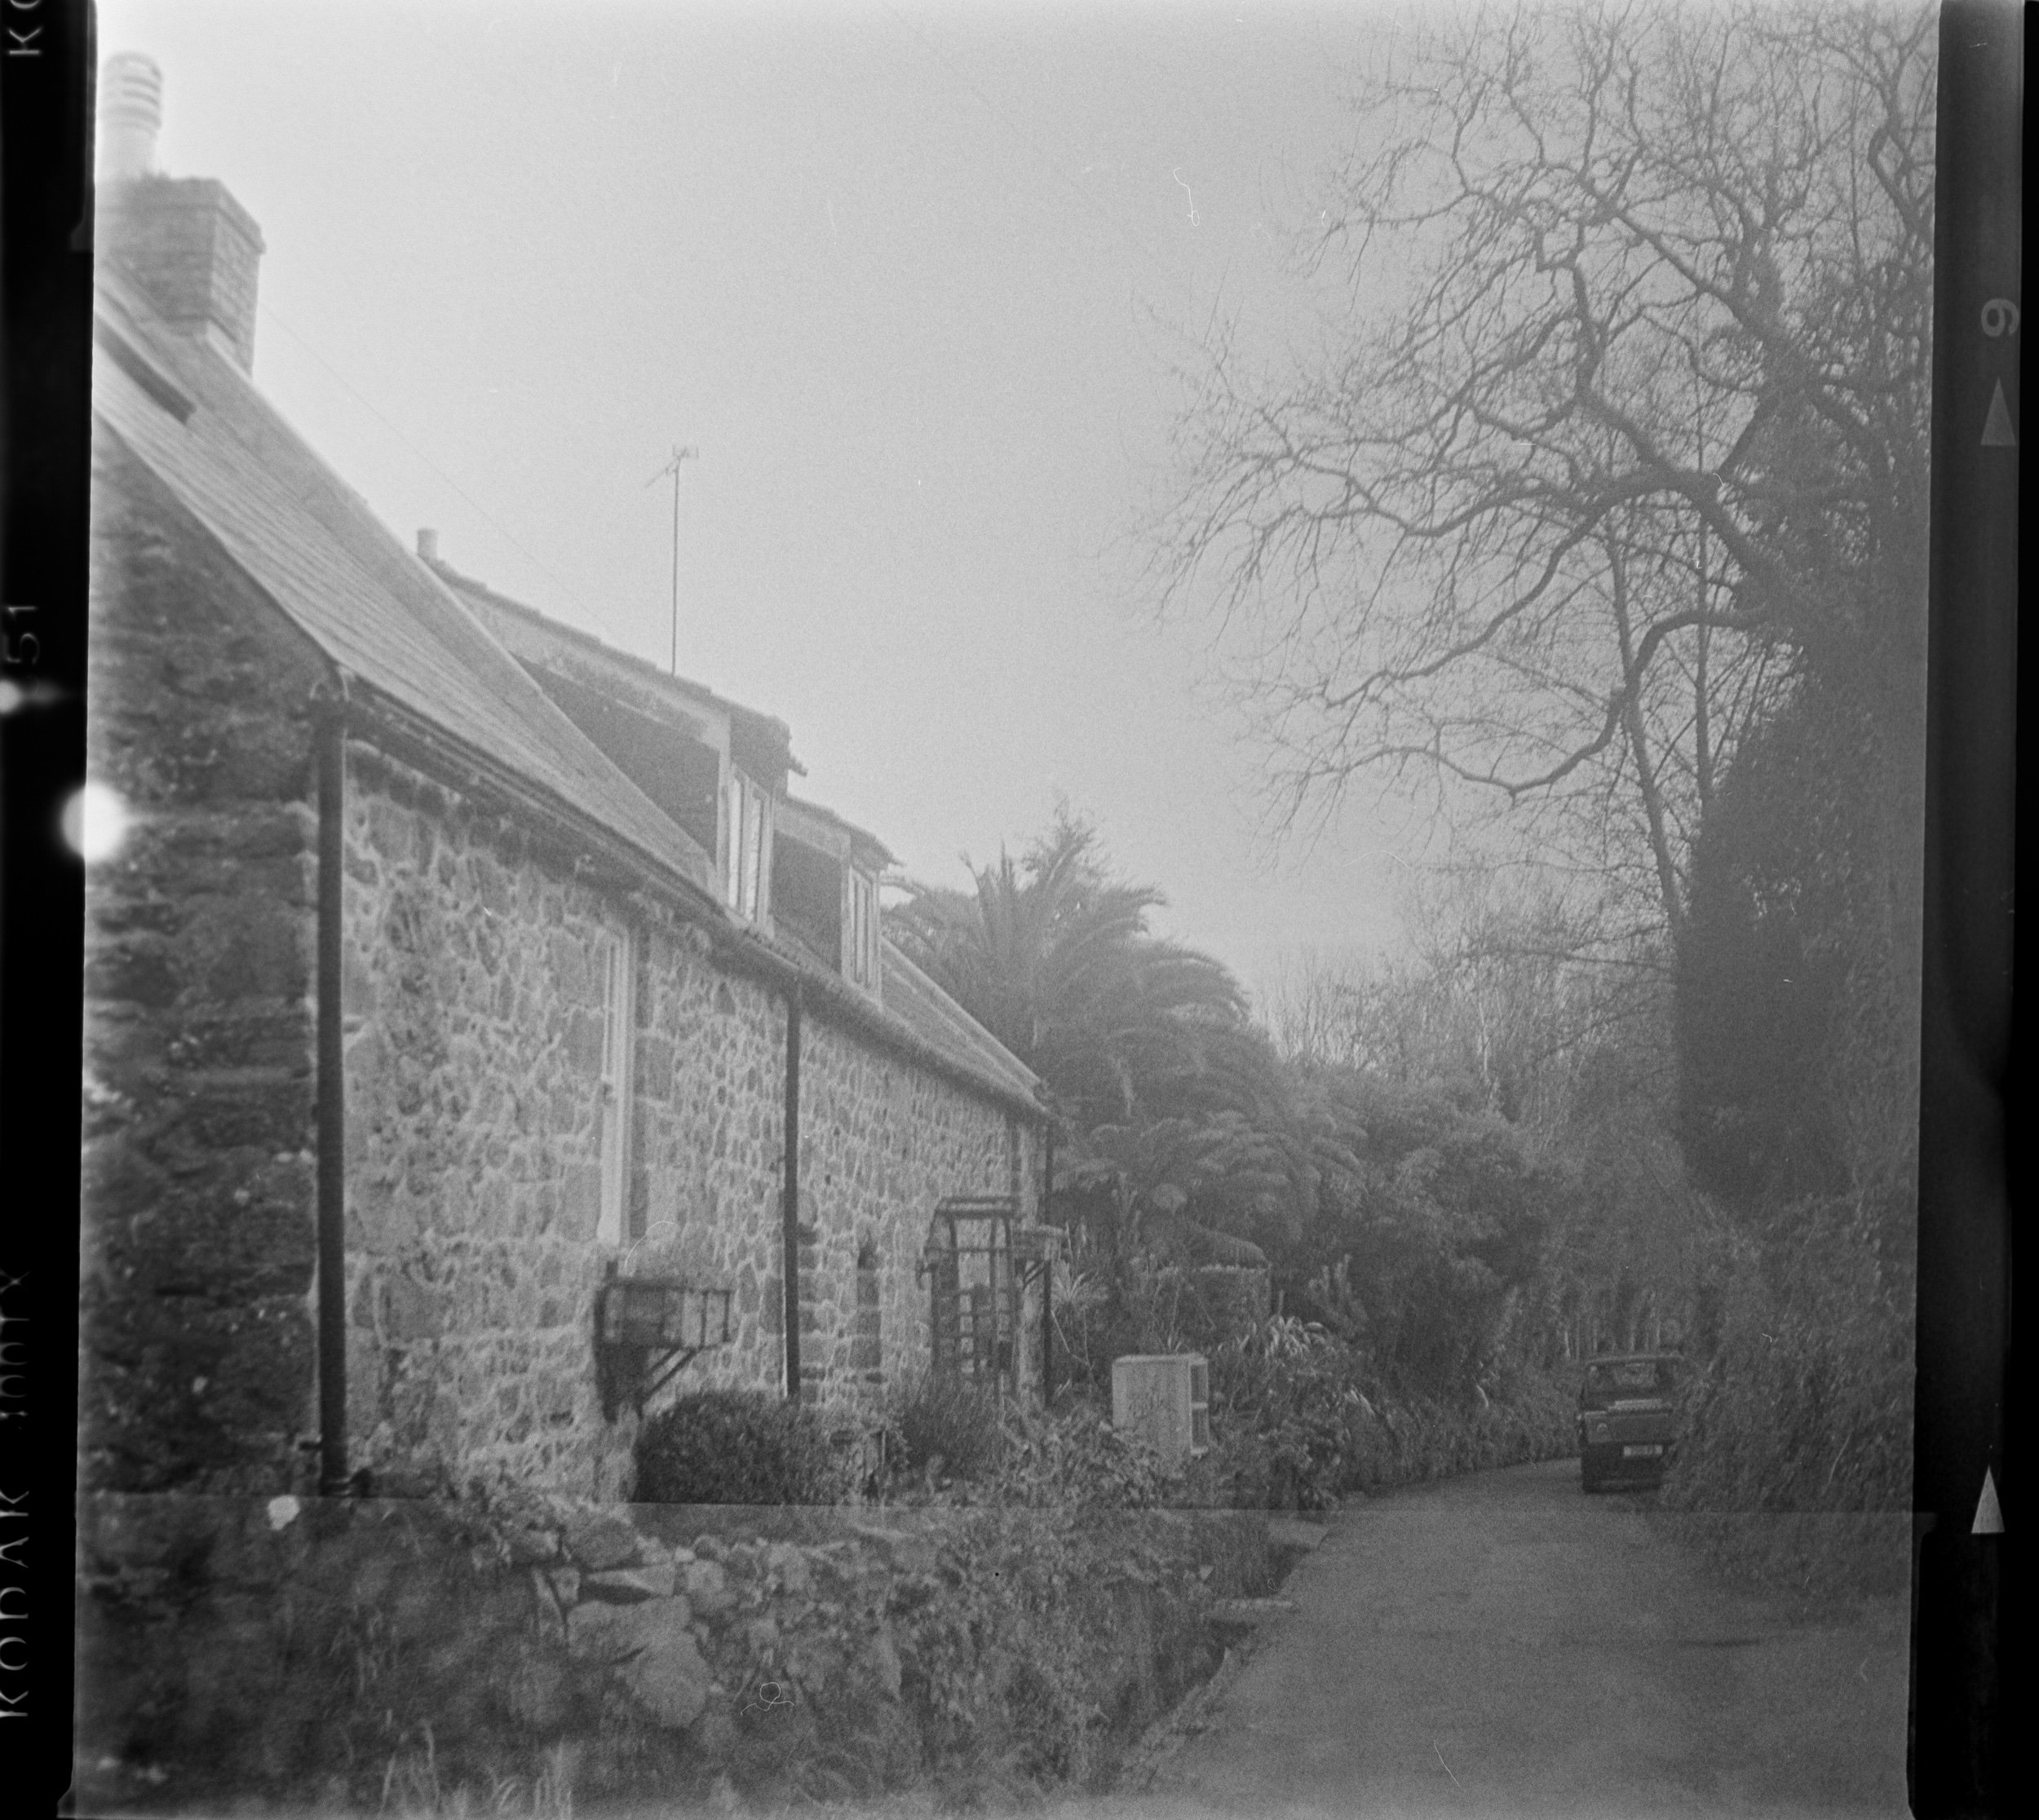
So I made a prototype out of cardboard that seemed to work well, I then took the measurements into a 3d program and made up a model that I could take to the guernsey local library and 3d print. So with a bit of tweaking in Lightroom. Here are the results!

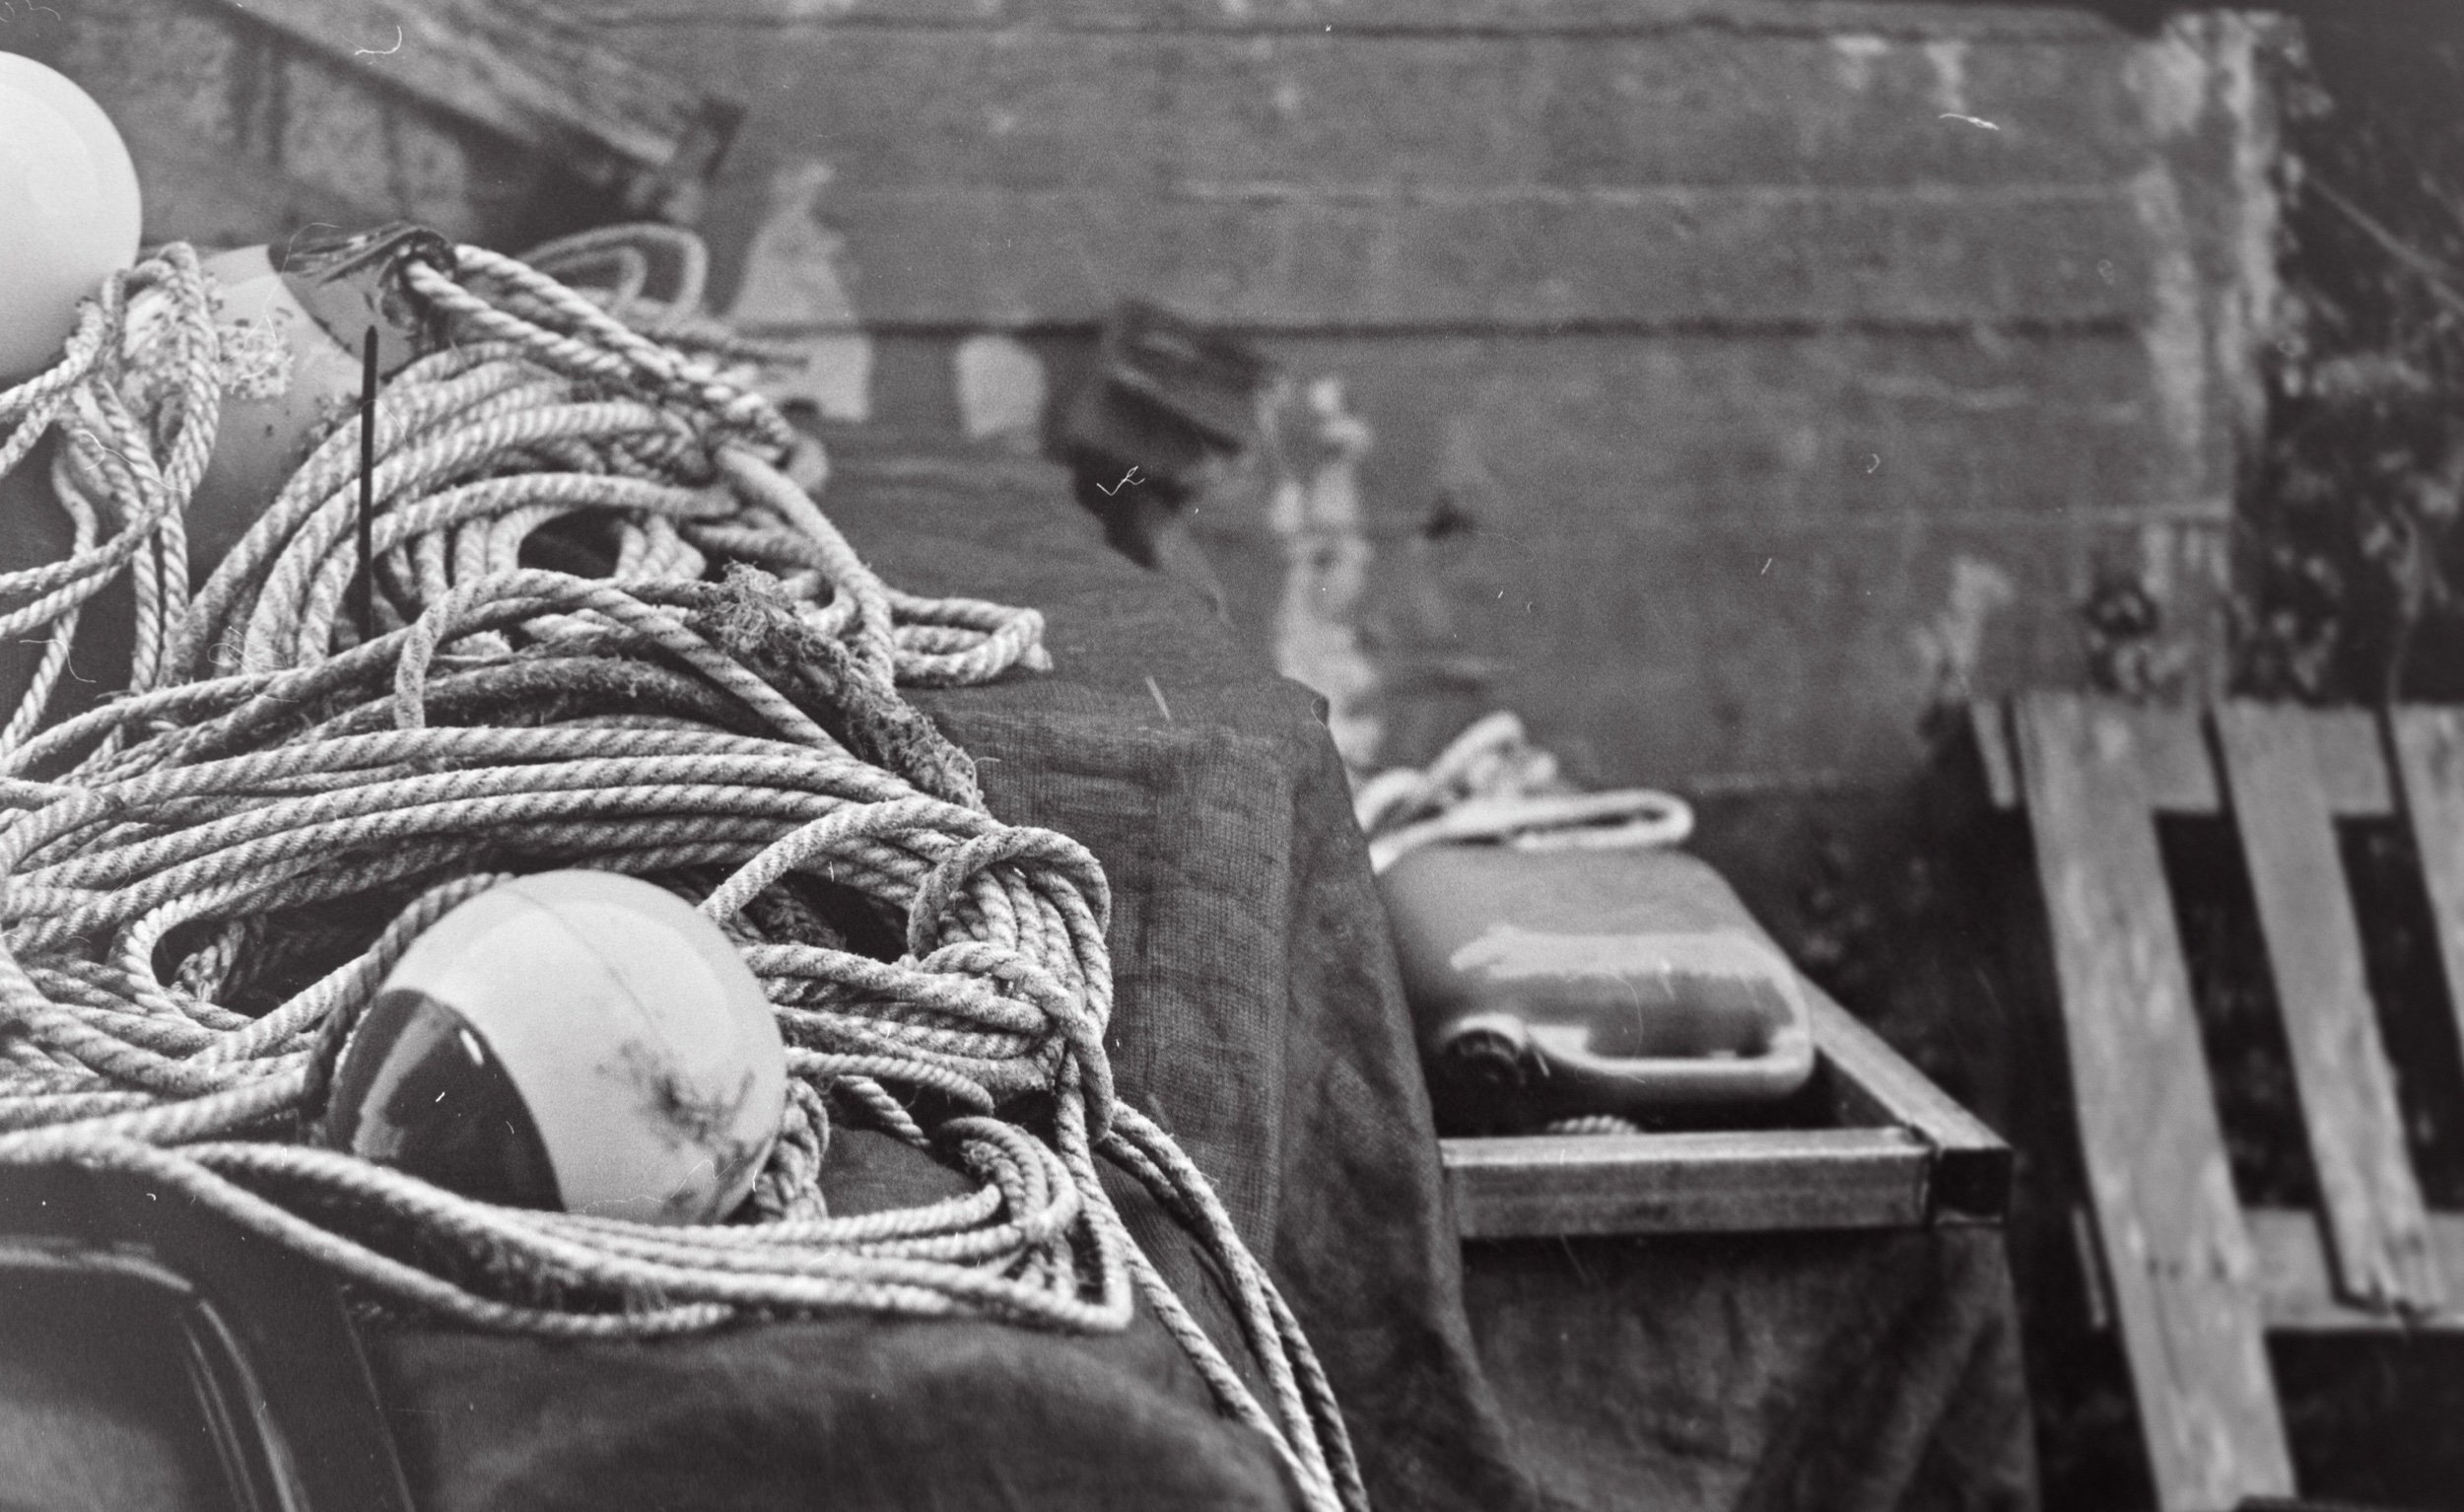

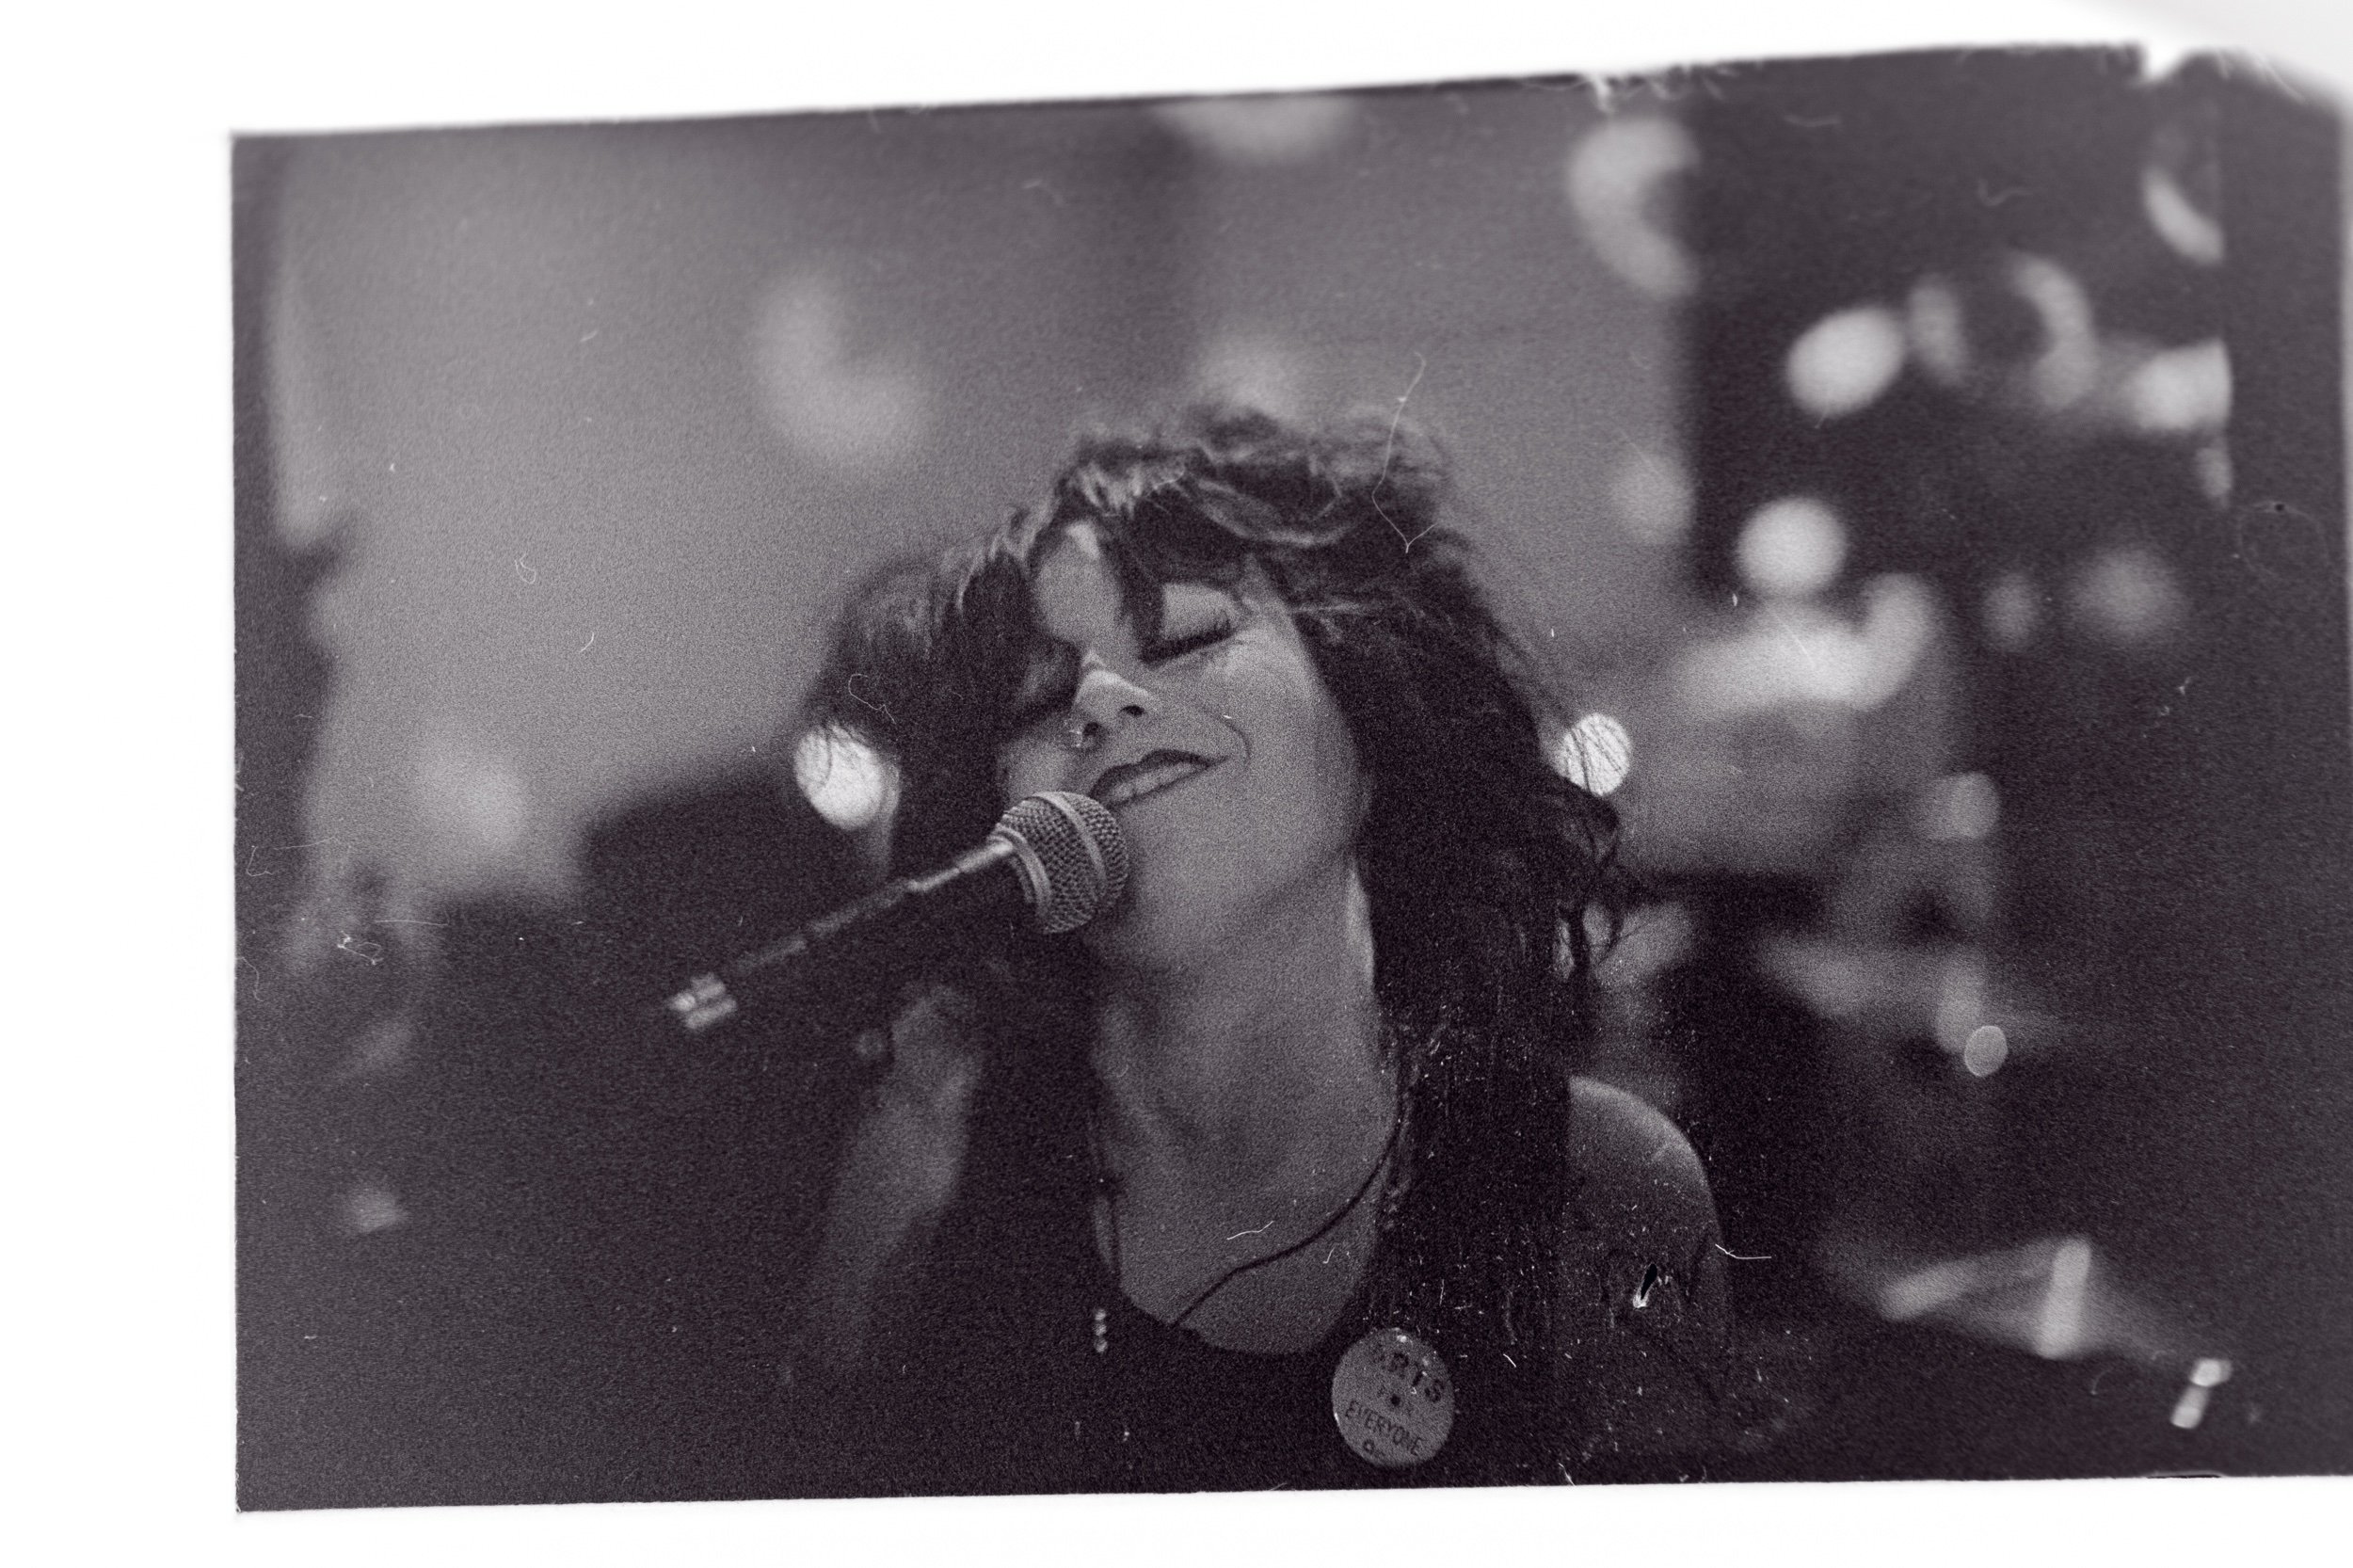
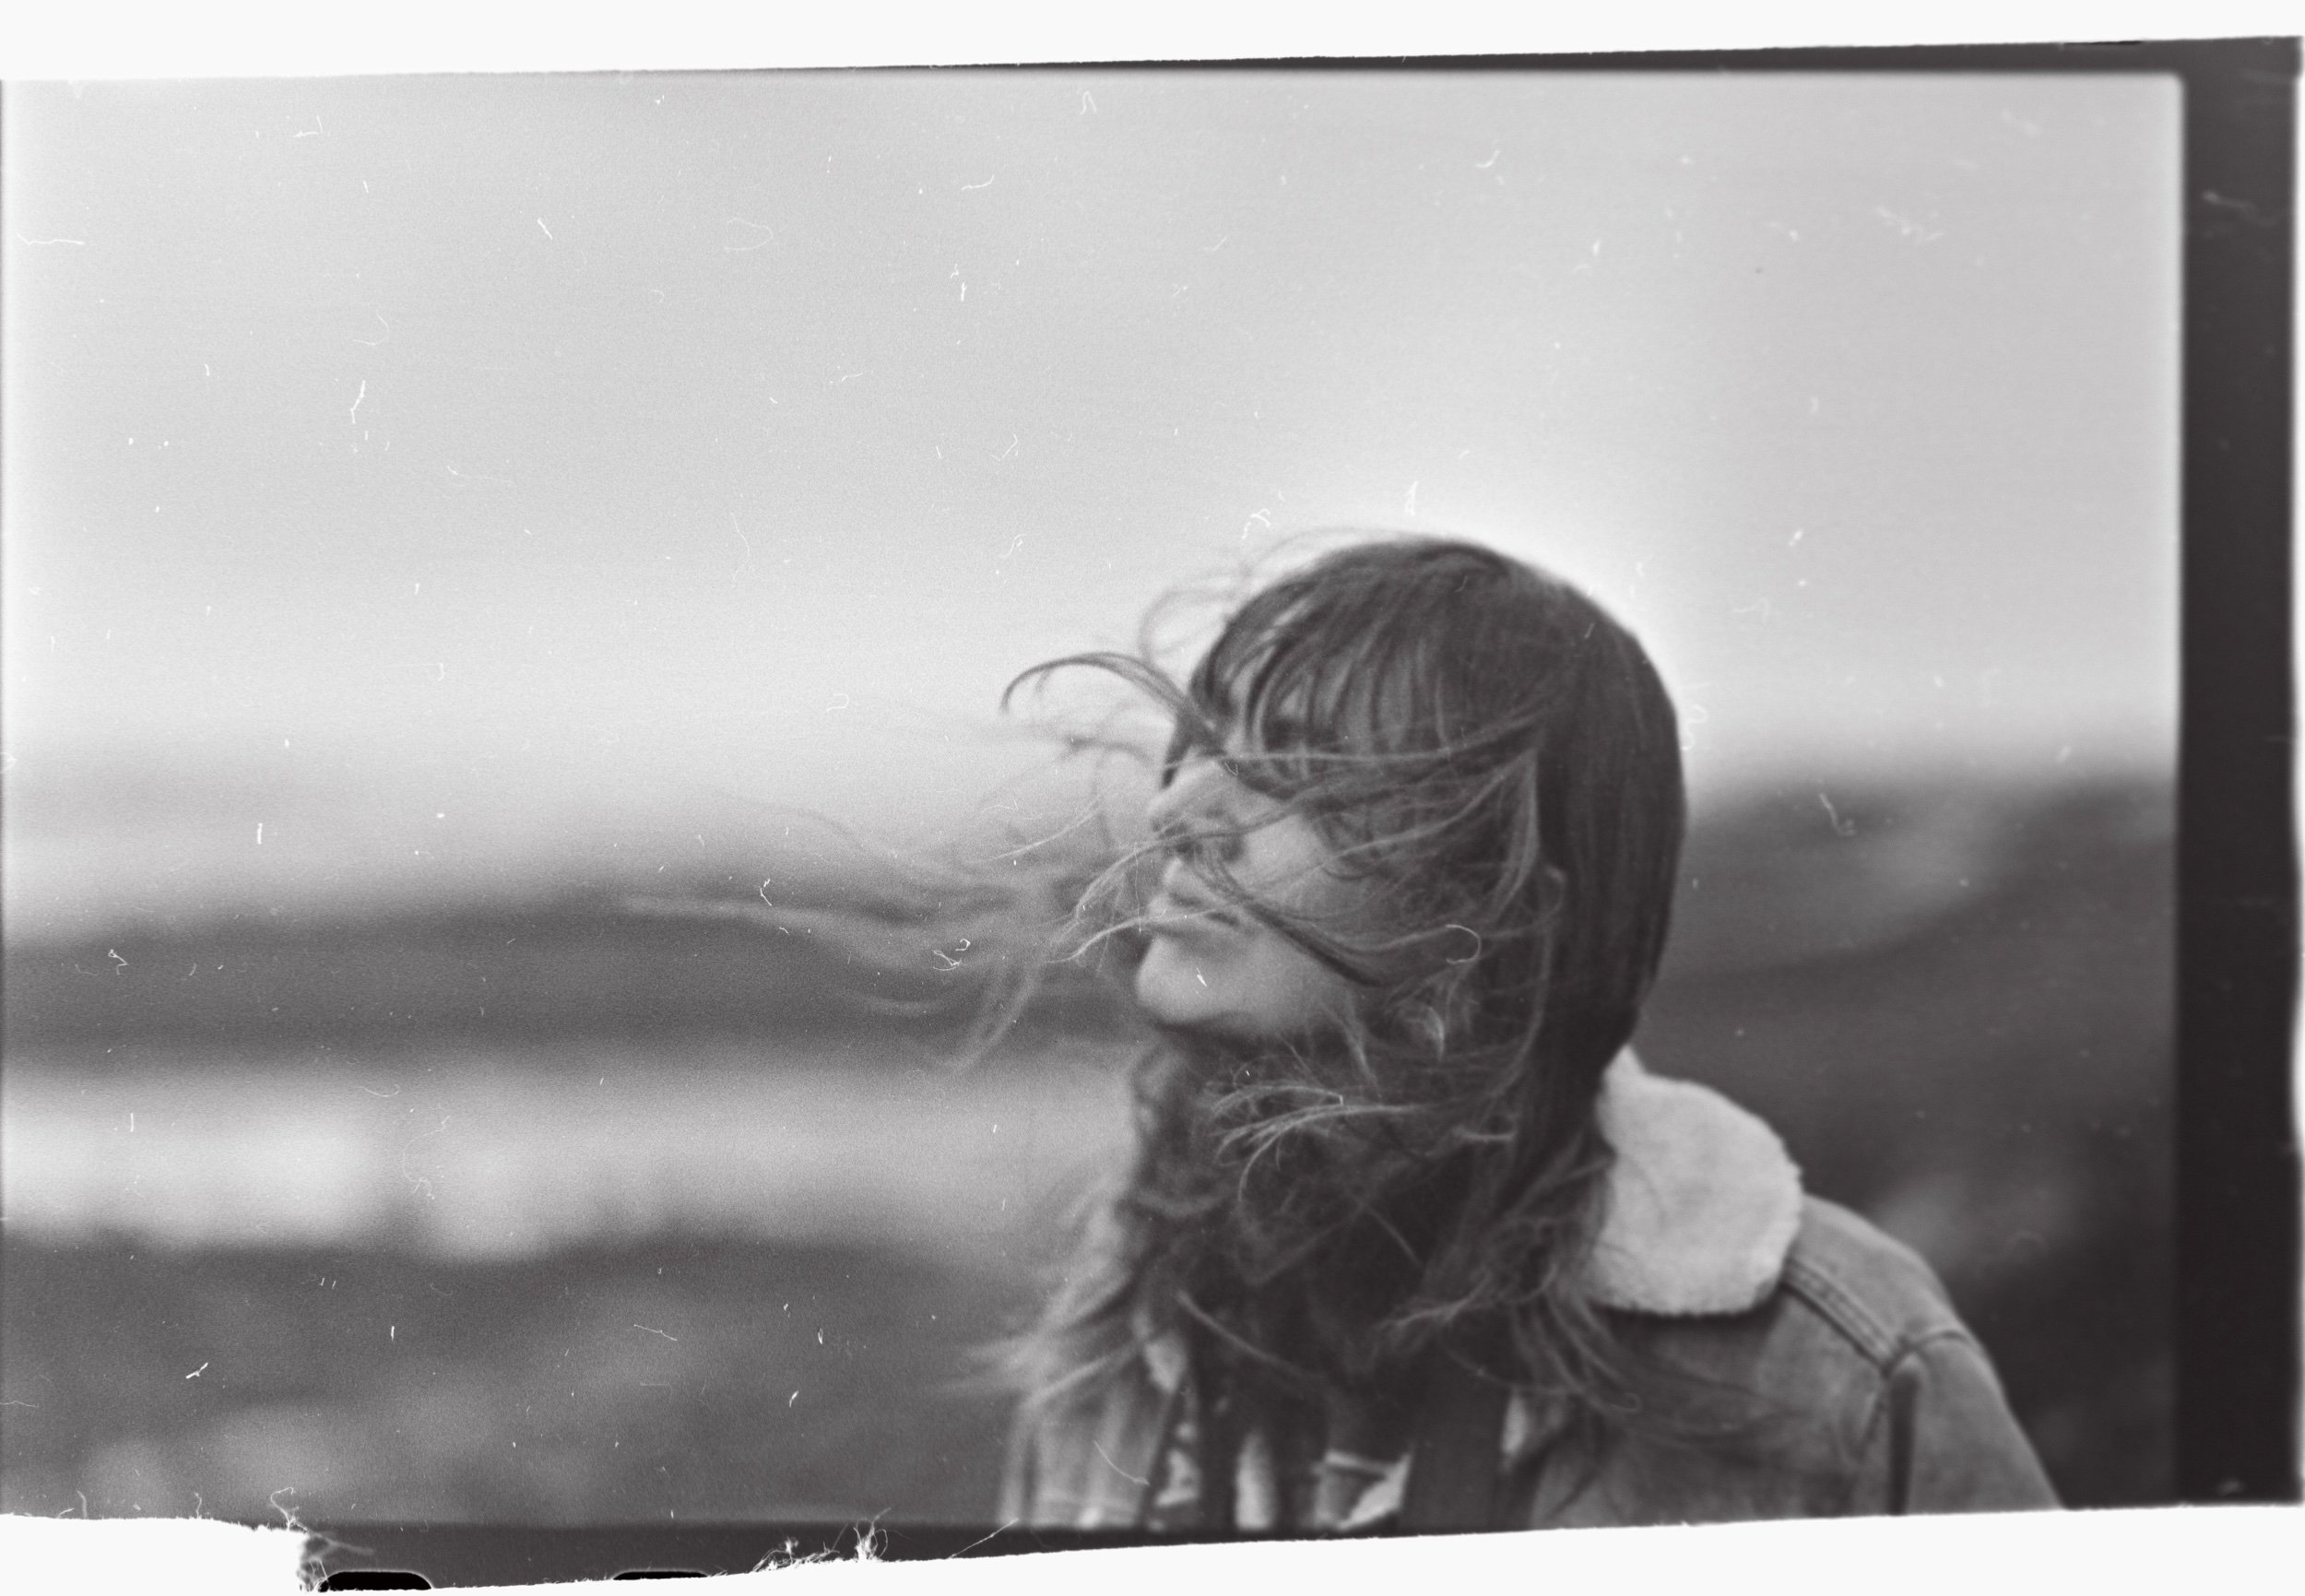

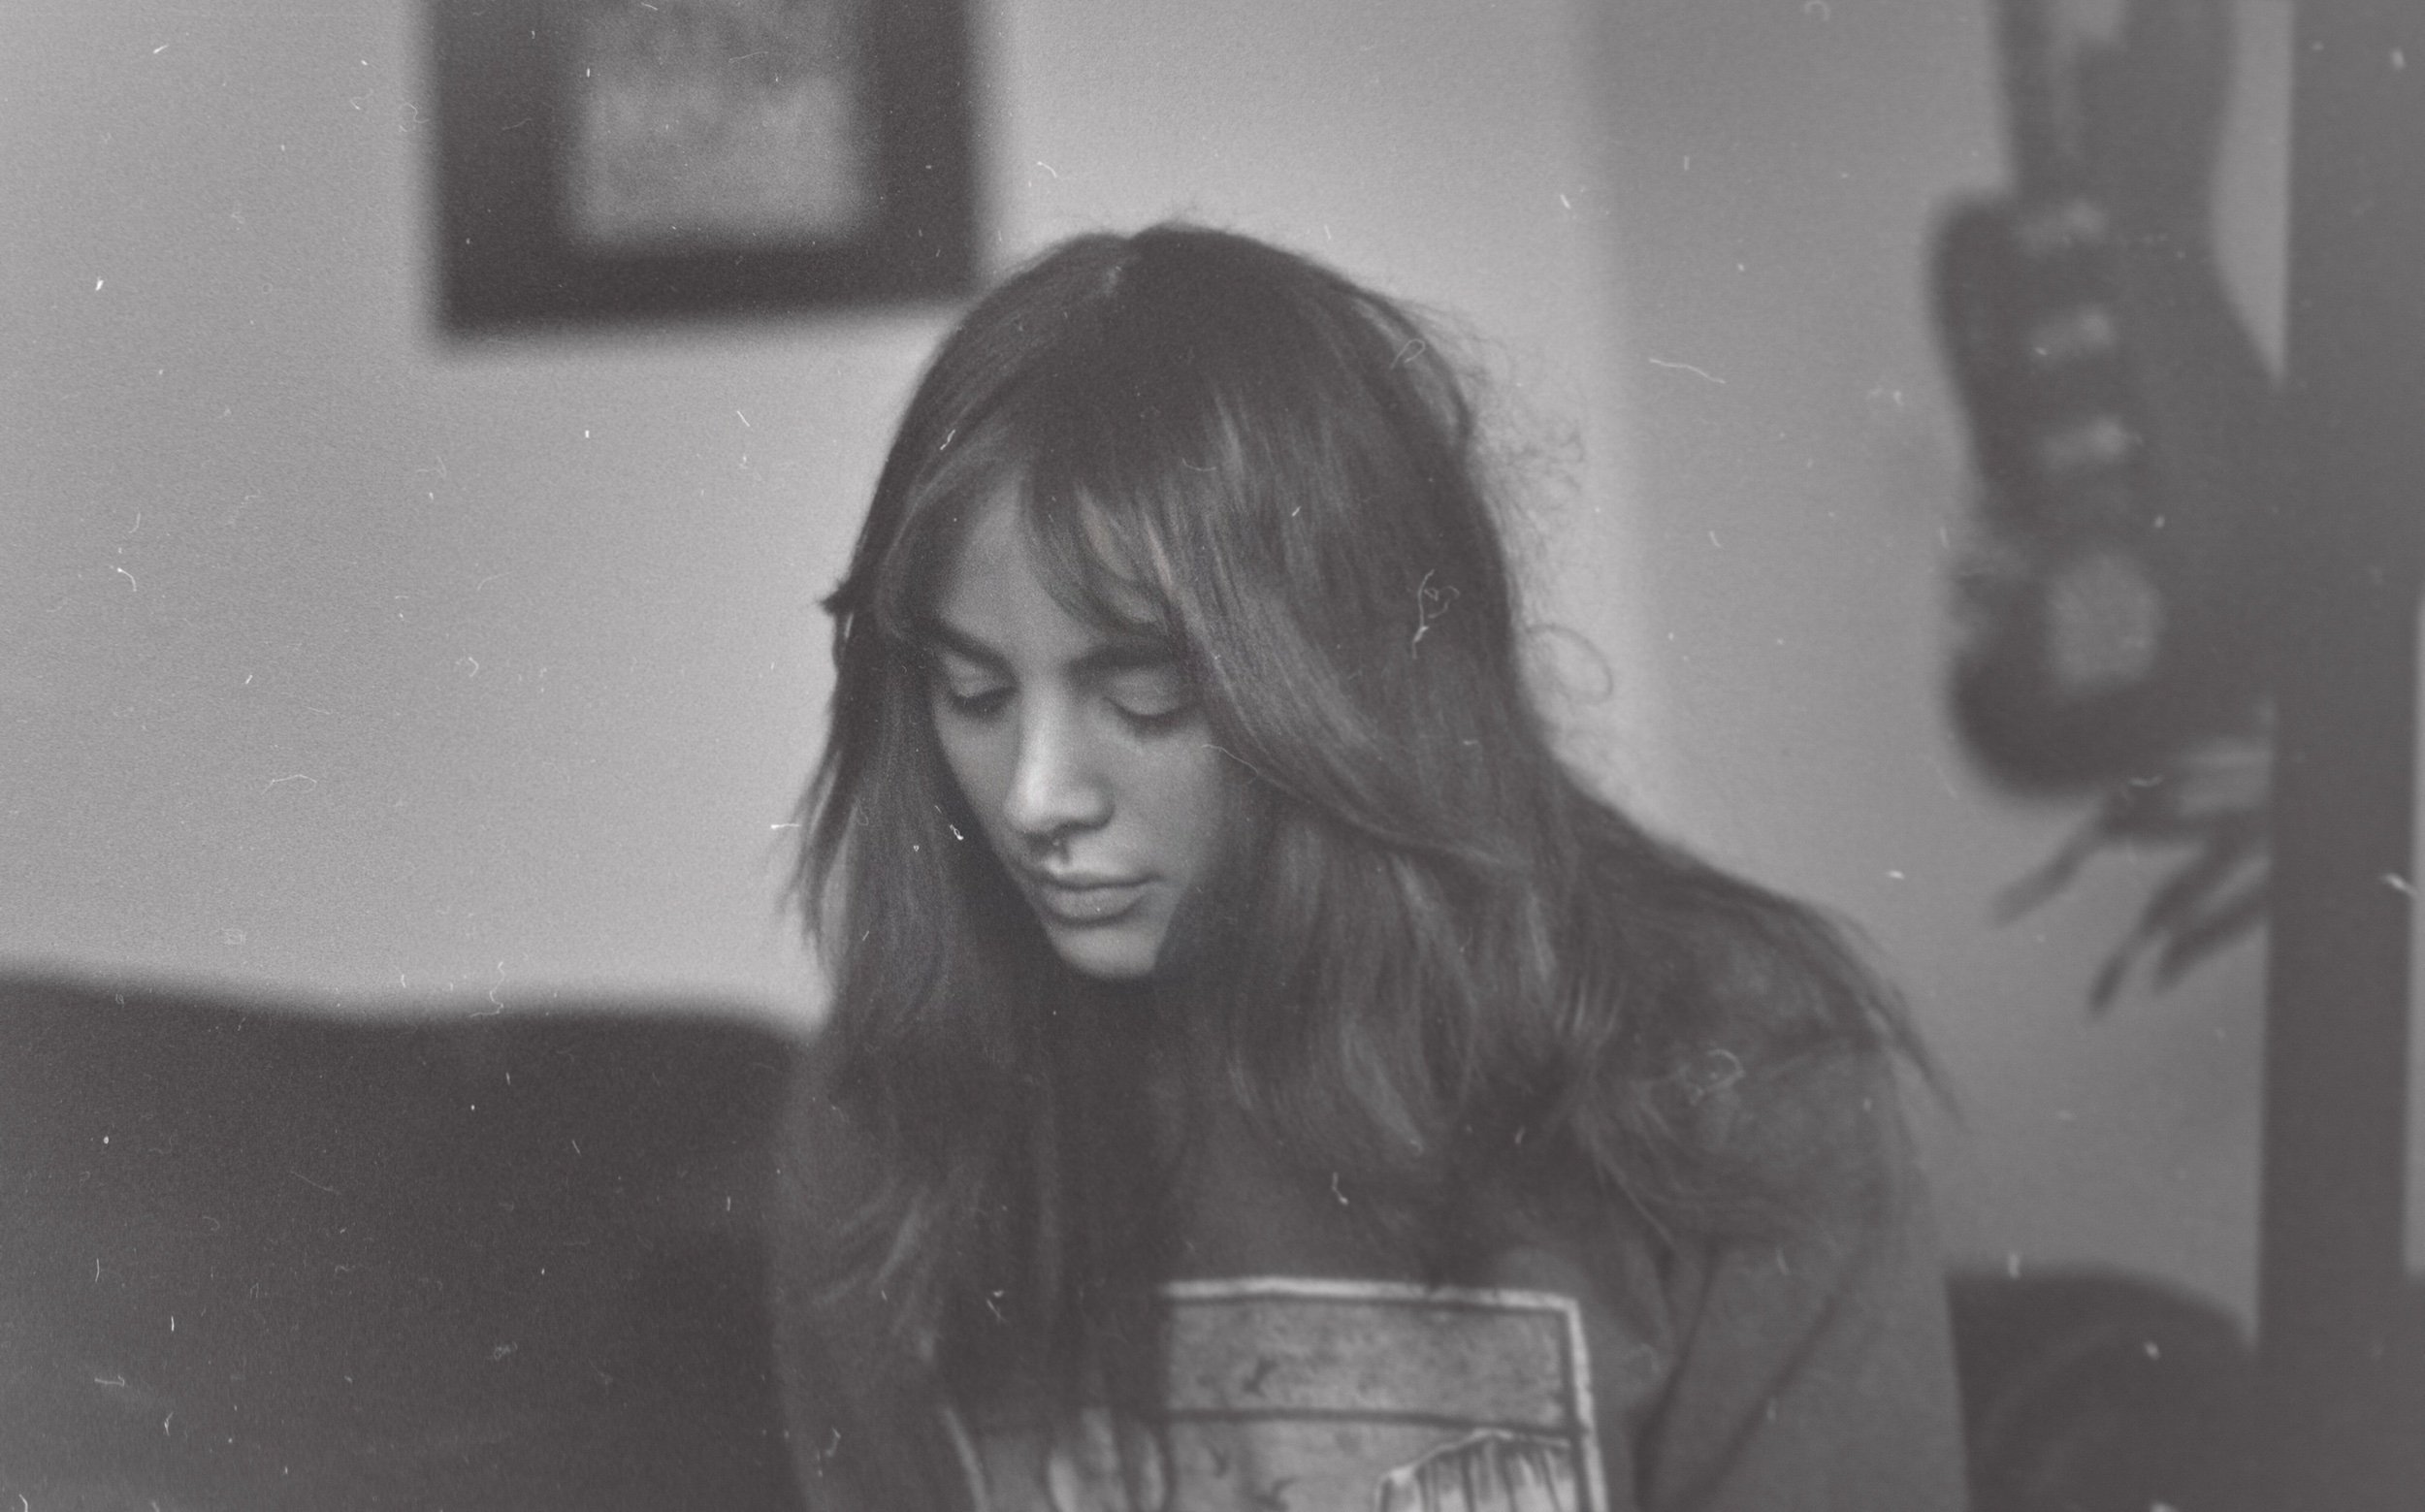
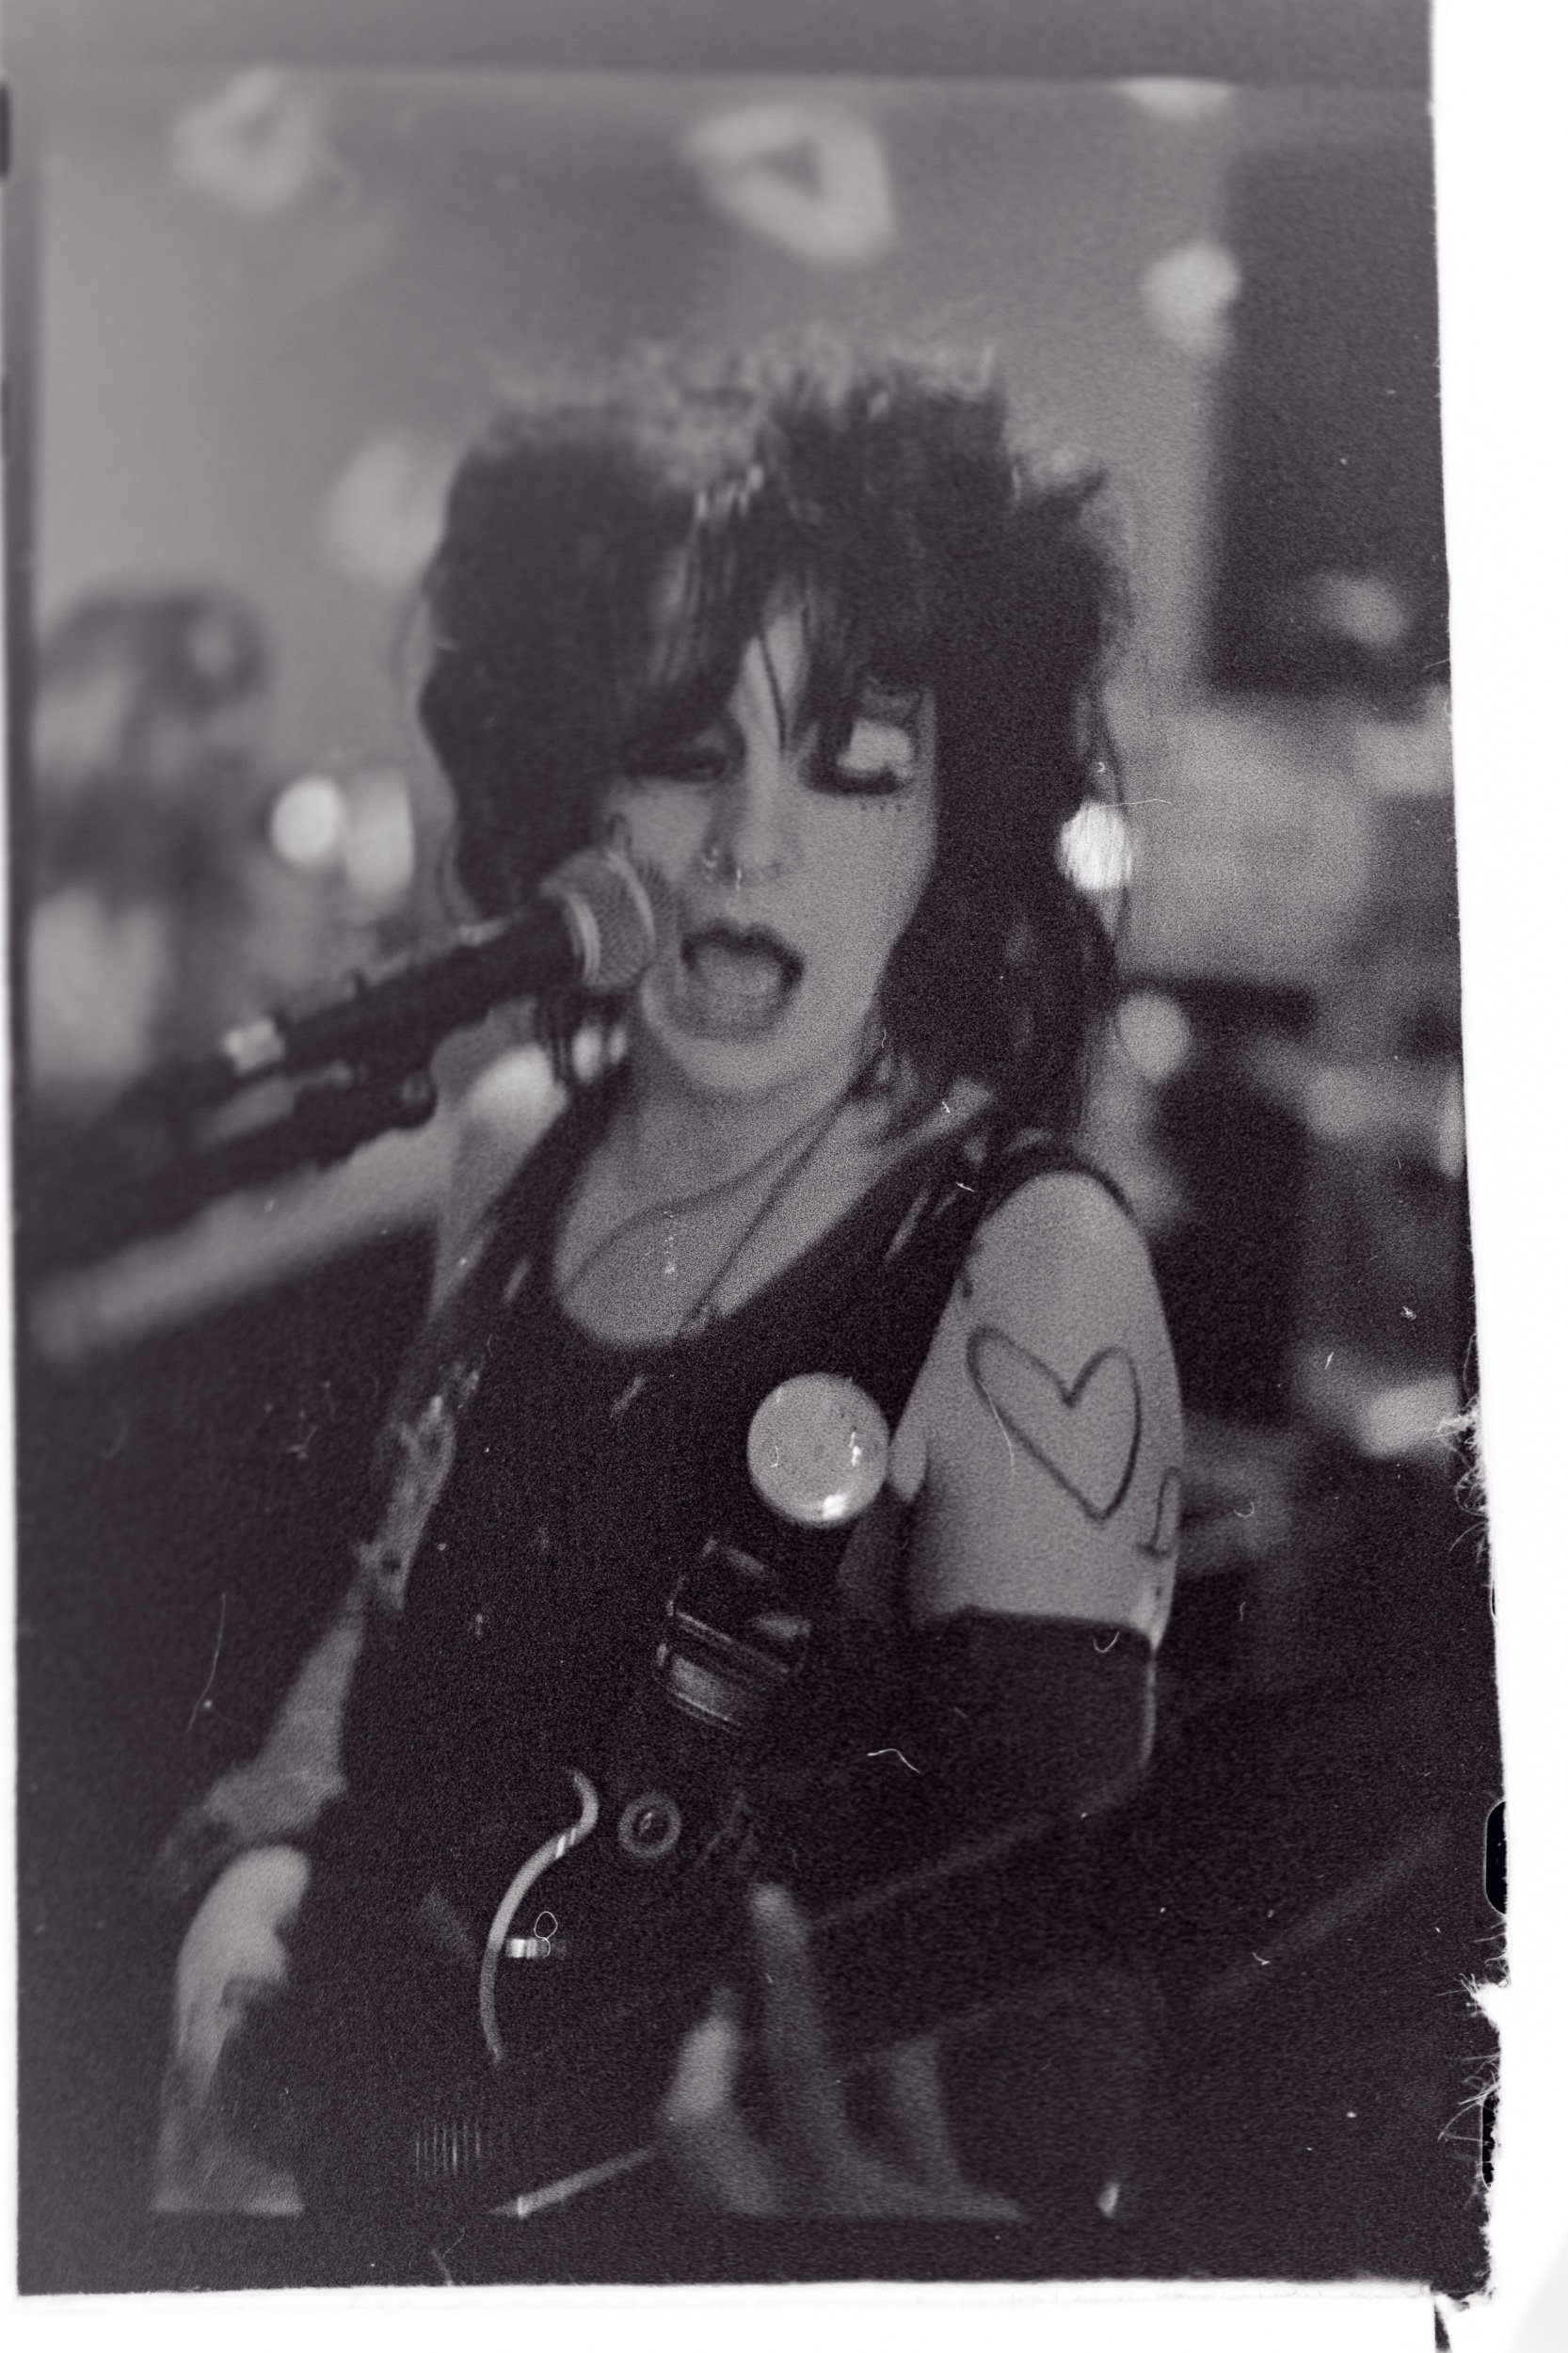
So clearly there’s a few improvements to make.
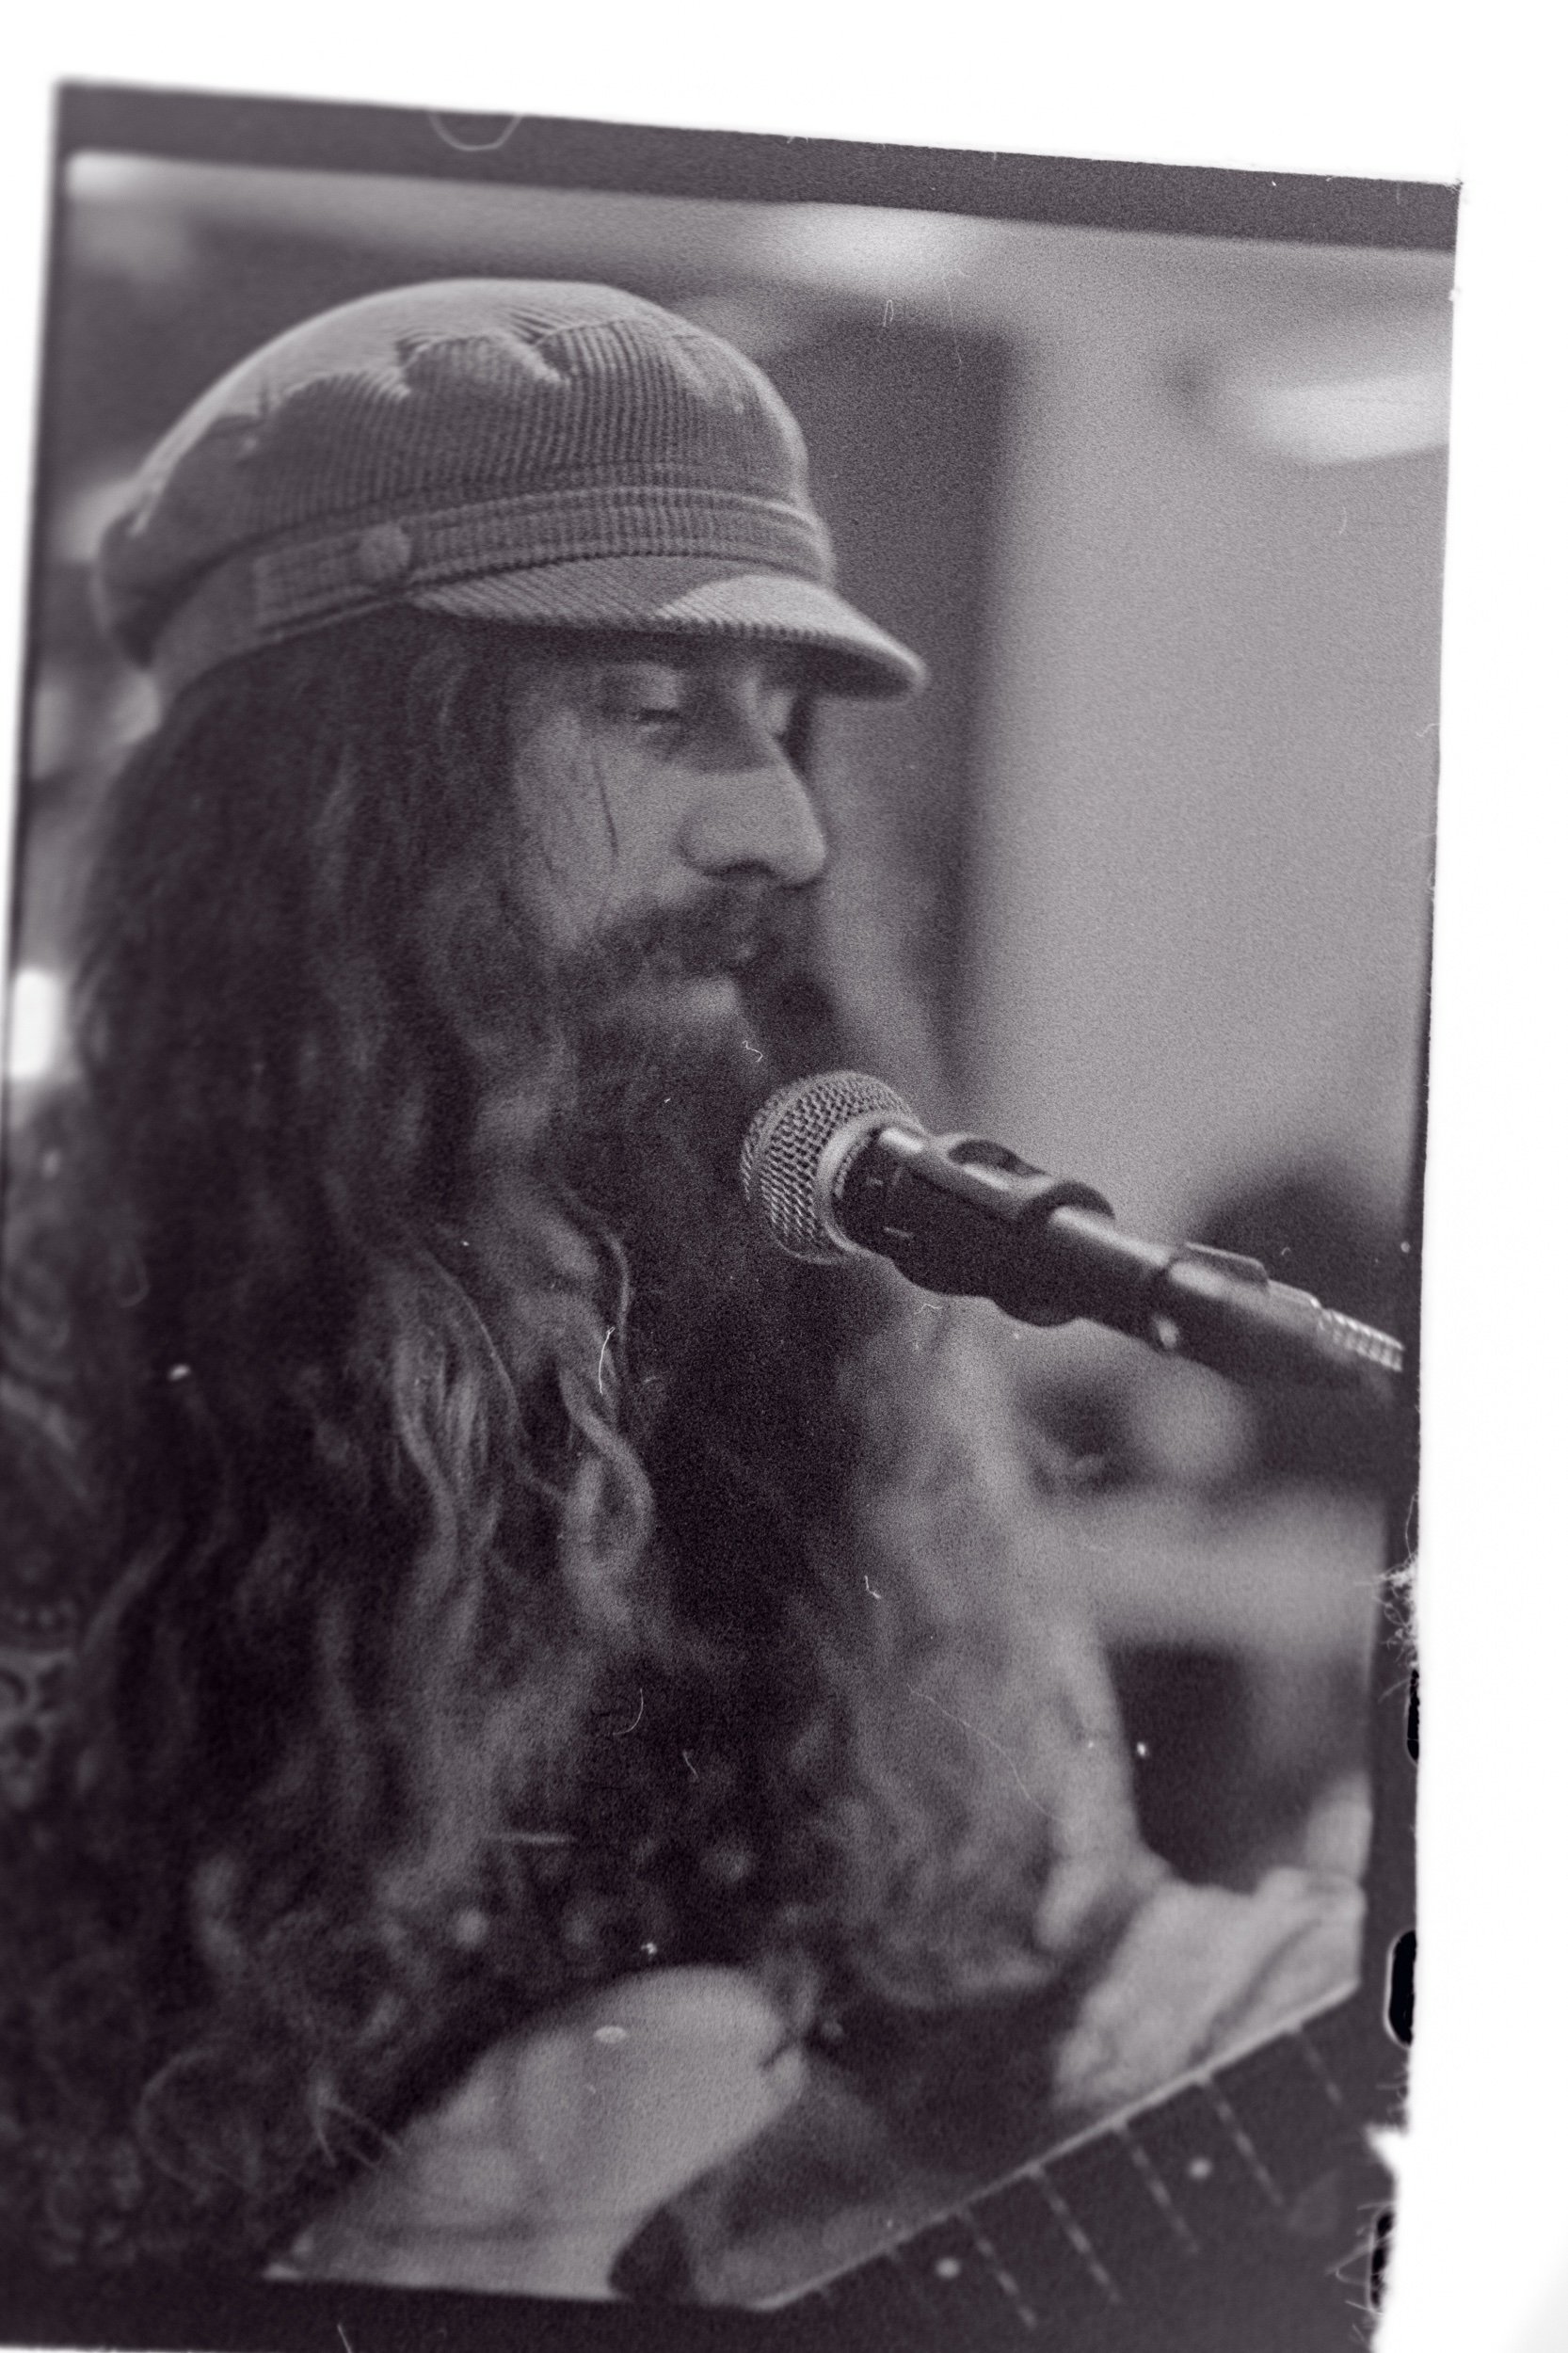
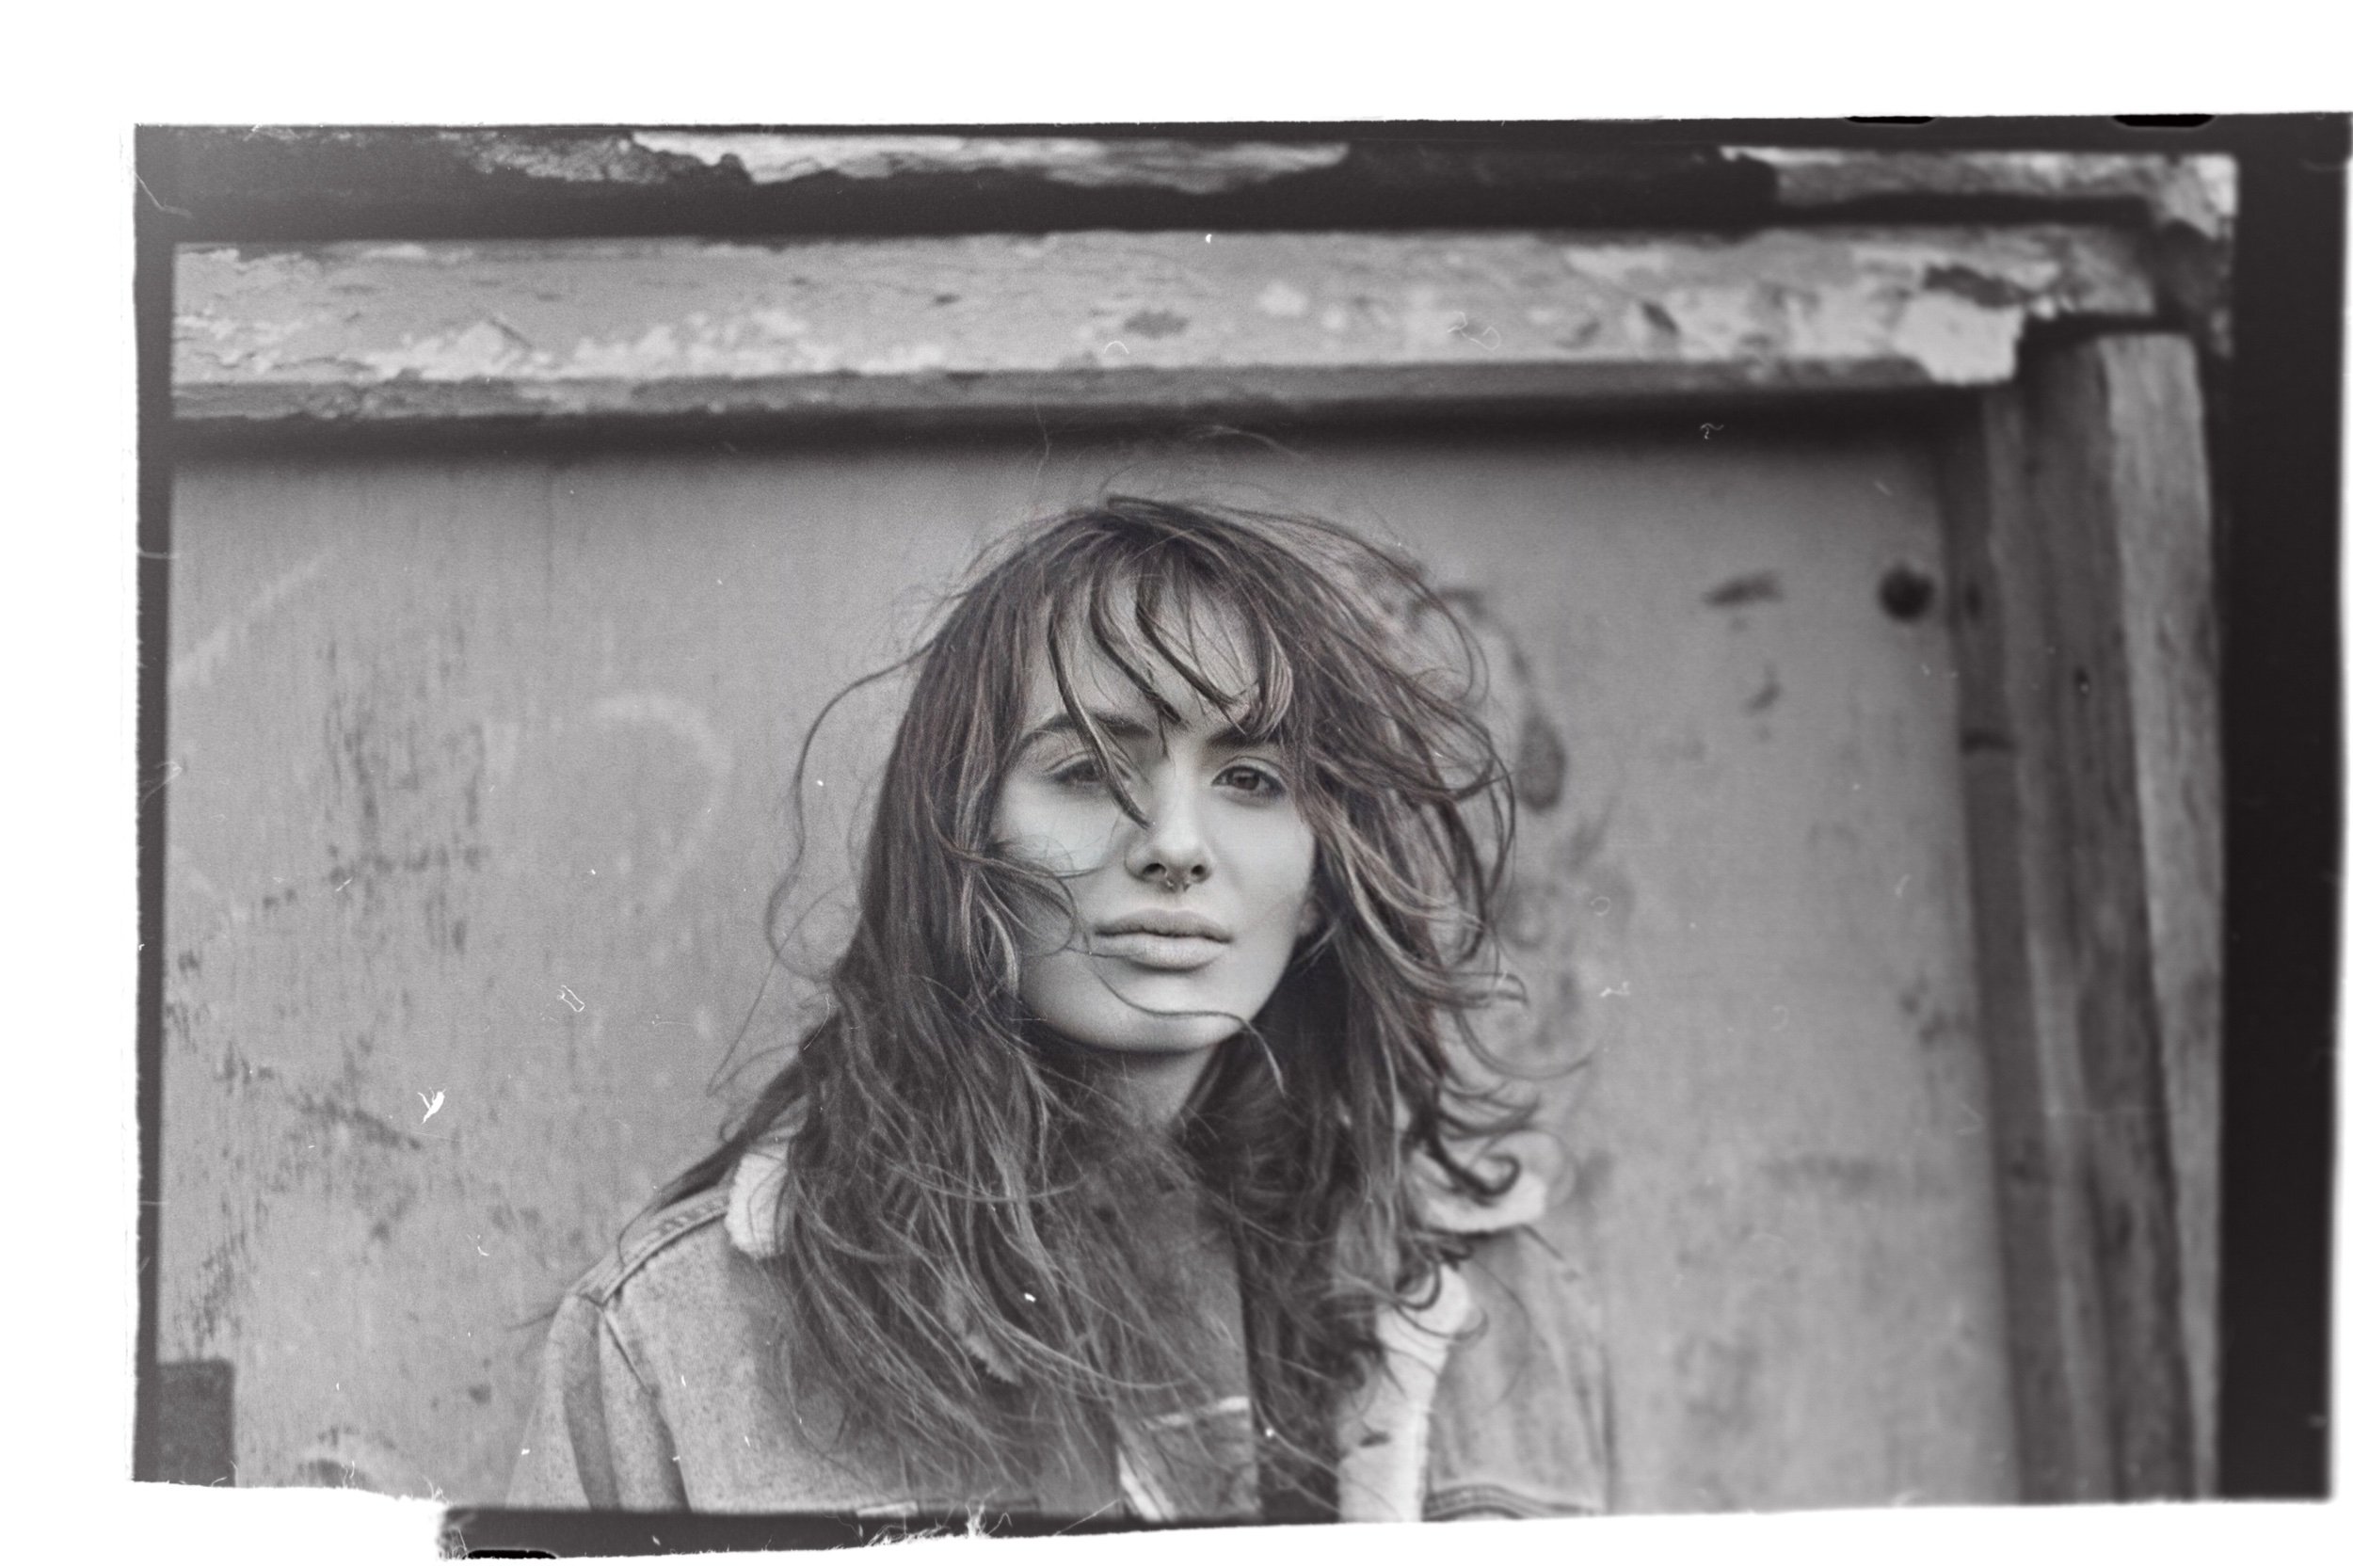
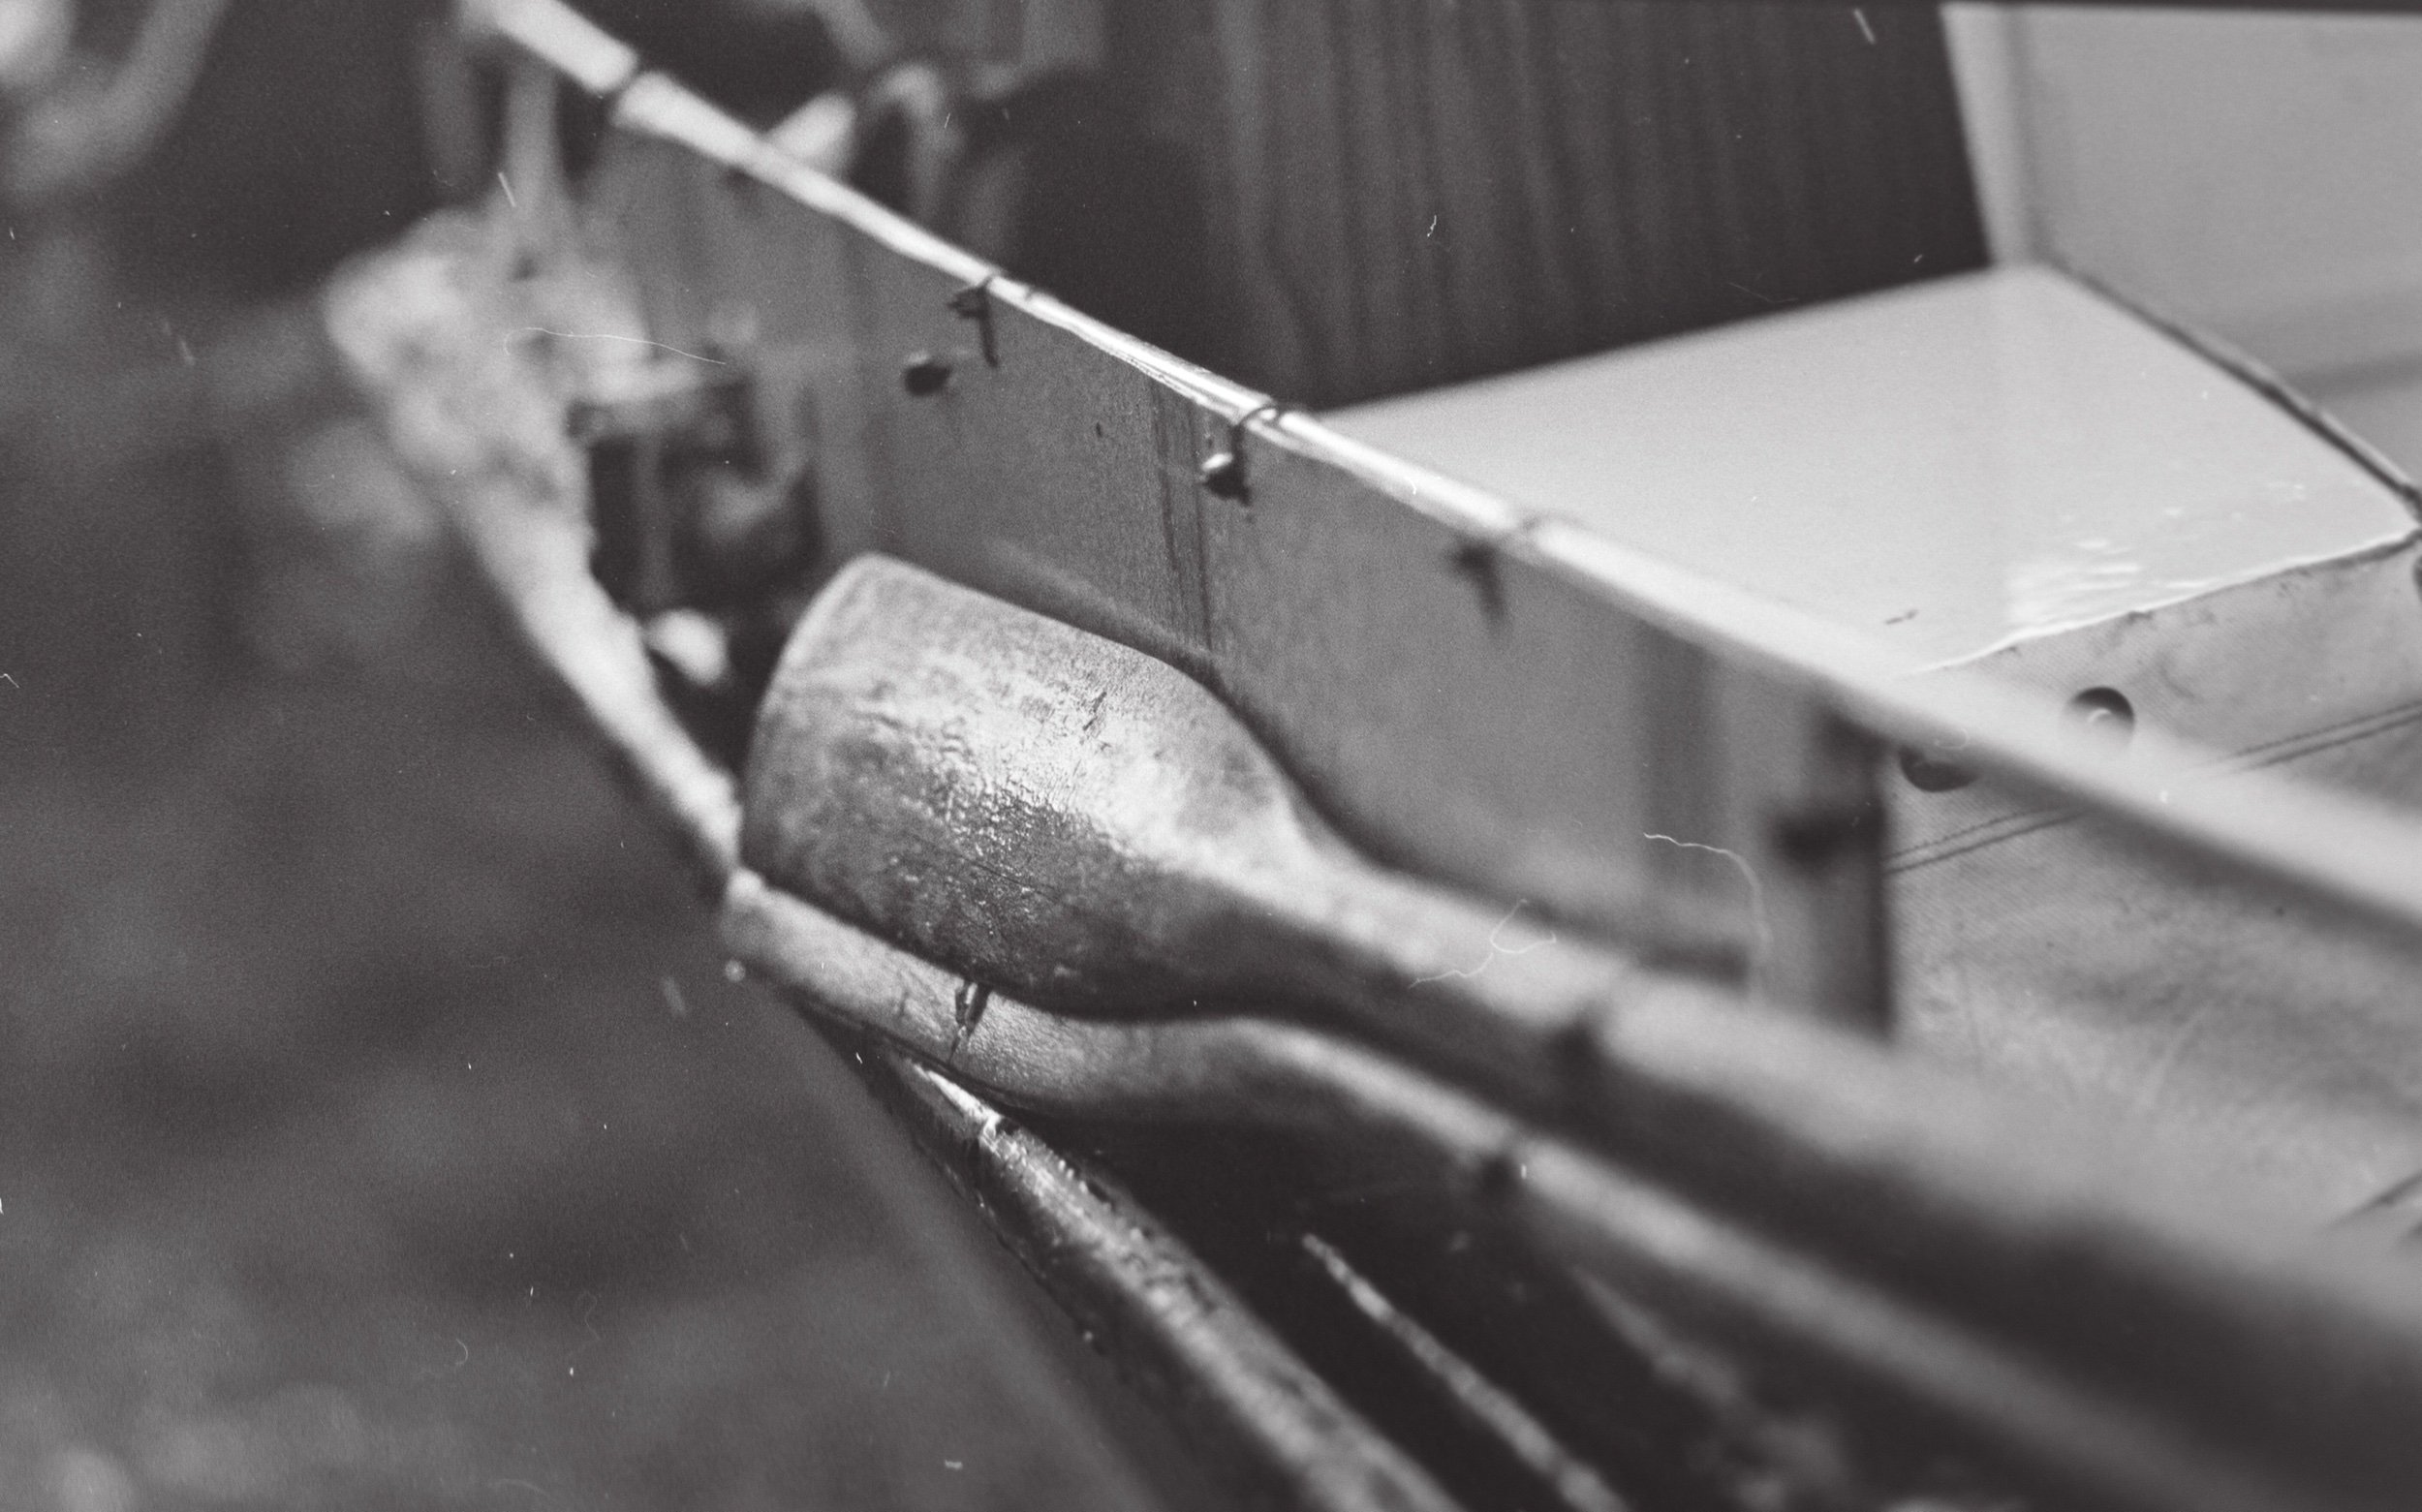
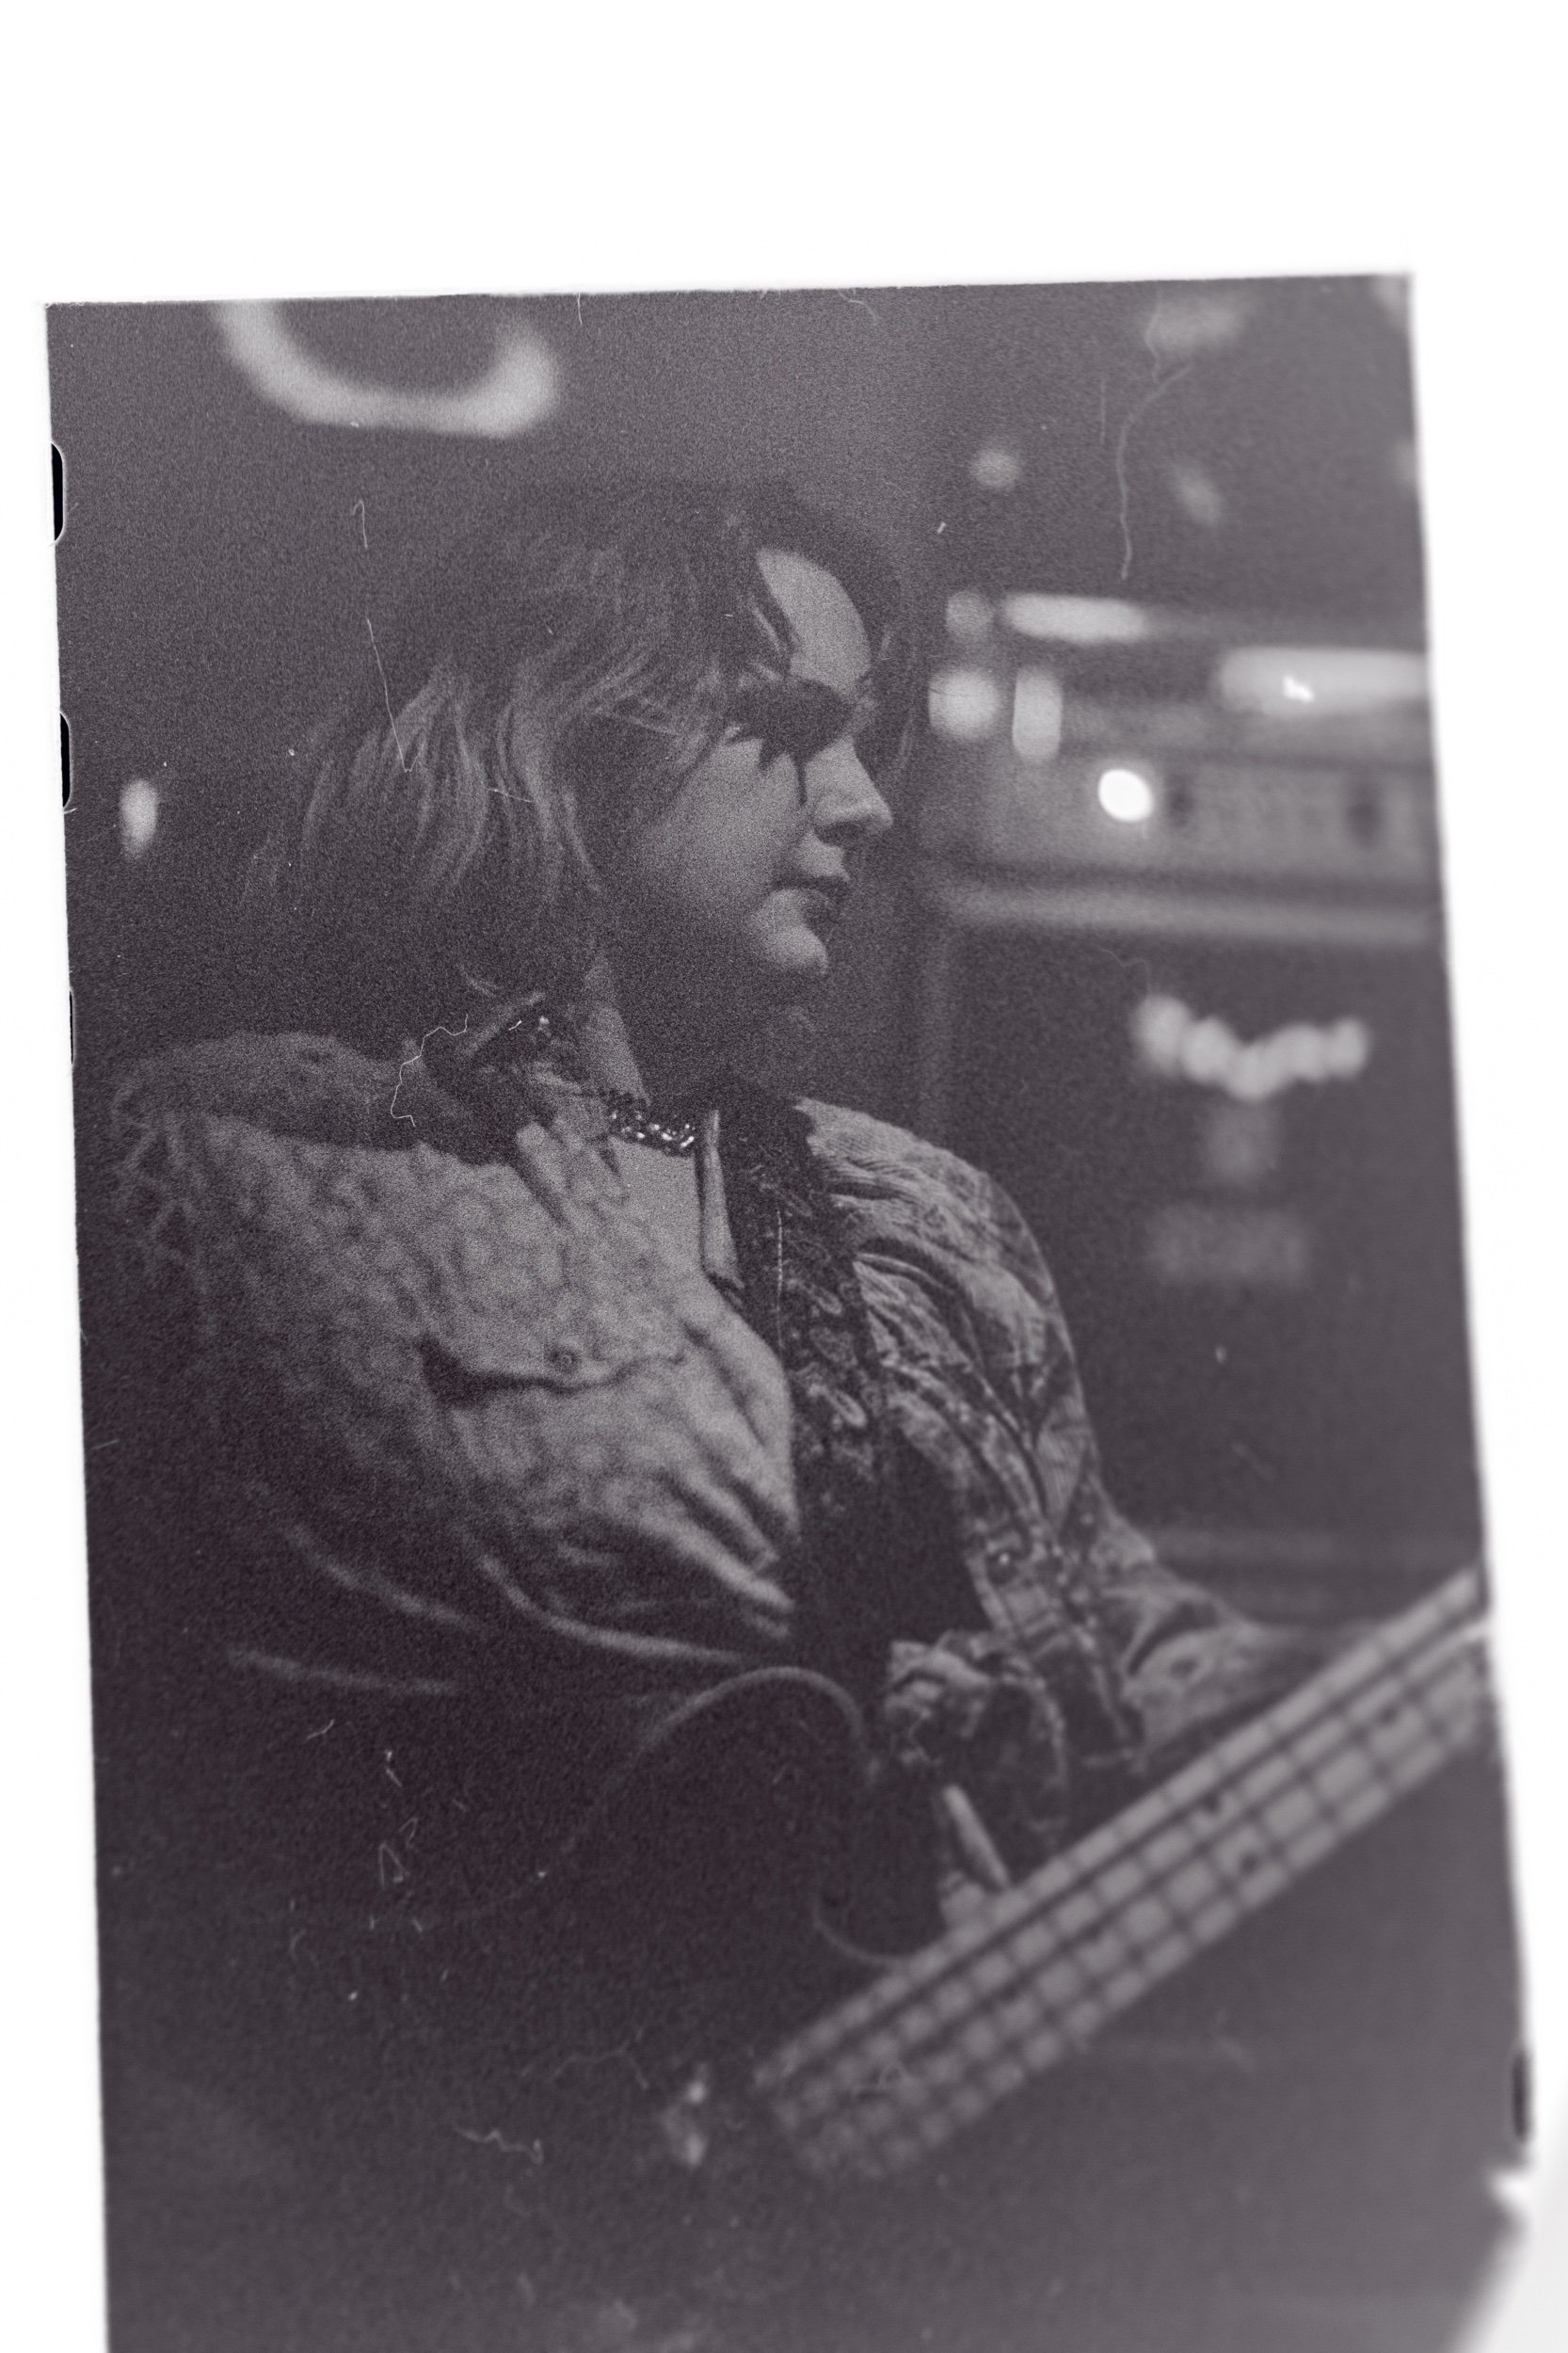
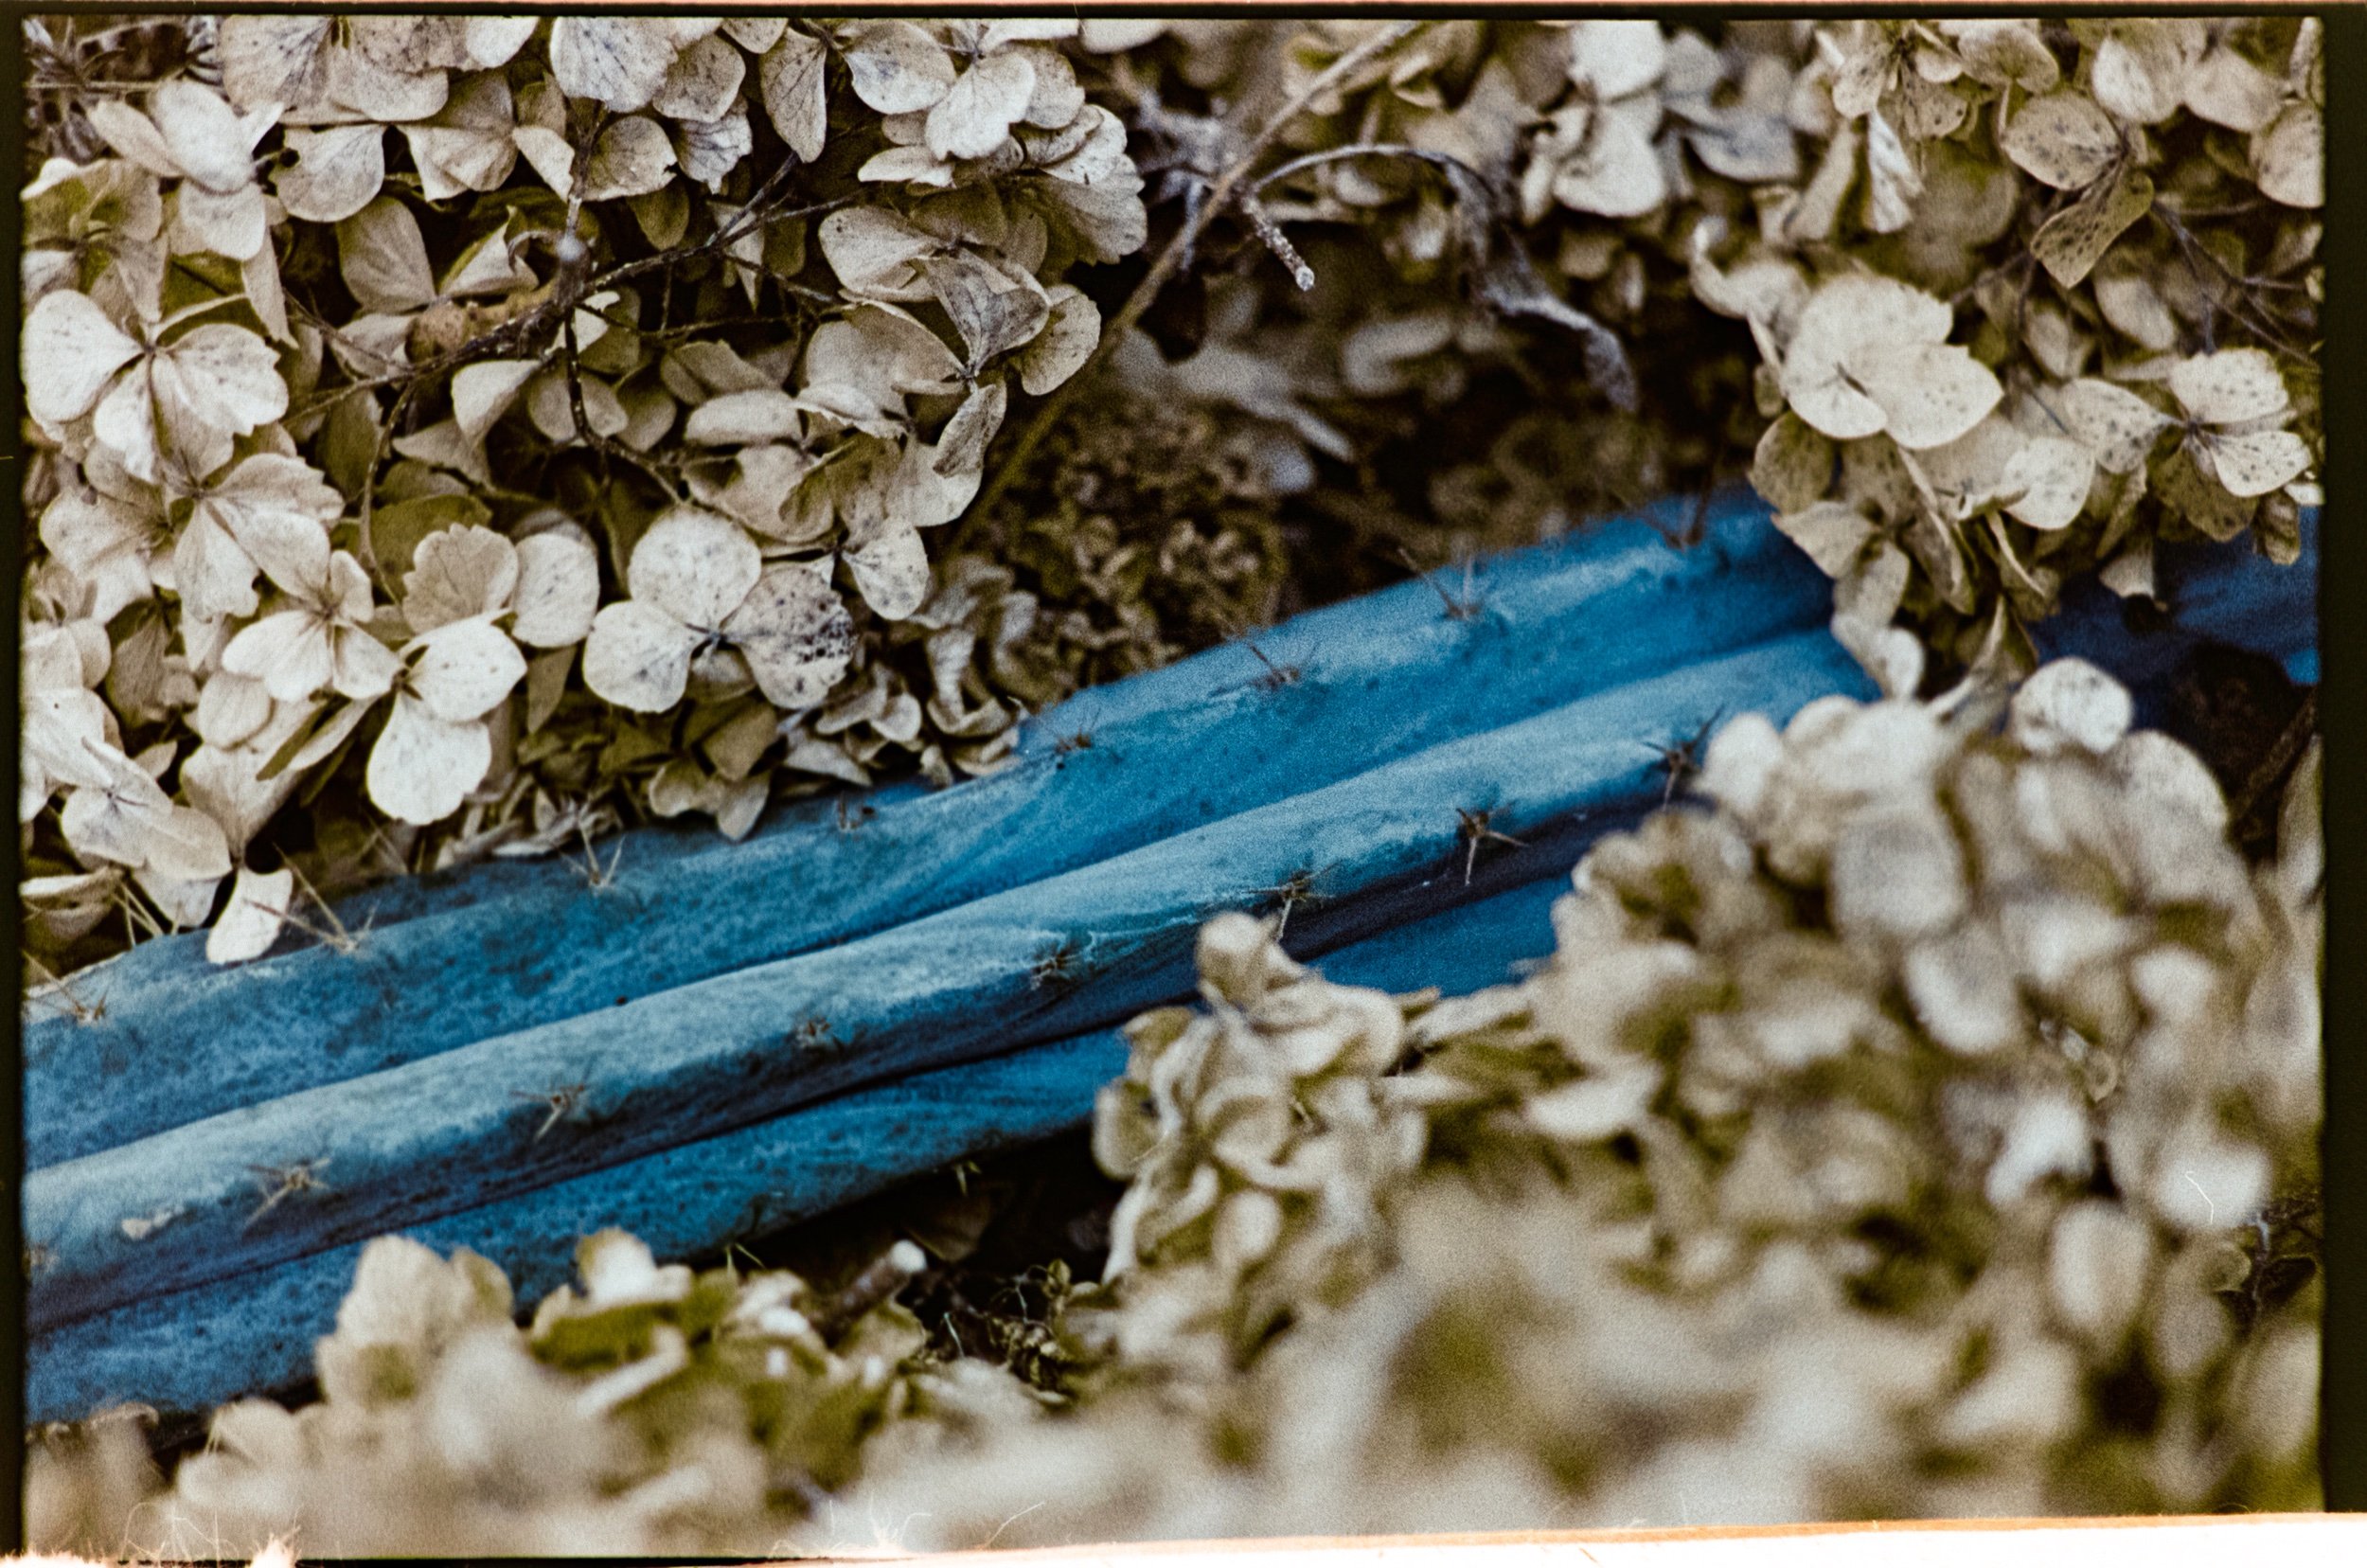
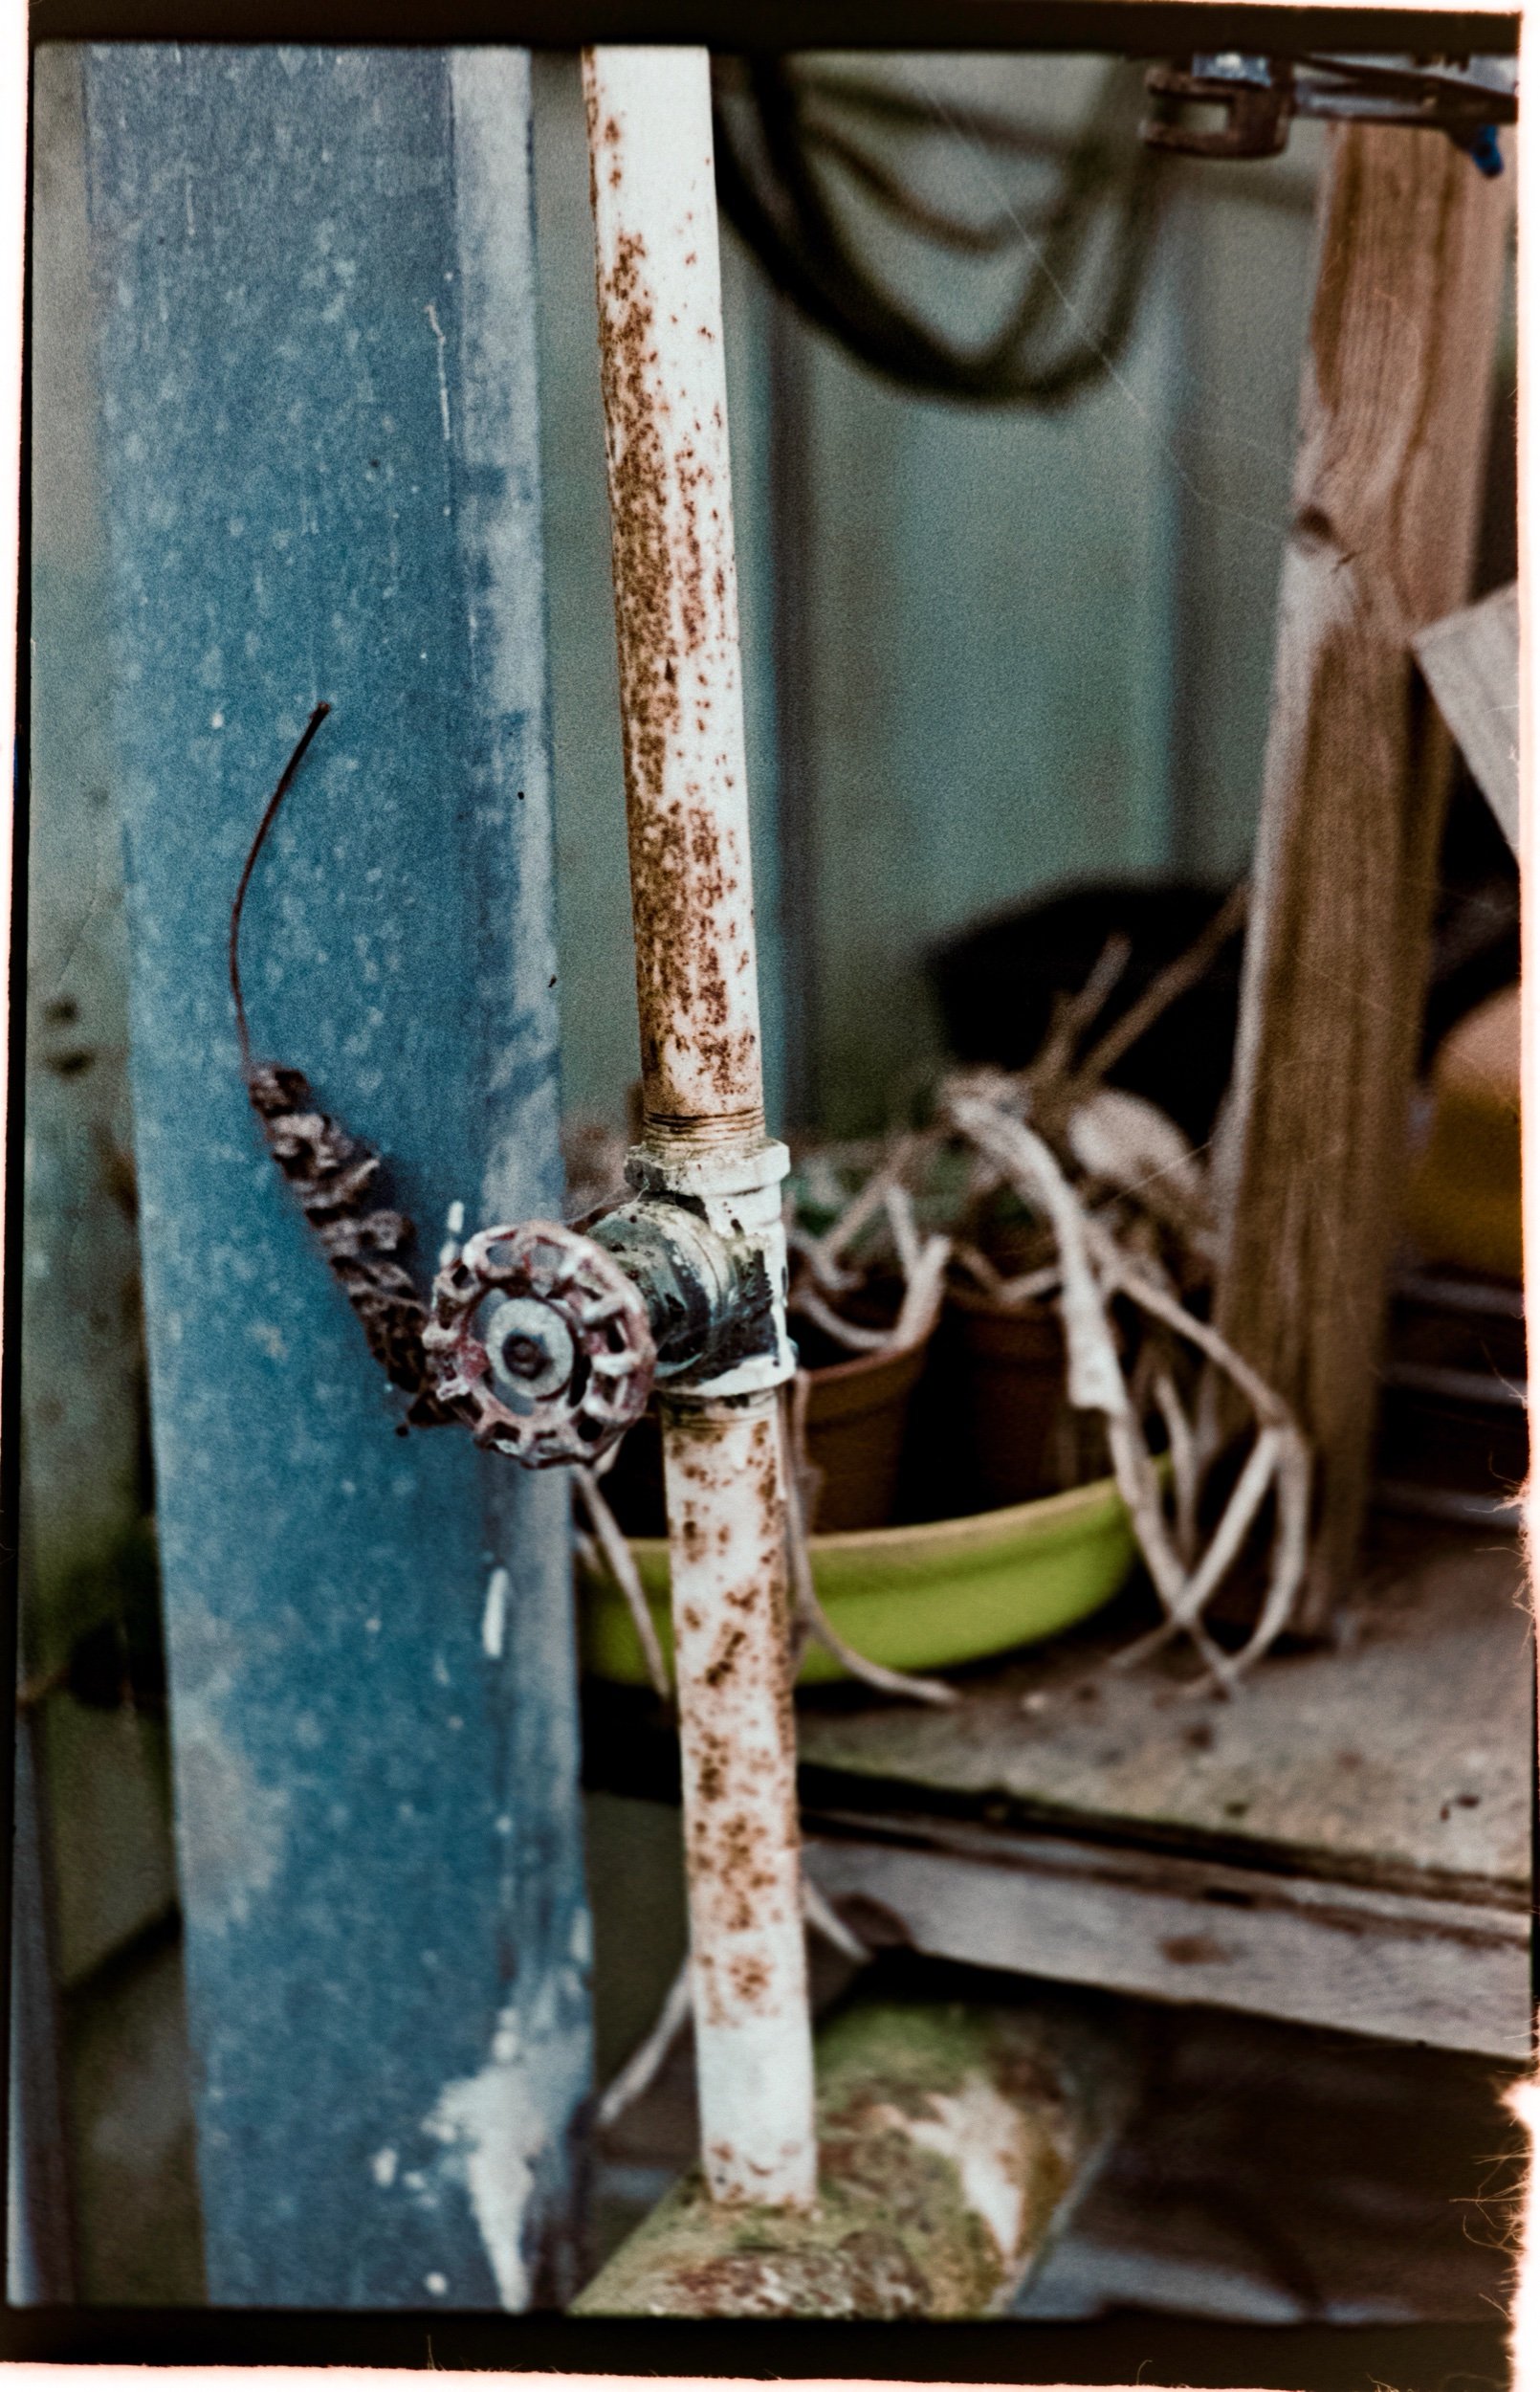
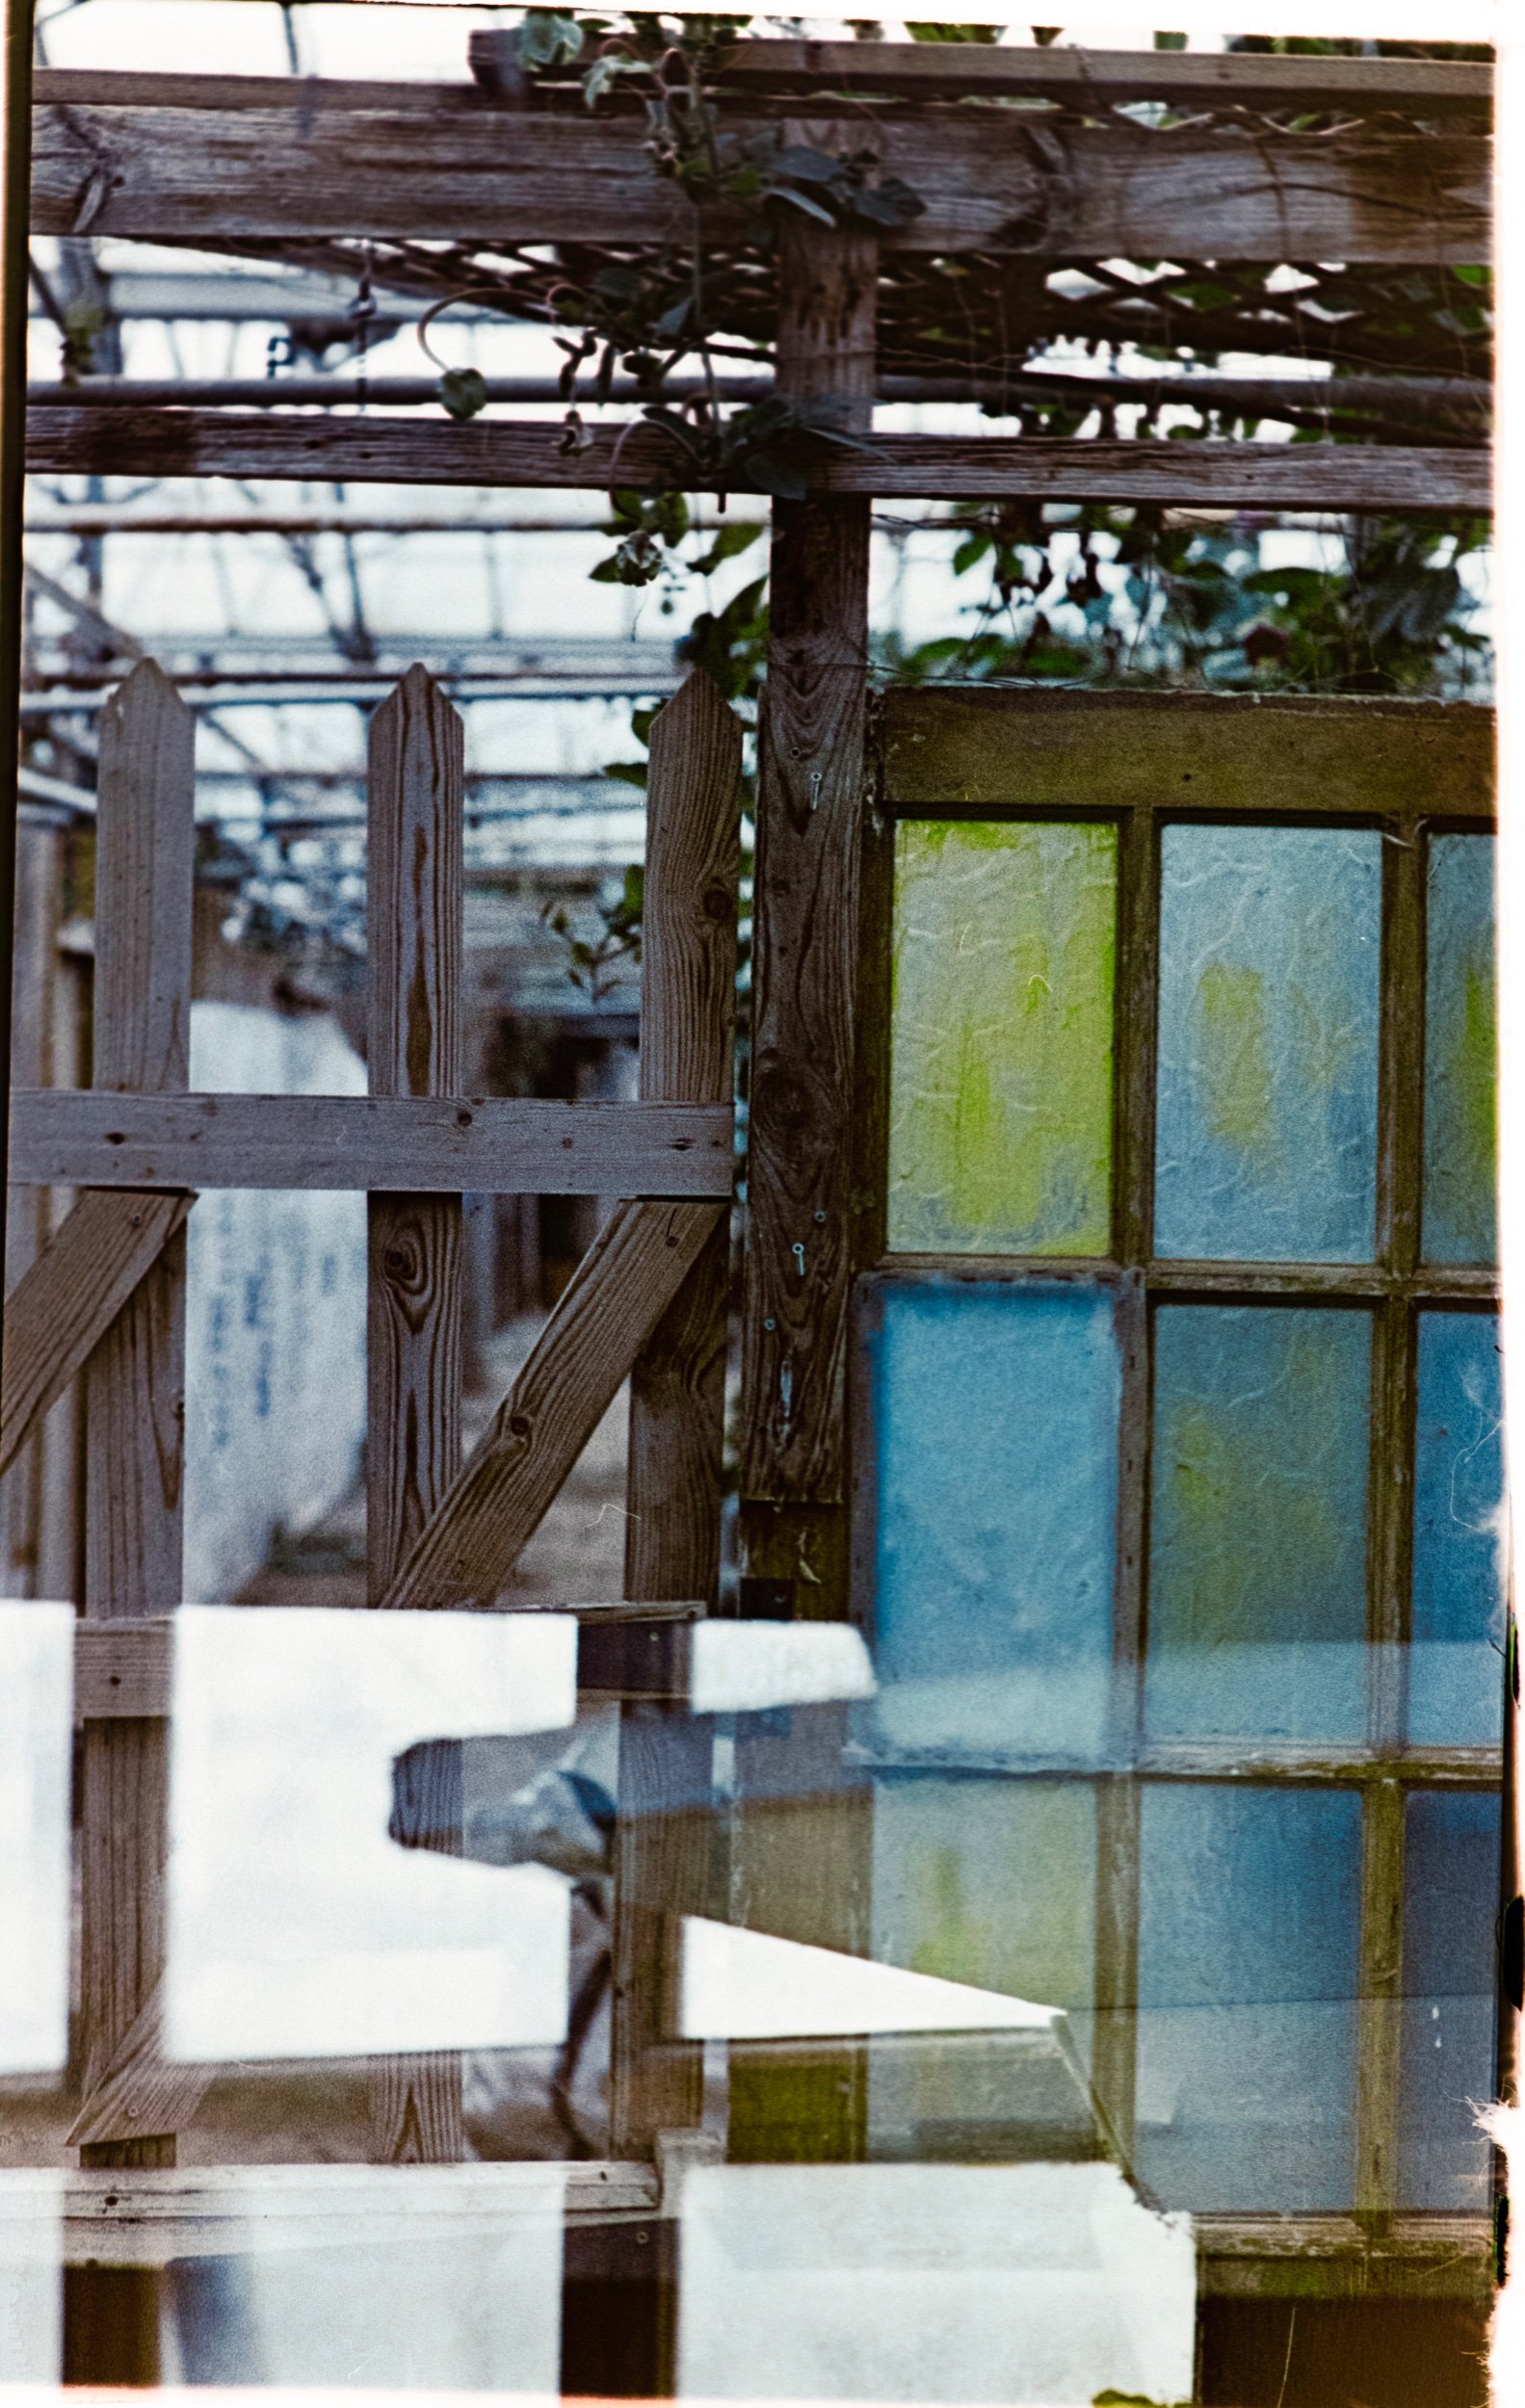
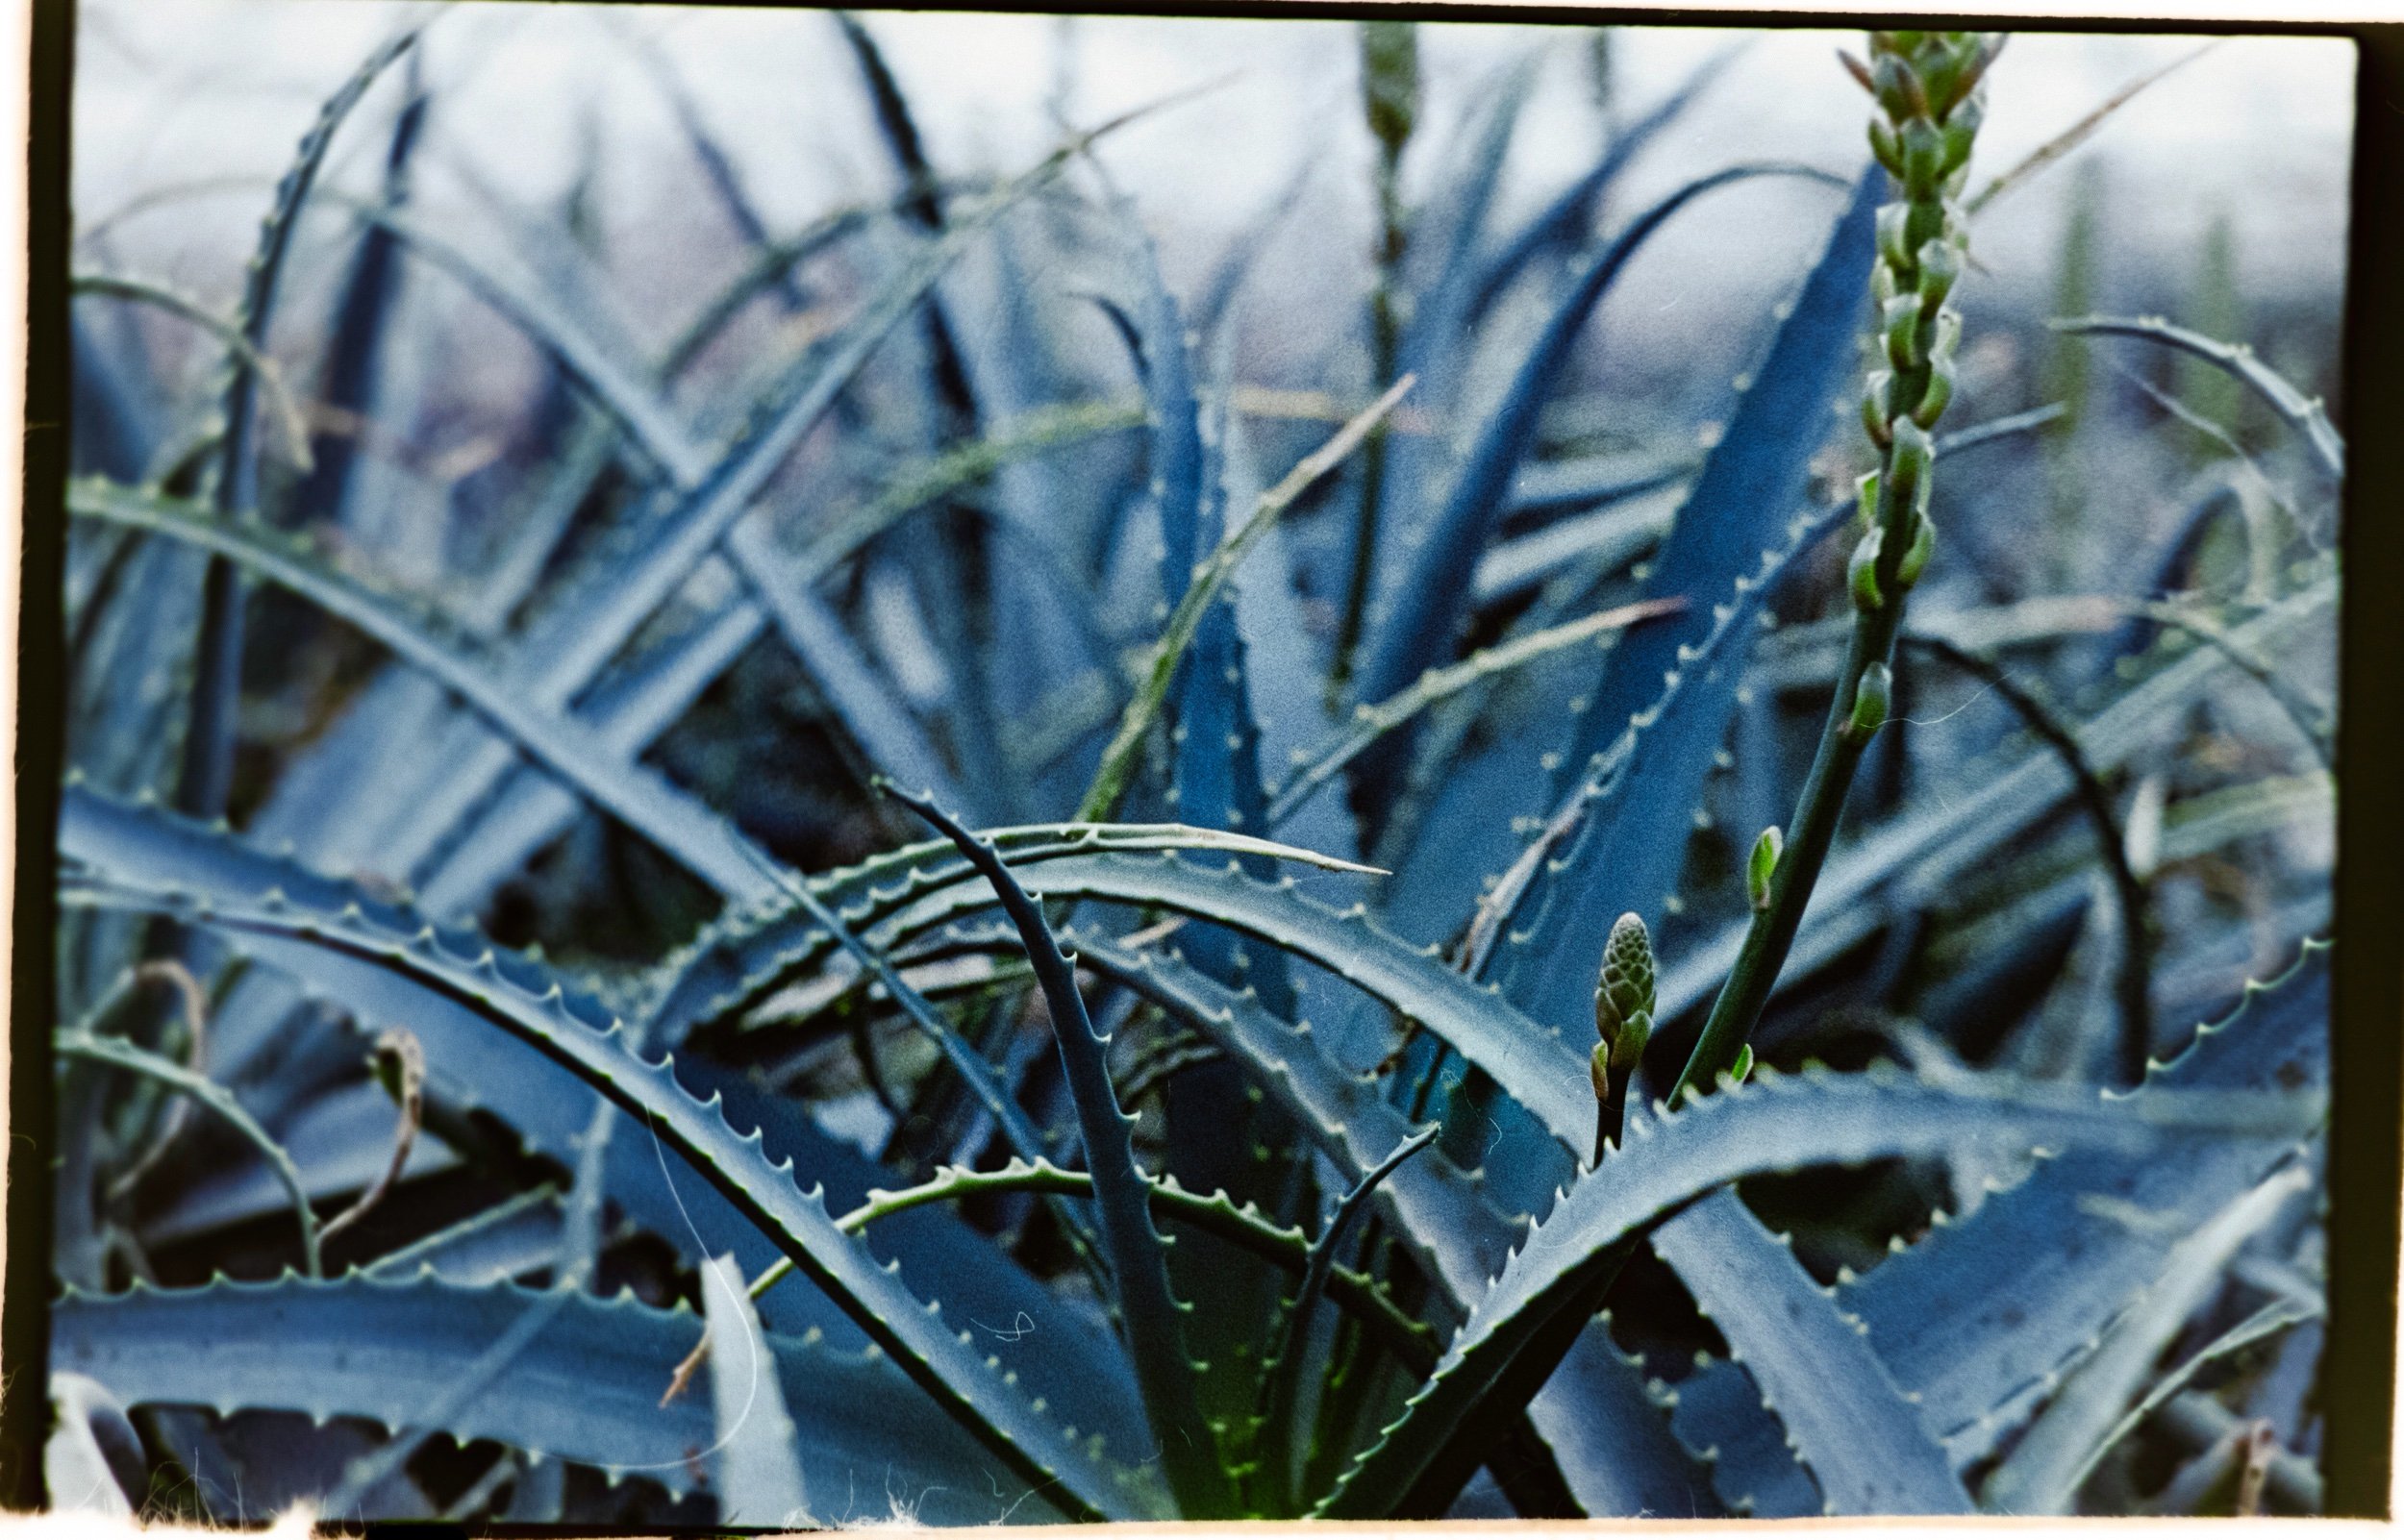
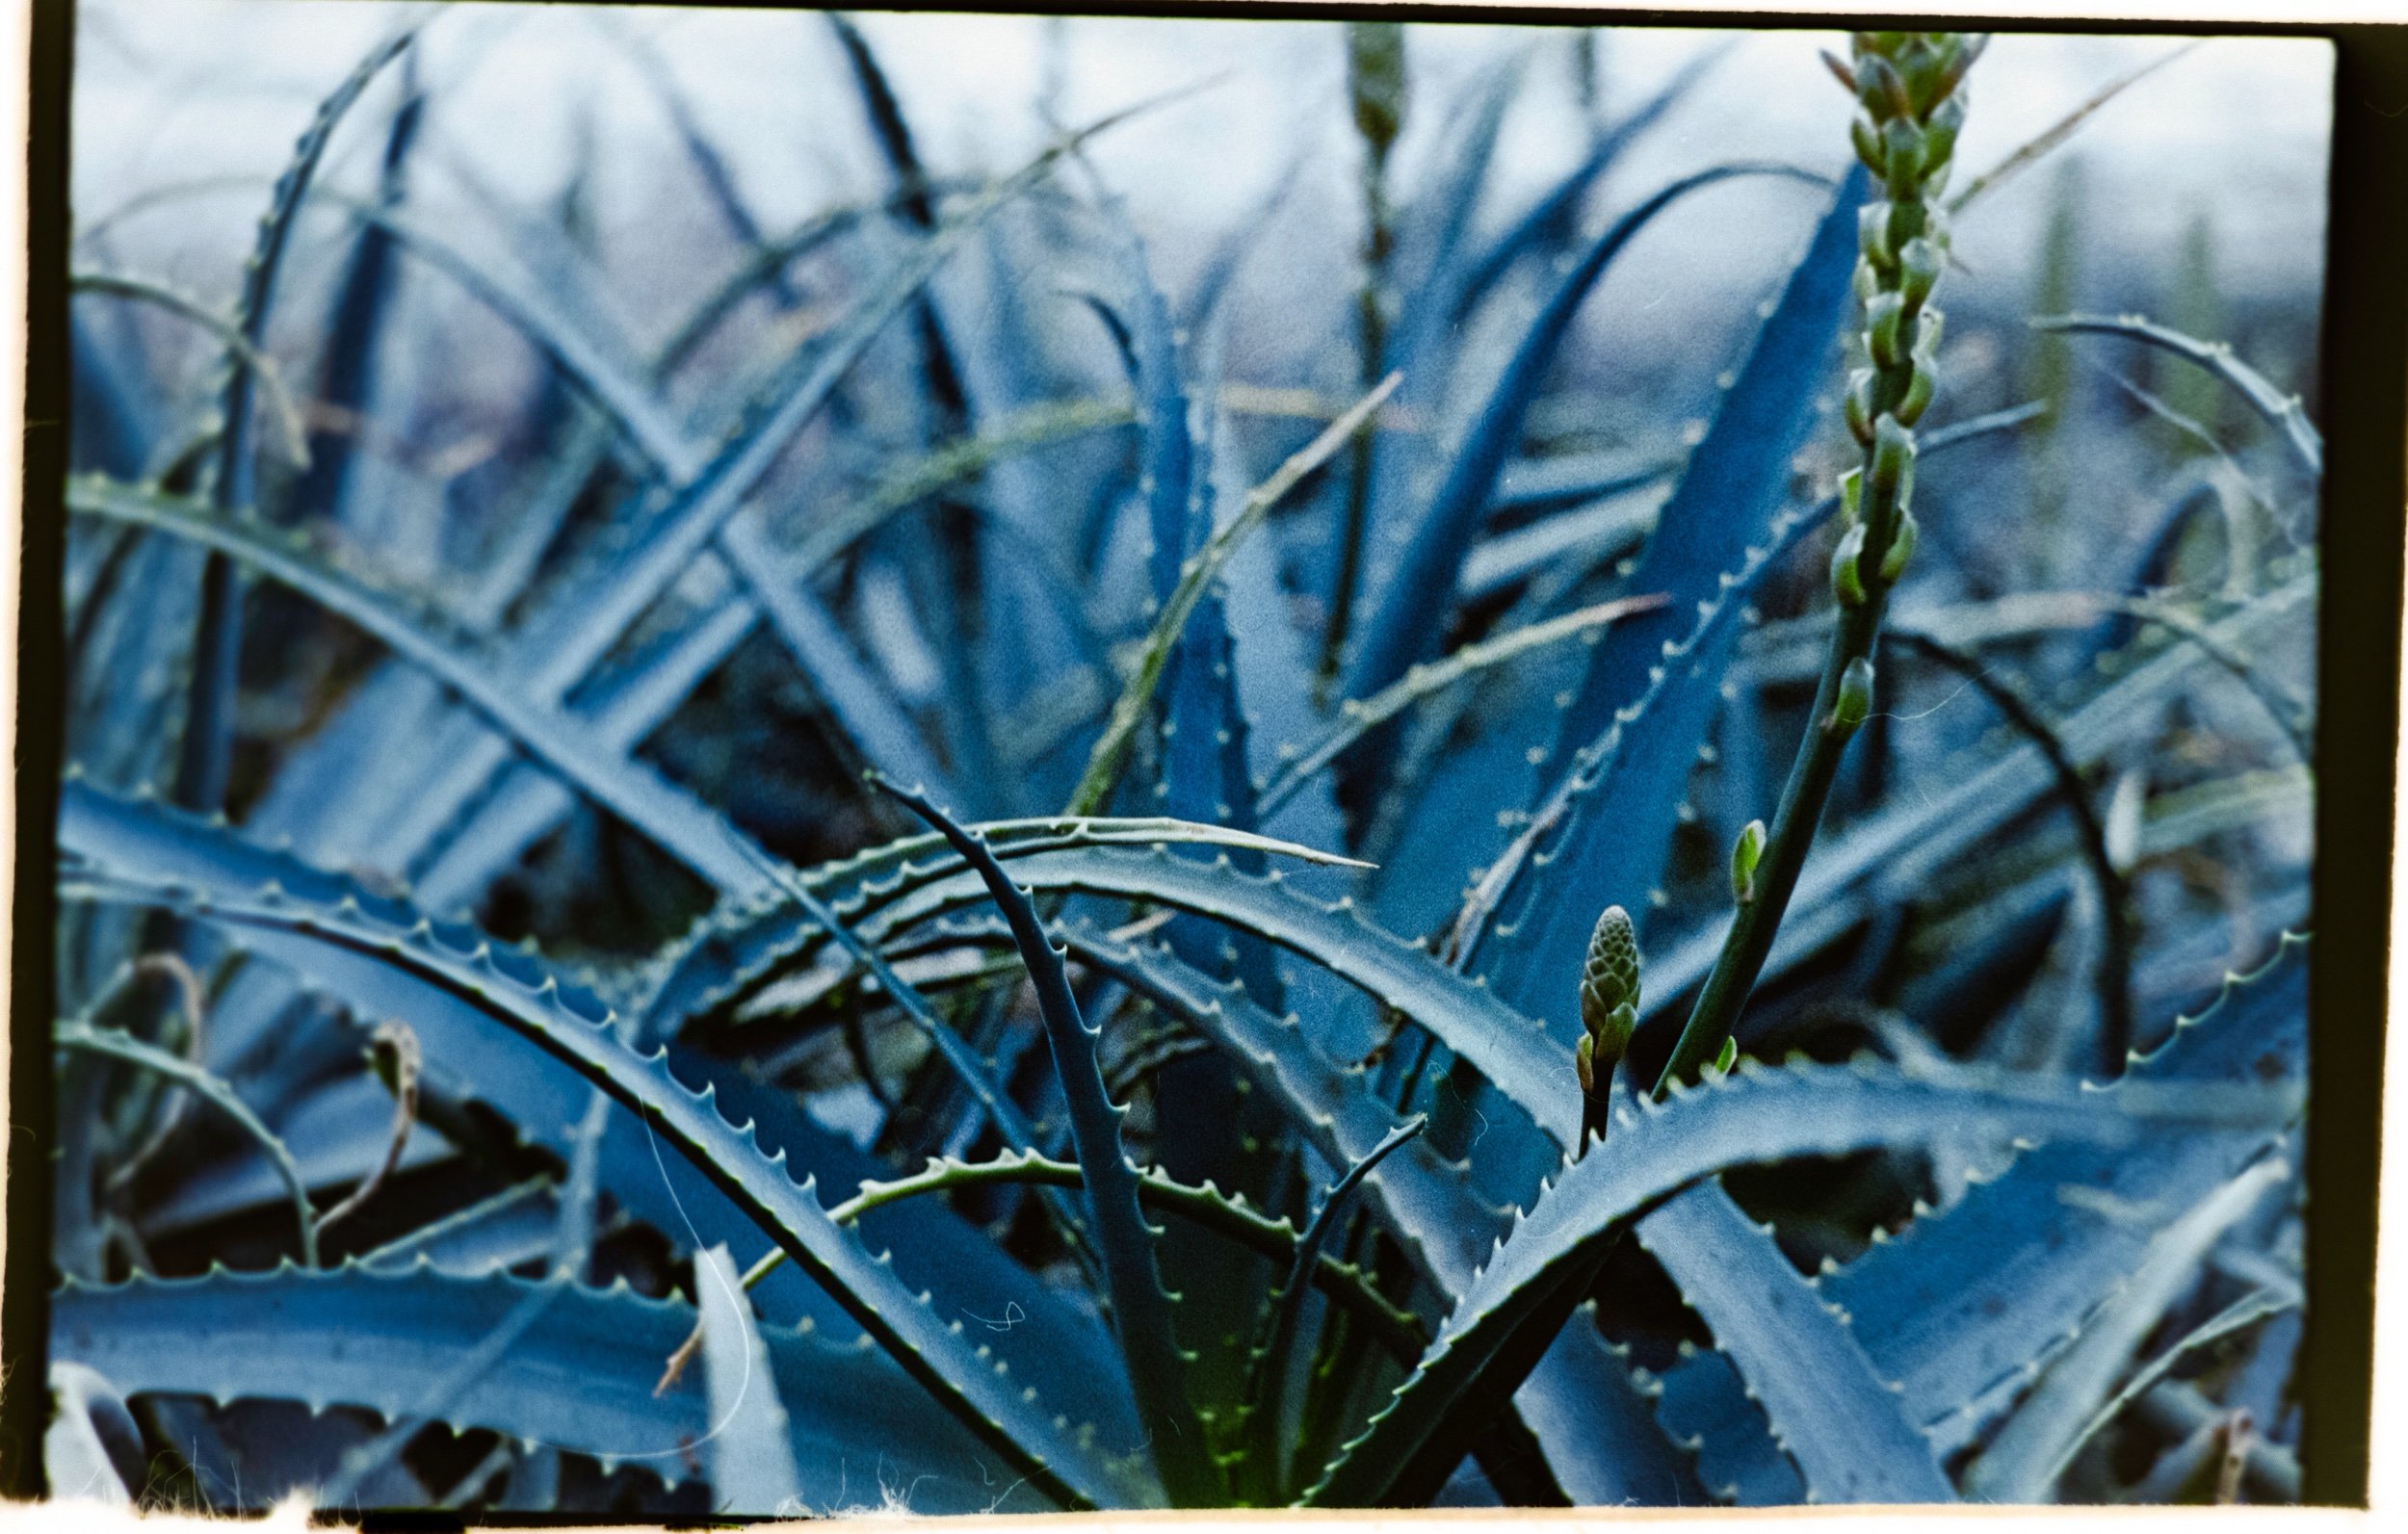
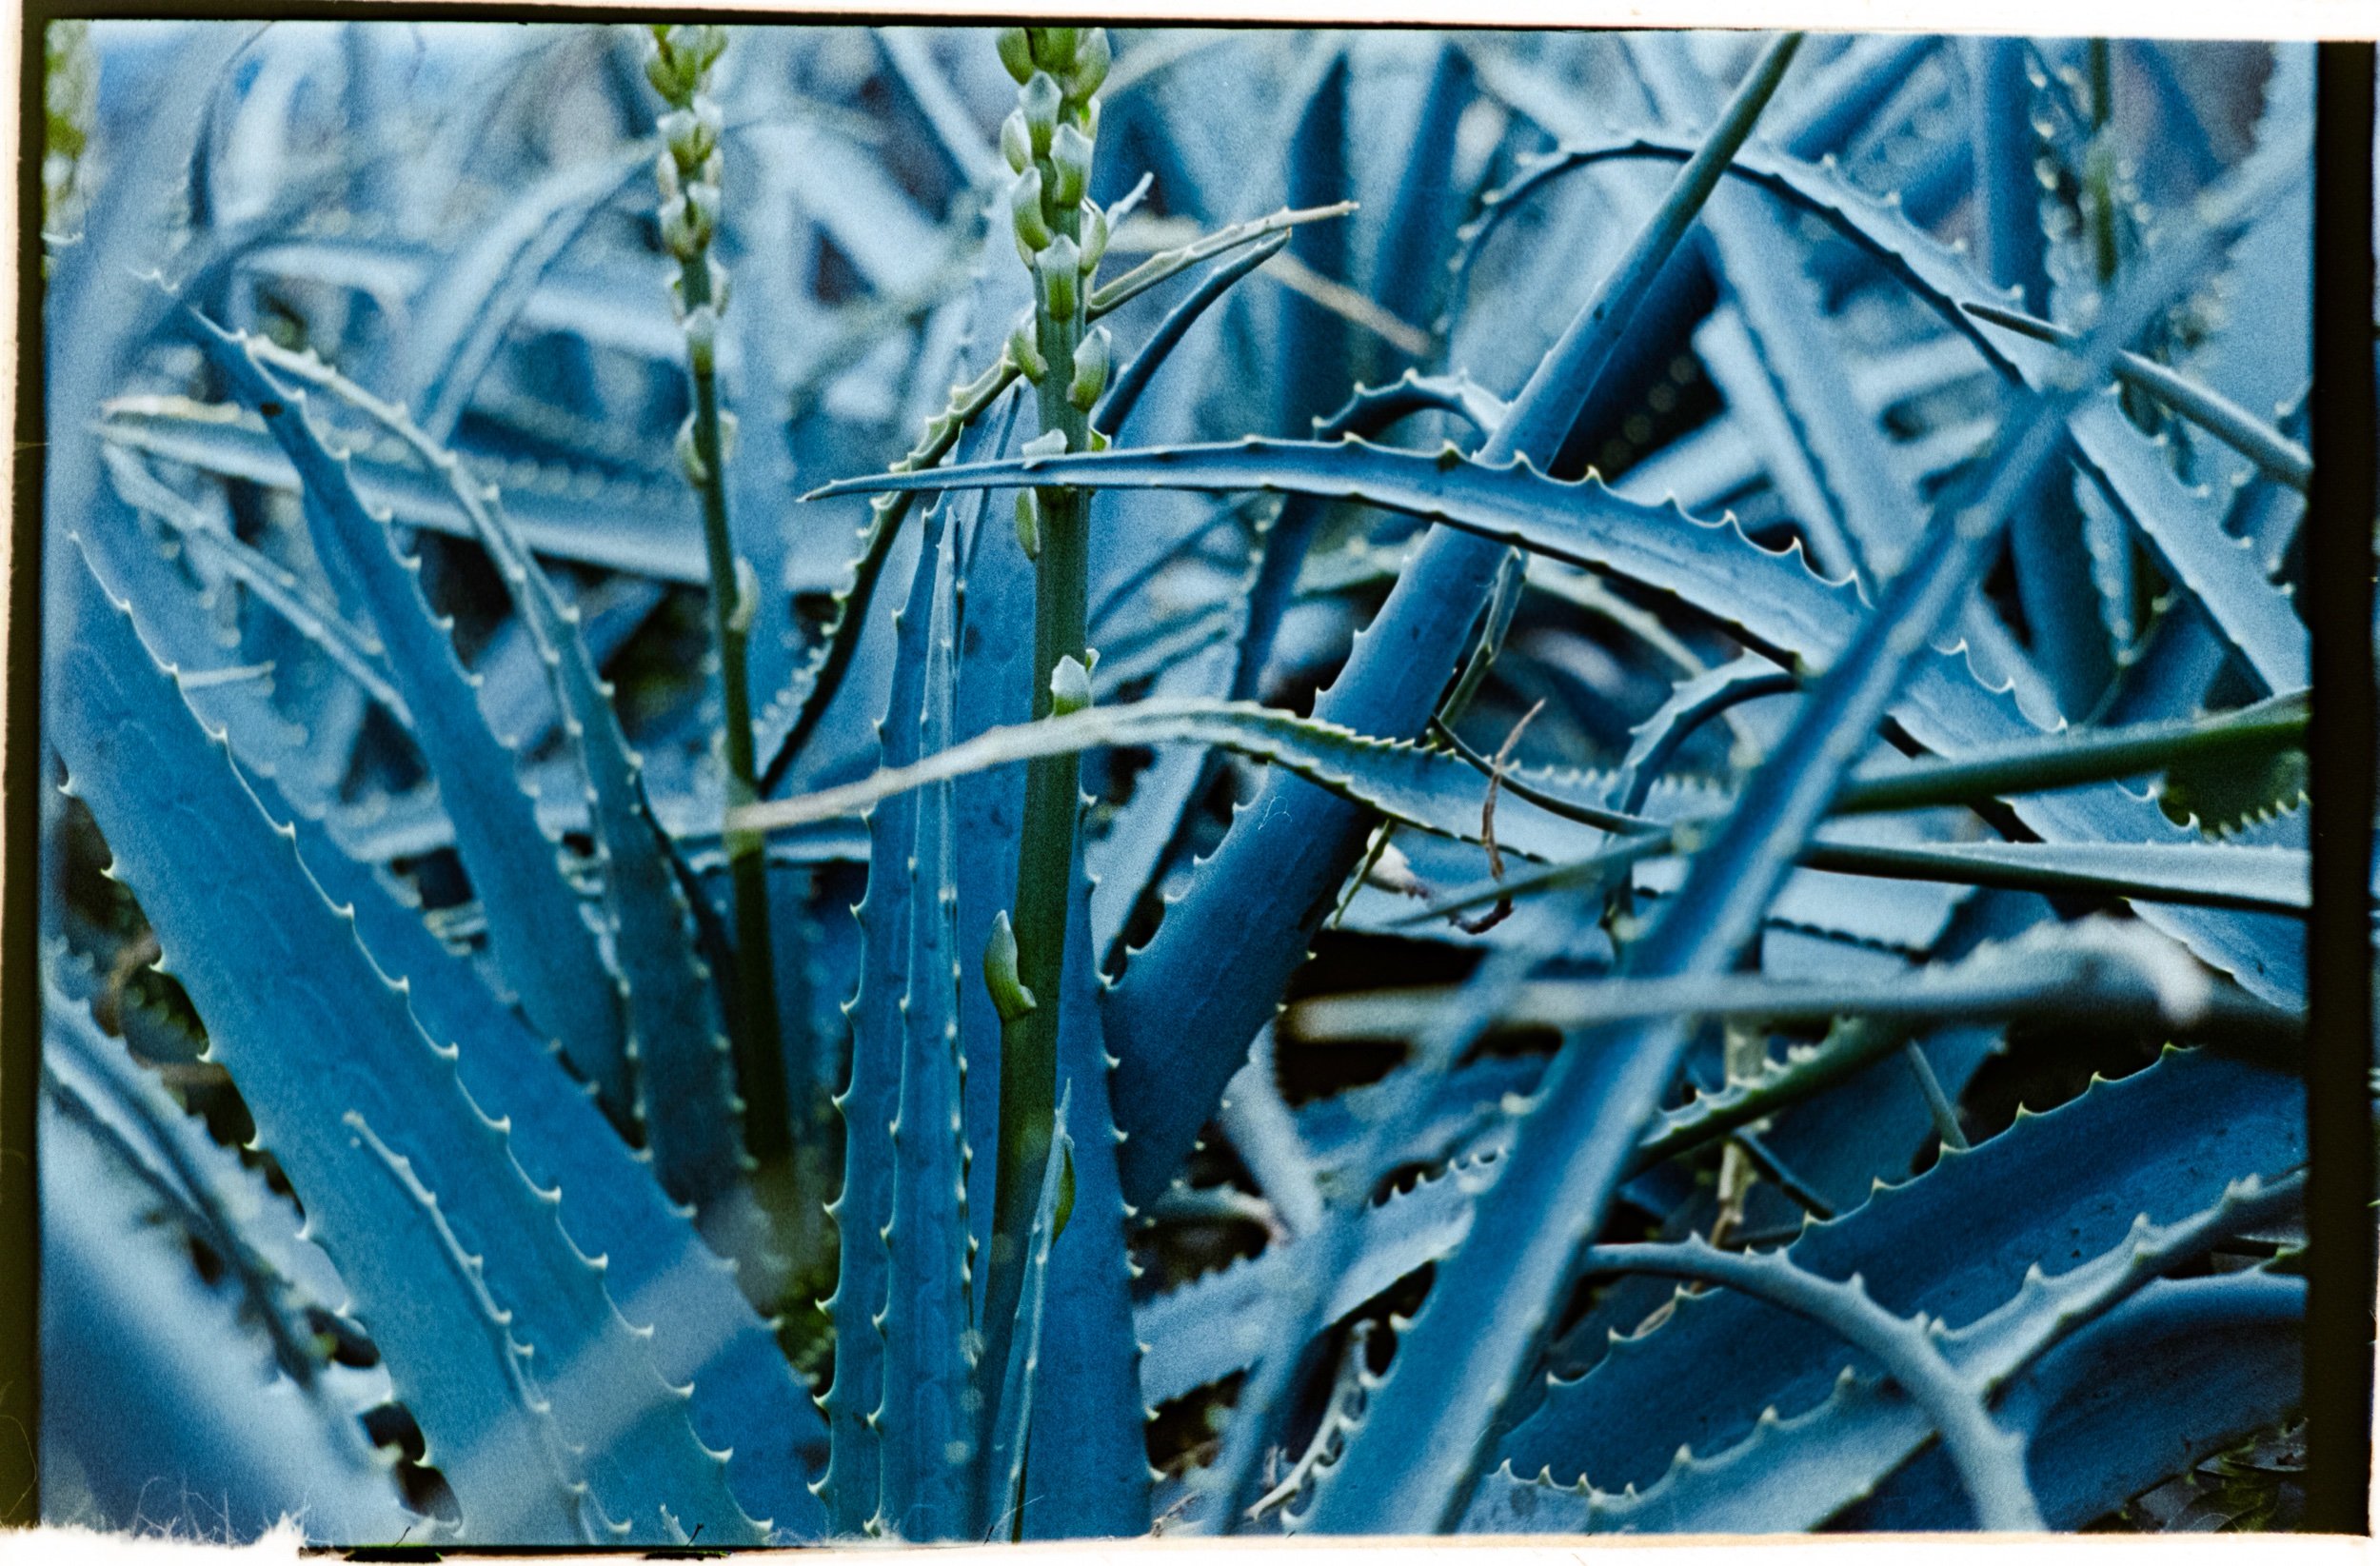
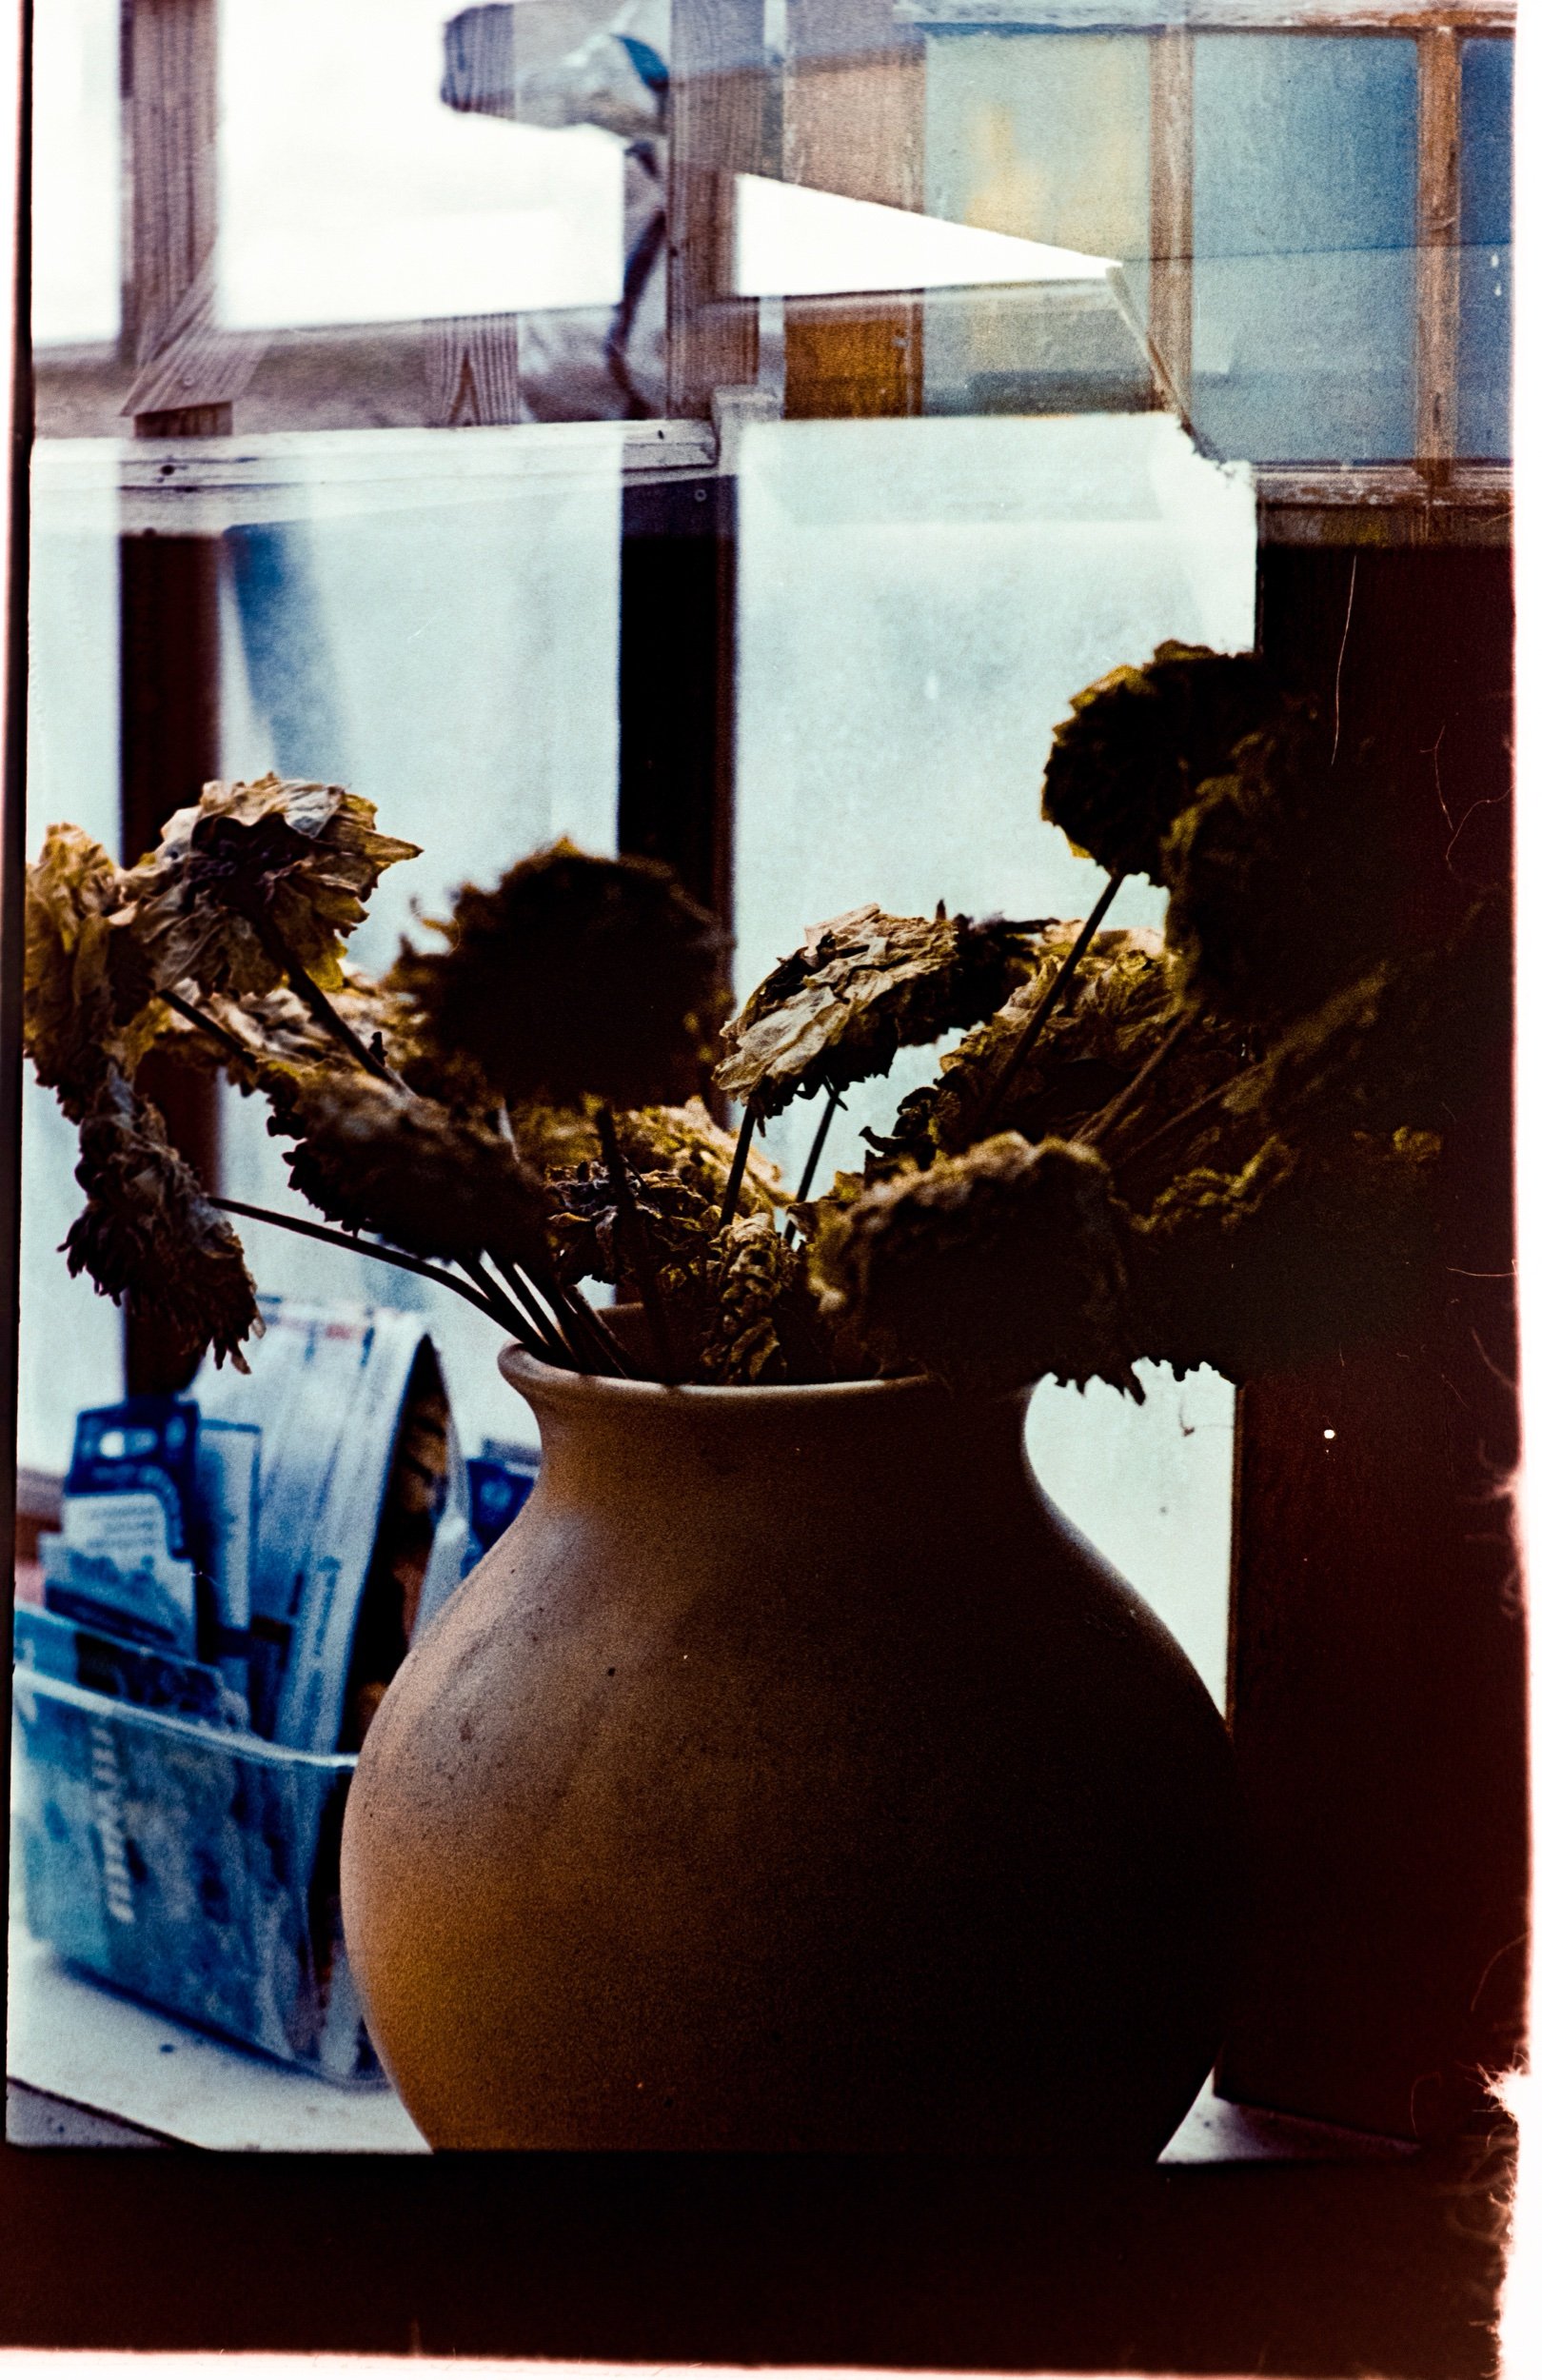
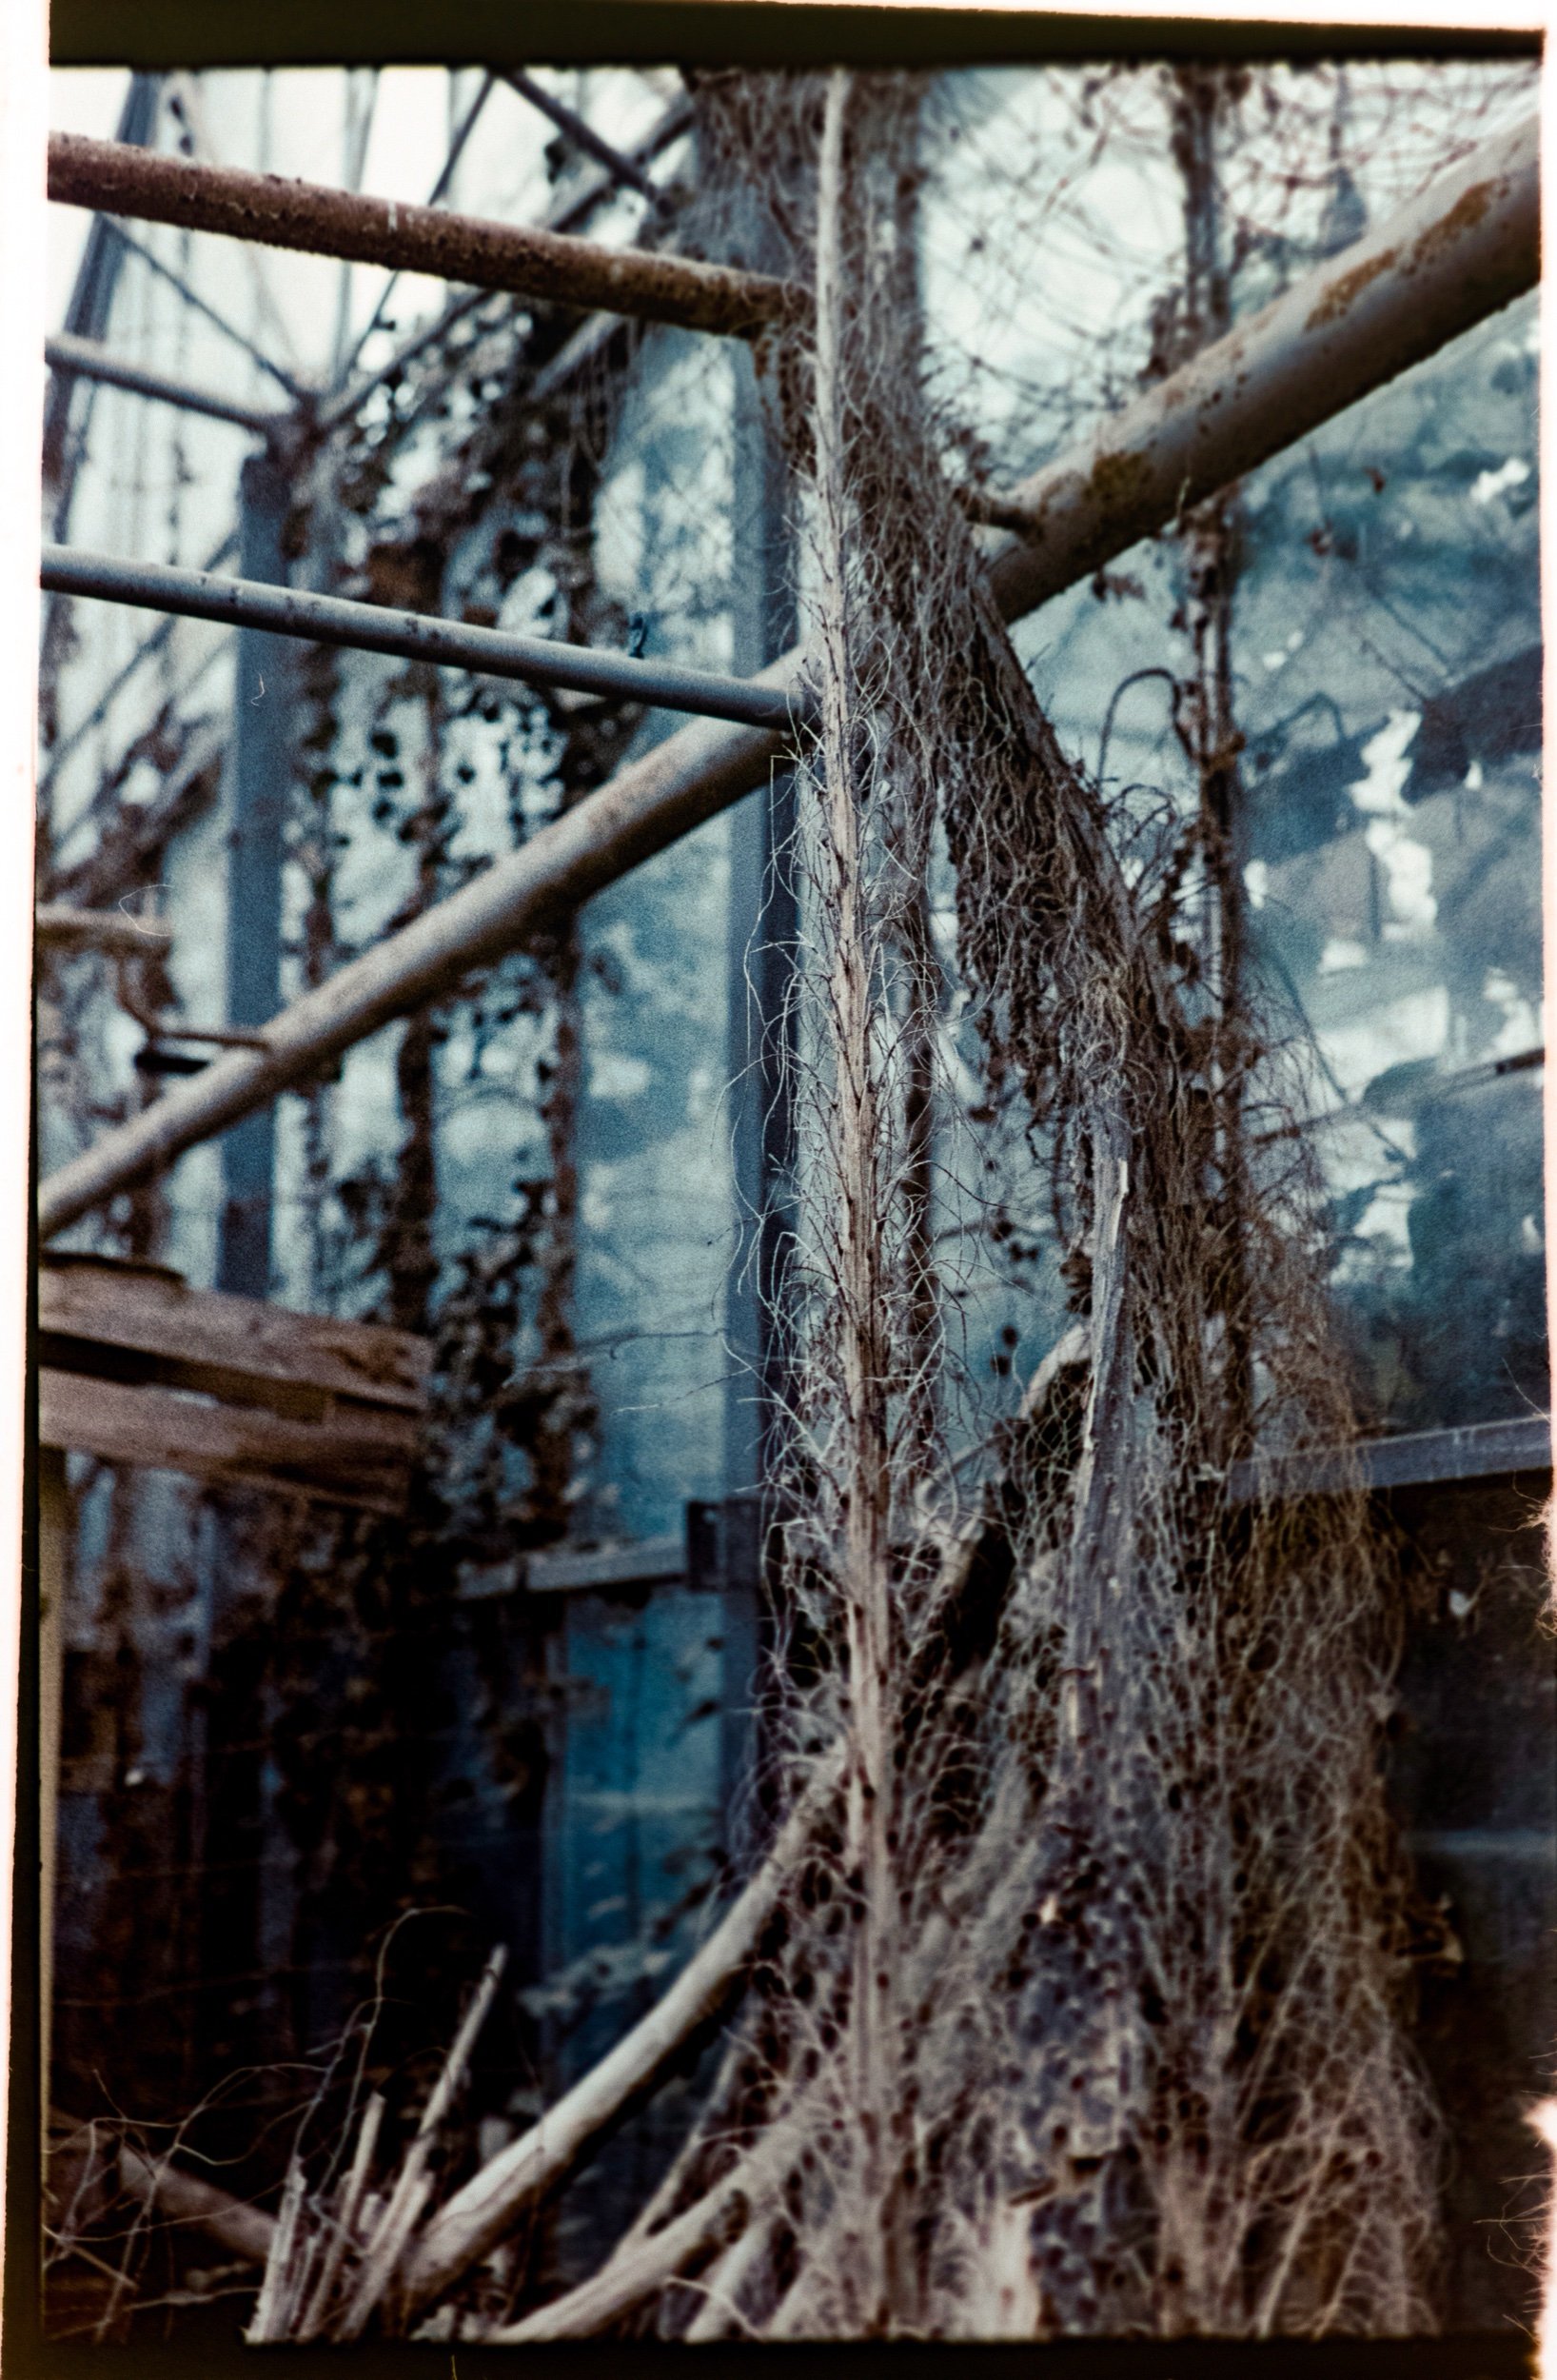
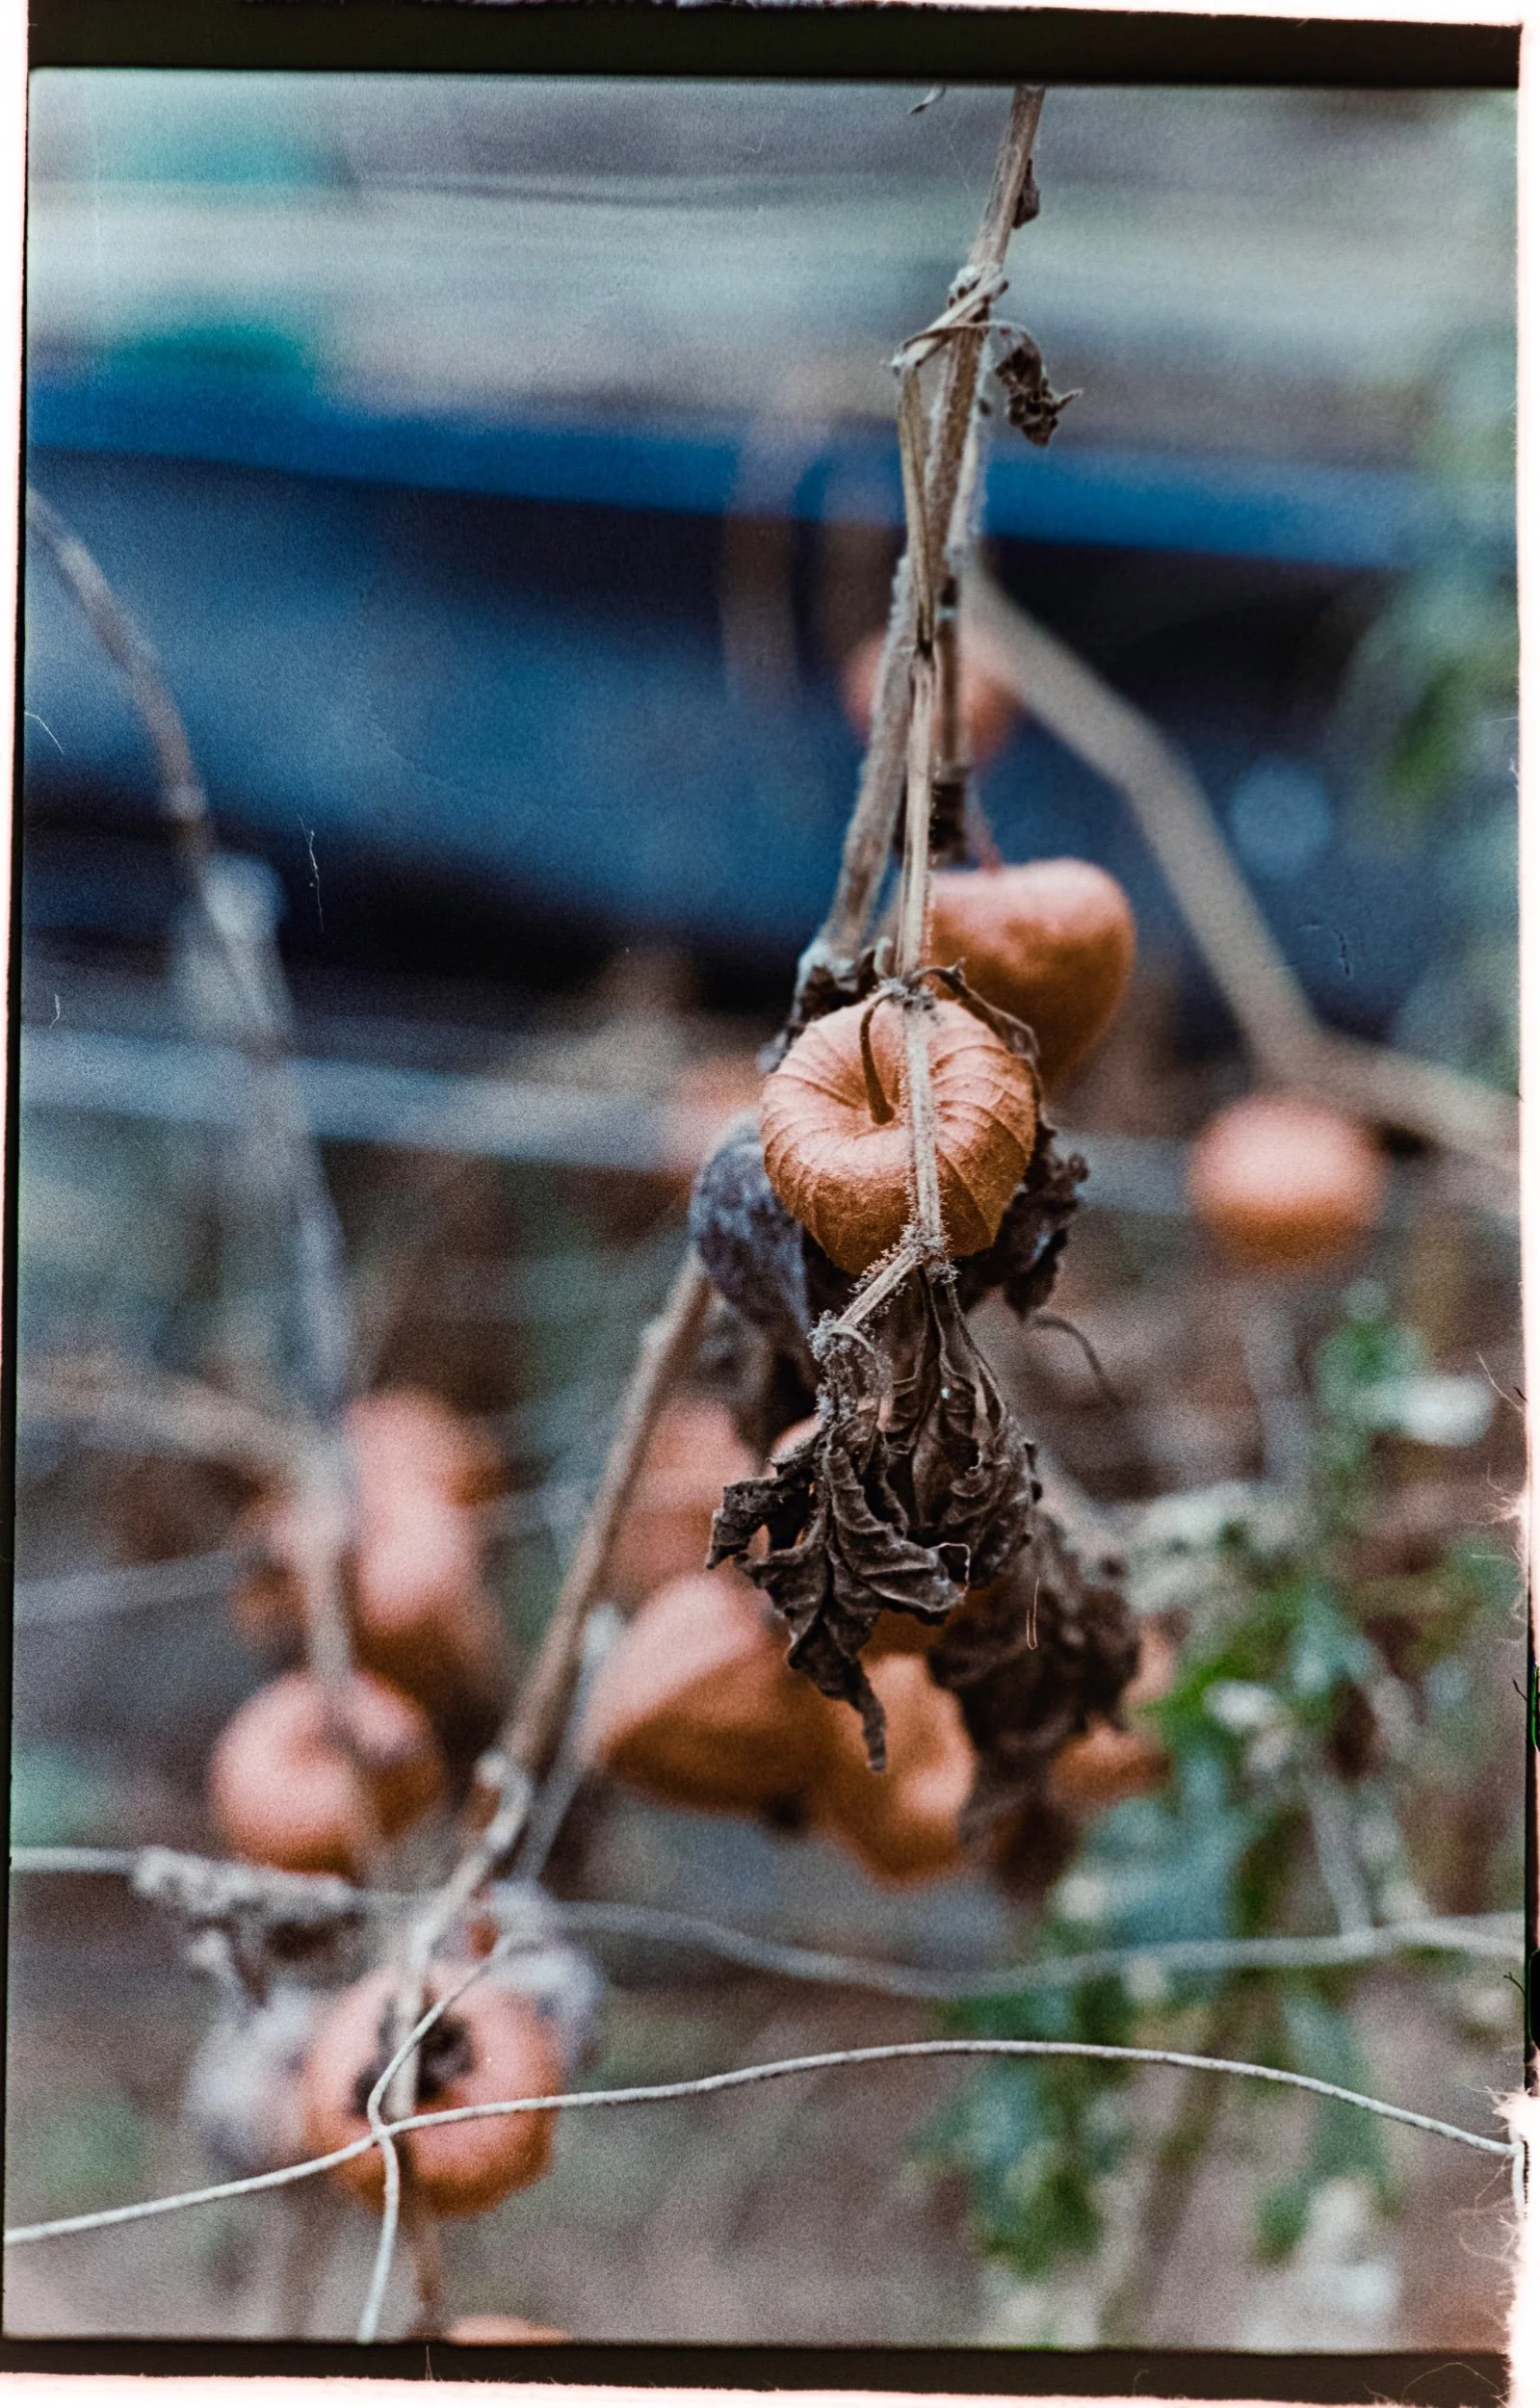
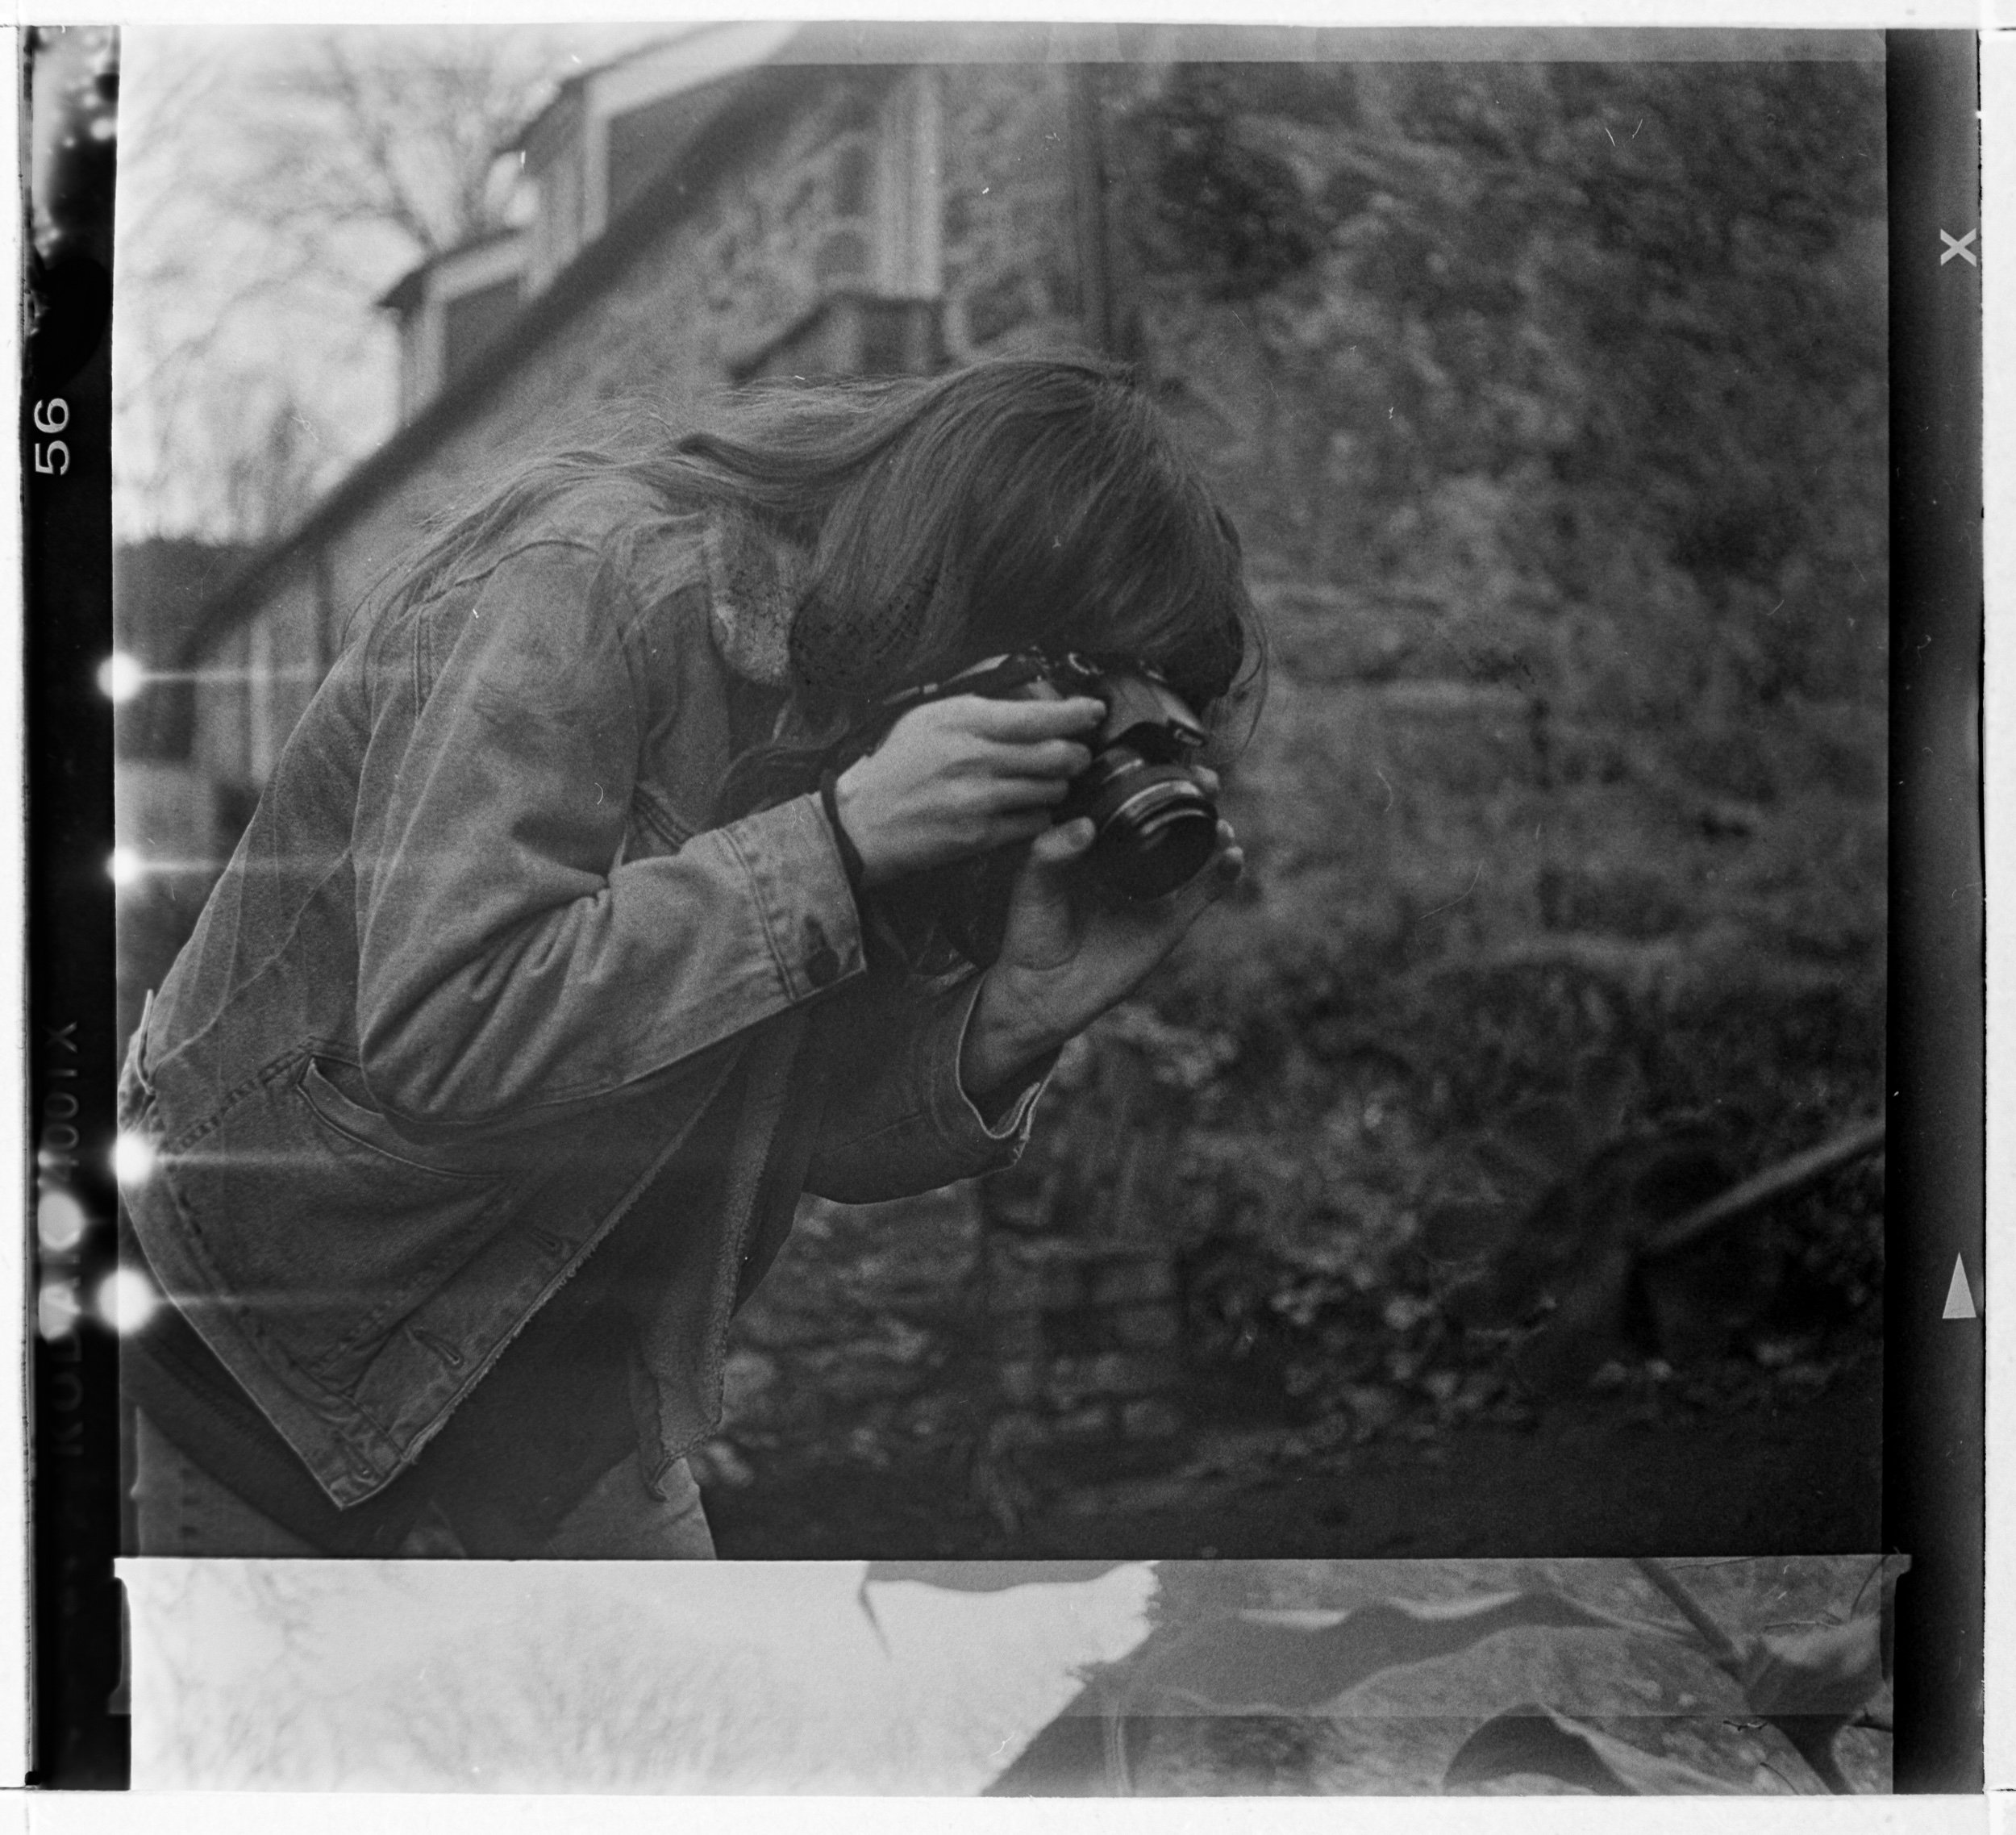
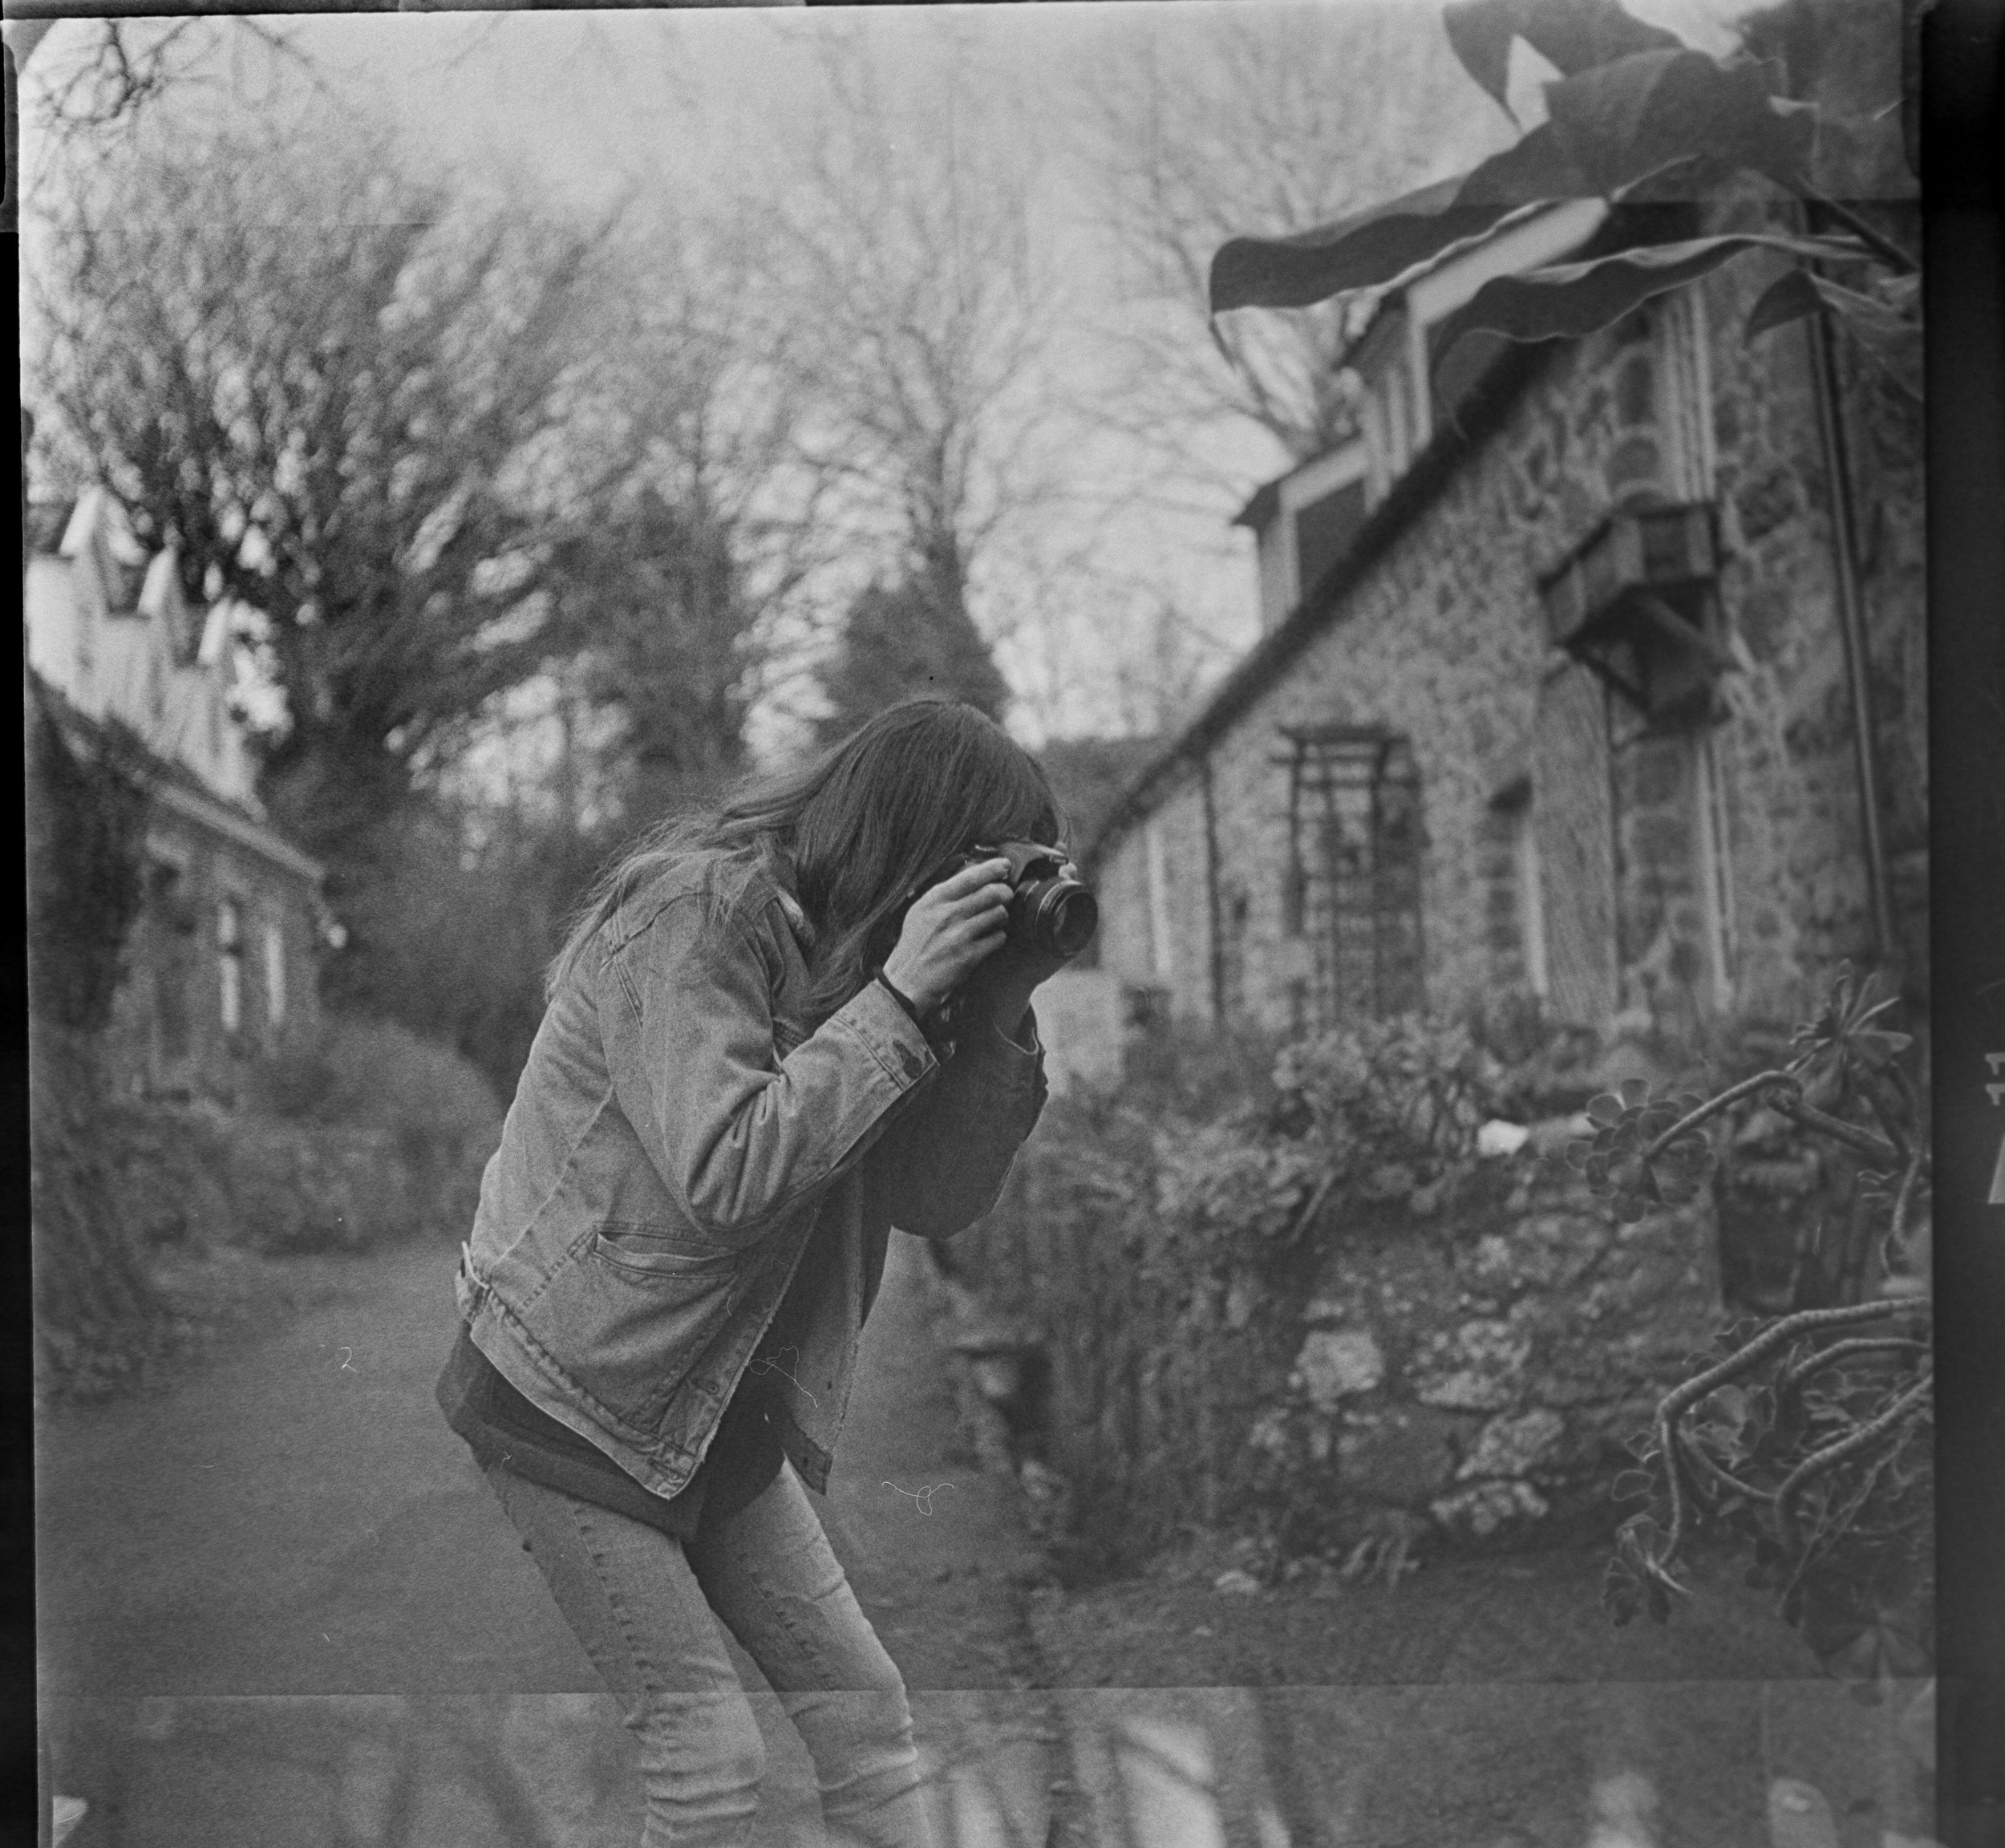
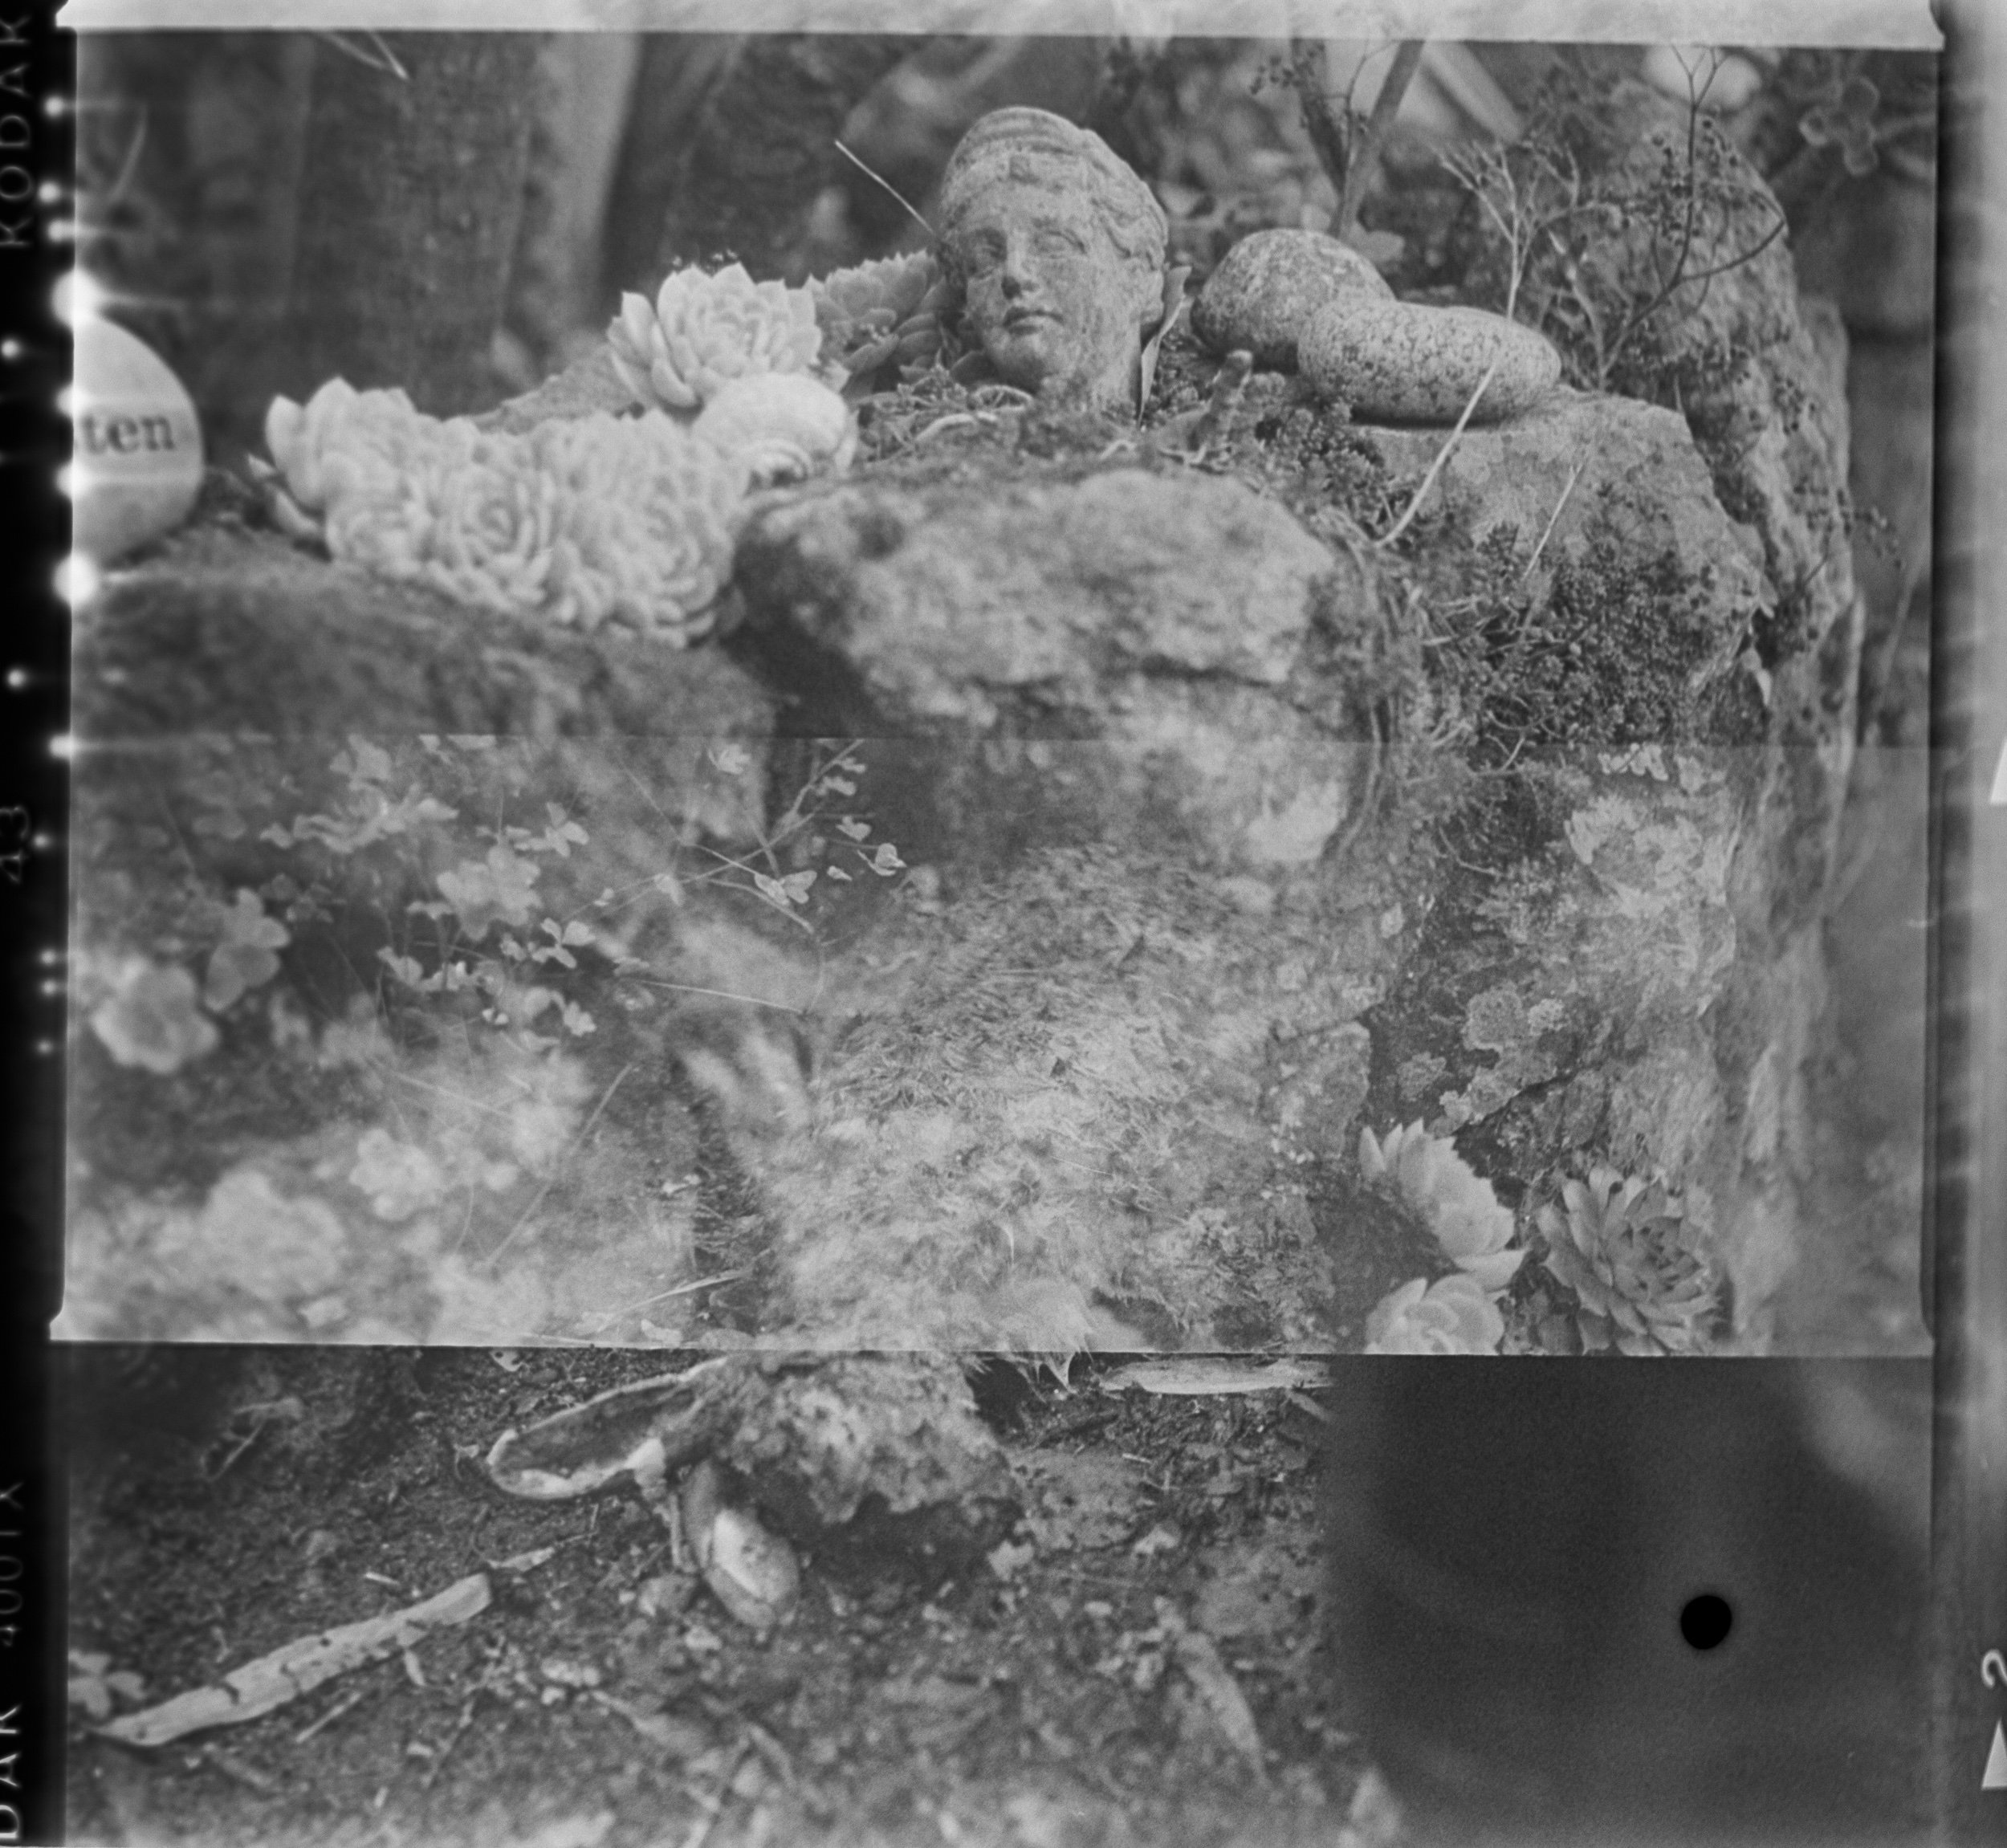
i learned about fotoflow that stops water spots and dust from sticking to the film so I’ve introduced that into the processing steps. I also attempted to have a go at processing Colour film. I didn’t have all the chemicals I needed for this as it requires a beaching step to remove a layer of film that separates the colours and gives it vibrancy. But I read that the bleach bypass look can be quite interesting too so I figured I’d give it a go and I absolutely love the results I got! Theses photos were taken at TigerLilly’s allotment
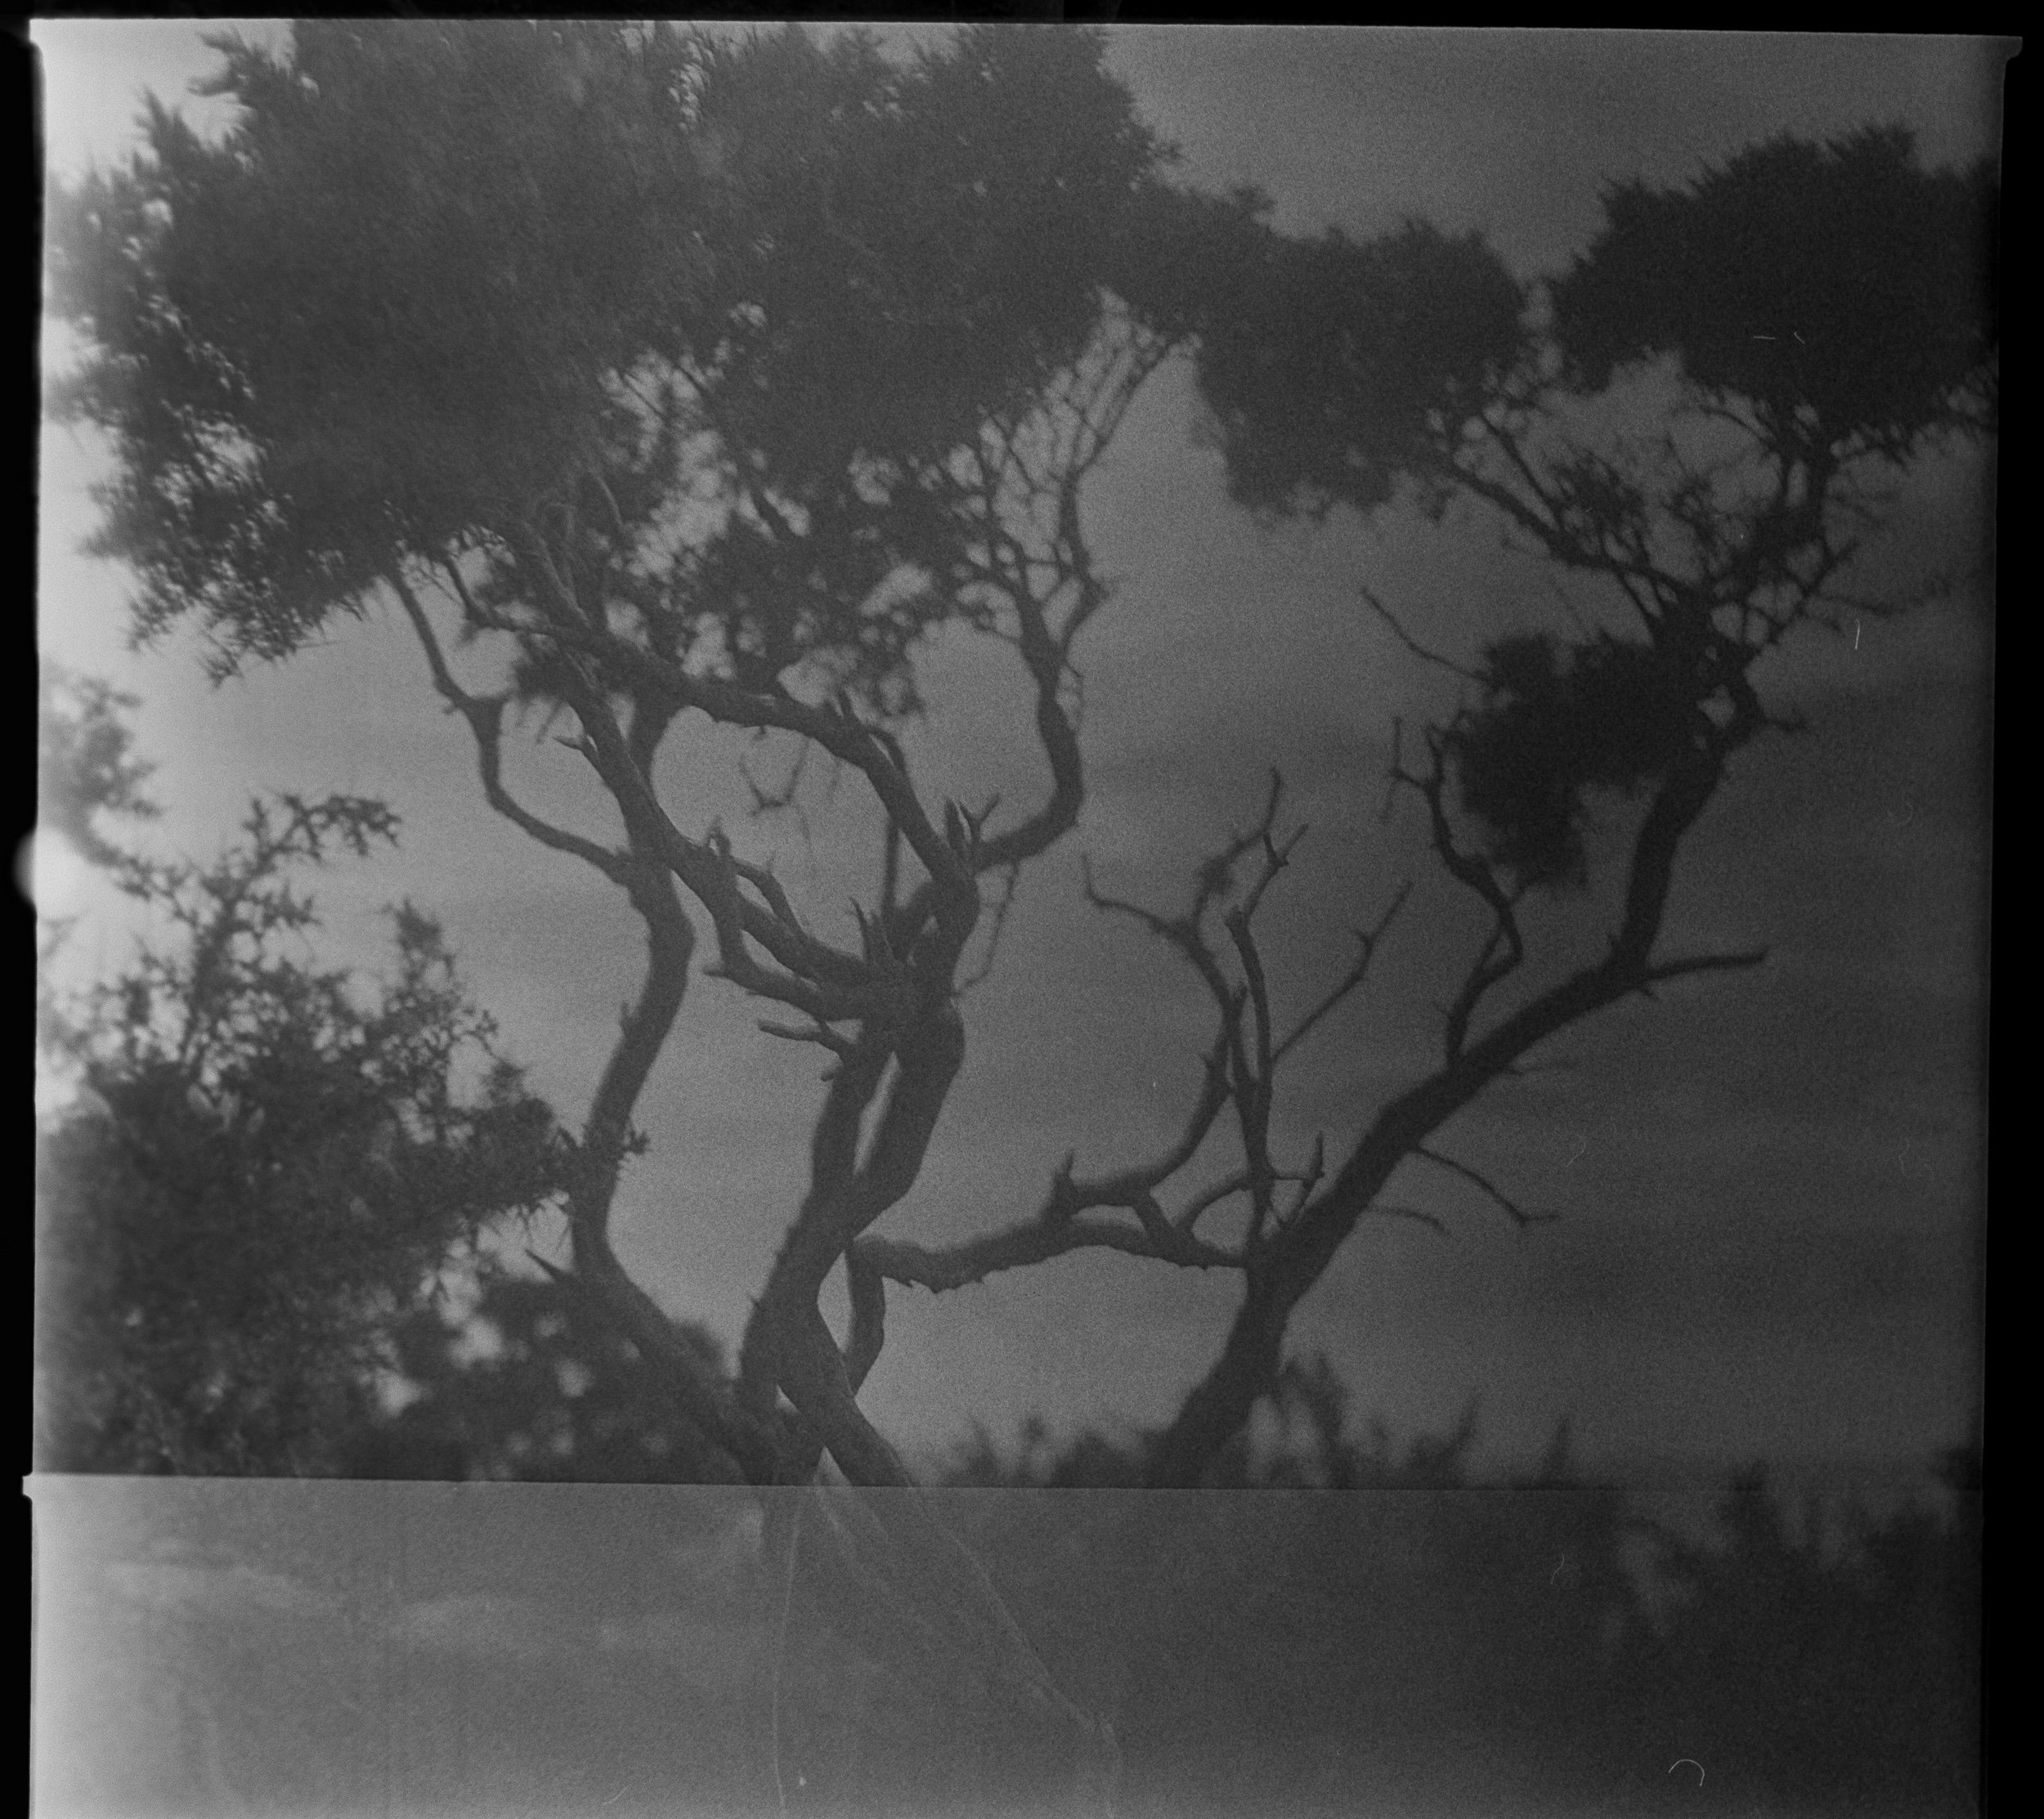
I also was given one of my dads old twin lens semilux cameras and wanted to give that a go. It has quite a few quirks and I clearly need to get to grips with it but it was a good opportunity to try loading and processing medium format/120 film.
Needless to say, I’m really enjoying playing scientist and developing my own images. Hopefully I’ll get the hang of it and get better results each time. Clearly there’s still a lot to learn!